 Save to Pinterest
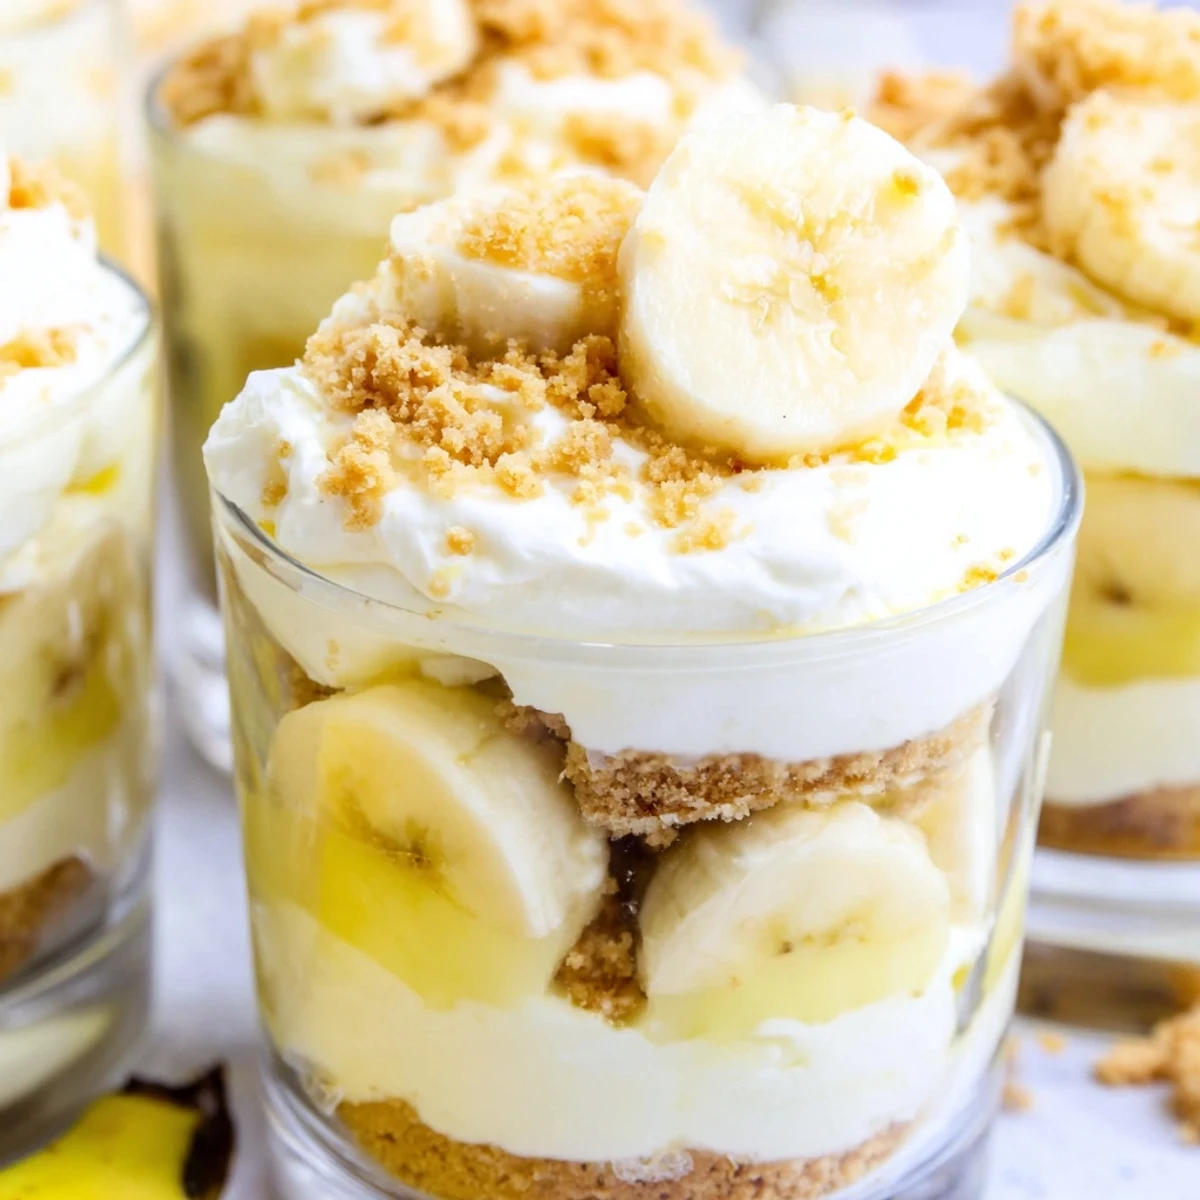
 These individual cups combine the best of two beloved desserts—creamy cheesecake and classic banana pudding. Each cup features a buttery vanilla wafer crust, a smooth cheesecake layer, fresh banana slices, and velvety banana pudding, all topped with extra crumbs and whipped cream.
The beauty of this dessert lies in its simplicity. No oven required—just mix, layer, and chill. The combination of textures creates a perfect harmony: crunchy crust, silky cheesecake, tender bananas, and luscious pudding. It's an ideal make-ahead treat for gatherings, dinner parties, or whenever you crave something sweet without heating up the kitchen.
Preparation takes just 20 minutes, and the cups need at least two hours to set. They can be made up to 24 hours in advance, making them perfect for entertaining. The individual portions also make serving effortless and look absolutely gorgeous on the table.
Last summer my neighbor brought over these little cups after a pool party and I literally couldn't stop thinking about them for weeks. Something about that combination of creamy cheesecake meeting nostalgic banana pudding just hit different in the heat. I've since made them for every gathering and they're always the first thing to disappear.
My sister-in-law requested these for her birthday instead of a traditional cake, which honestly speaks volumes. Watching everyone peel back the lids of their serving cups and immediately get that look of pure dessert joy—that's the moment these became a permanent fixture in my recipe rotation.
Ingredients
- Vanilla wafer cookies: These classic cookies create the perfect buttery foundation and their subtle vanilla flavor complements the banana beautifully
- Unsalted butter: Melted butter binds the crust together—salted works too but you might want to reduce any added salt elsewhere
- Cream cheese: Make sure it's properly softened to room temperature or you'll end up with lumpy filling instead of silkiness
- Granulated sugar: This sweetens the cheesecake layer without making it cloying—adjust slightly if your bananas are super ripe
- Pure vanilla extract: Don't skimp here since vanilla is the backbone that ties all the creamy layers together
- Heavy whipping cream: Cold cream is non-negotiable for achieving those stiff peaks that make the filling light and airy
- Instant banana pudding mix: The instant variety sets up perfectly without cooking and has that unmistakable artificial-but-amazing banana flavor we all secretly love
- Cold whole milk: Whole milk gives the pudding layer the richest body—low-fat versions work but the texture suffers slightly
- Ripe bananas: Look for bananas with some brown spots—they're sweeter and blend better into the overall flavor profile
- Additional vanilla wafer crumbs: These create that essential crunchy texture contrast on top that makes every bite interesting
Instructions
- Prepare the crust foundation:
- Crush your vanilla wafers into fine crumbs using a food processor or the old-fashioned way with a rolling pin and ziplock bag. Mix with melted butter until the texture resembles wet sand, then press about two tablespoons into the bottom of each serving cup.
- Make the cheesecake filling:
- Beat your softened cream cheese with sugar and vanilla until completely smooth—this usually takes about 2 minutes on medium speed. In a separate bowl, whip that cold heavy cream until it holds stiff peaks, then gently fold it into the cream cheese mixture until no white streaks remain.
- Whisk the pudding layer:
- Combine the instant banana pudding mix with cold milk and whisk for exactly 2 minutes. The mixture will thicken noticeably as you whisk—this is when you know it's ready to layer.
- Build your layers:
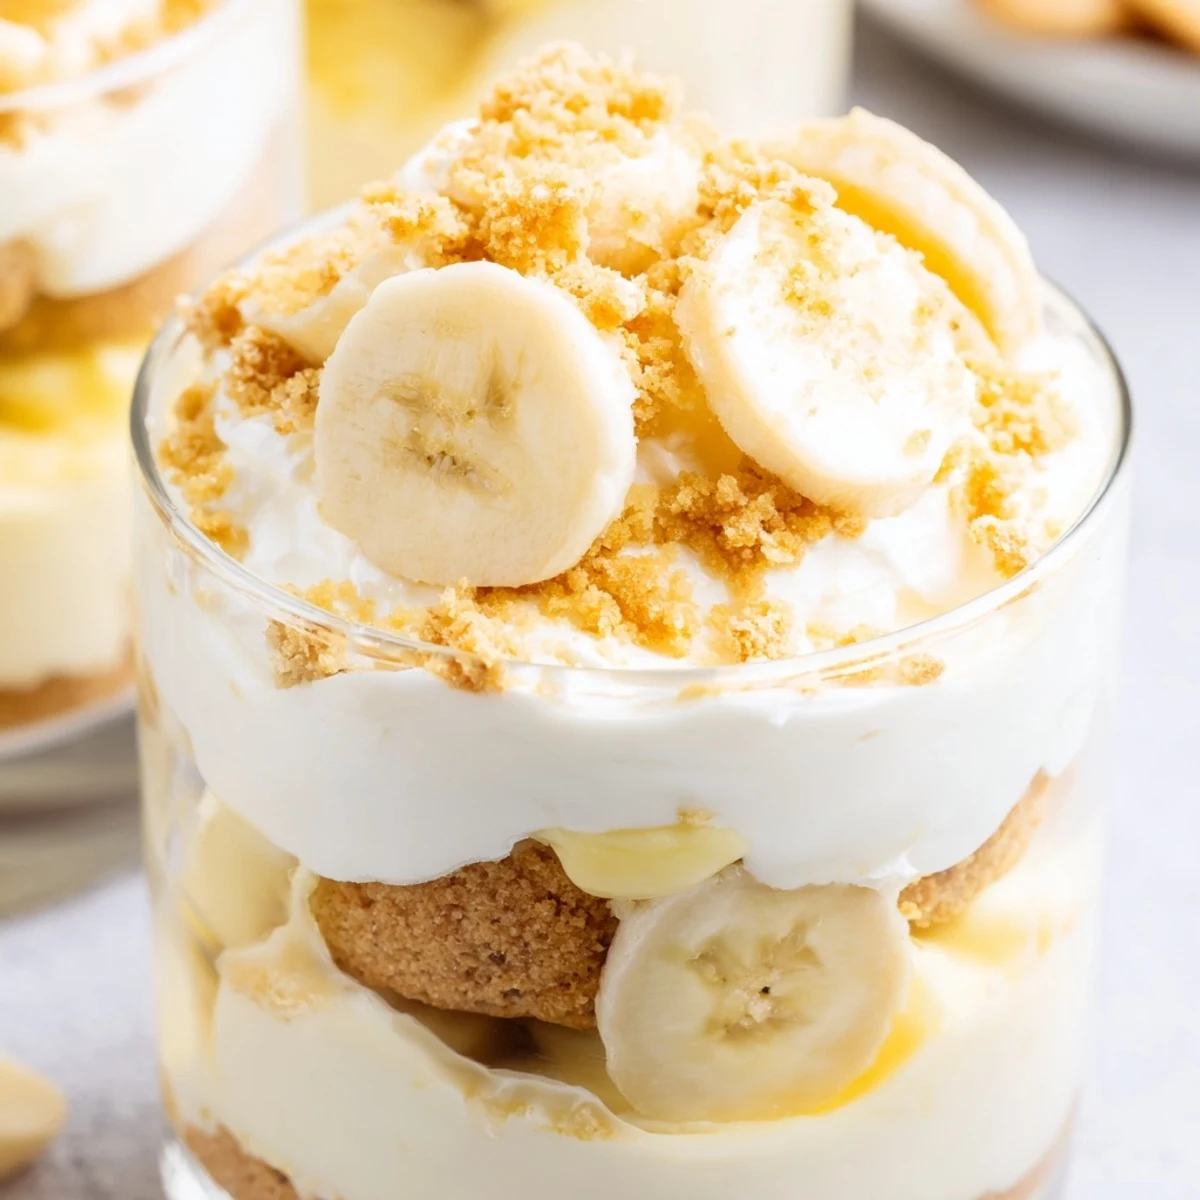
- Spoon half the cheesecake filling over each crust, followed by a layer of fresh banana slices. Divide the banana pudding among the cups, then top with the remaining cheesecake mixture, spreading it gently to create those beautiful distinct layers.
- Add the finishing touches:
- Sprinkle additional wafer crumbs over each cup along with more fresh banana slices. Add a dollop of whipped cream if you're feeling extra fancy, then refrigerate for at least 2 hours to let everything set properly.
 Save to Pinterest
 These have become my go-to when I need to bring dessert somewhere because they travel so well and always elicit the most enthusiastic responses. Something about individual servings makes people feel extra special, like they're getting their own little present.
Make-Ahead Magic
You can assemble these cups up to 24 hours in advance, but hold off on the fresh banana topping until right before serving. I learned this the hard way when I brought them to a potluck and the banana slices turned an unappetizing brown during the drive. Now I pack a small container of fresh slices and add them as a finishing touch just before everyone digs in.
Serving Suggestions
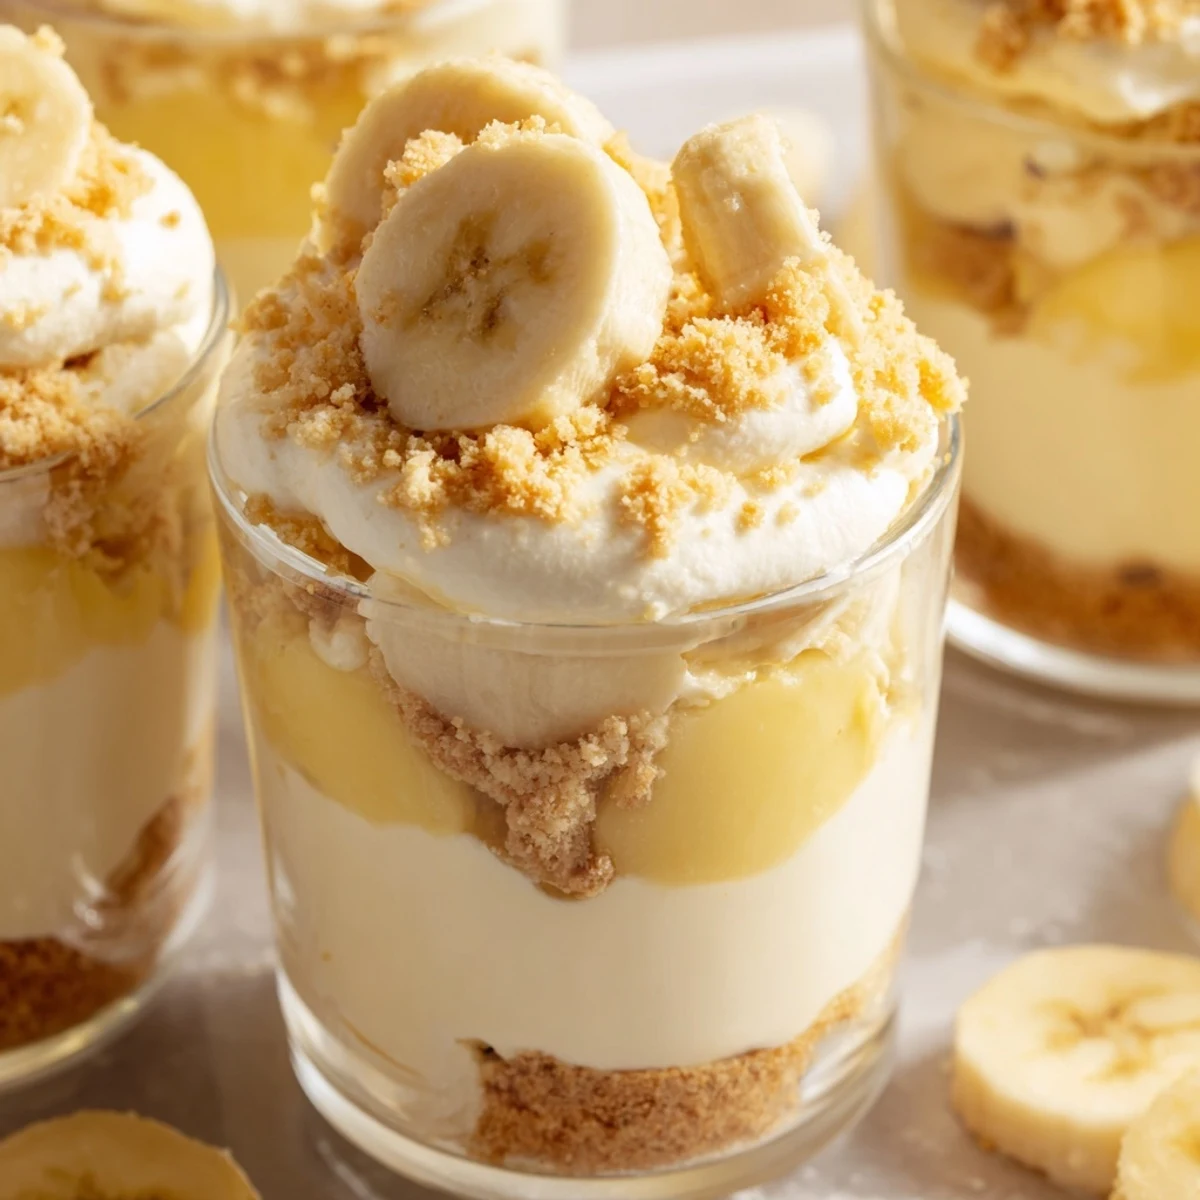
Clear glass cups or jars show off those beautiful layers and make these feel extra fancy. I've found that 8-ounce mason jars work perfectly—they give you enough room for all the layers without being overwhelmingly large. Plus, you can put lids on them for easy transport to parties or picnics.
Flavor Variations
Sometimes I'll add a teaspoon of cinnamon to the crust mixture for warmth that pairs surprisingly well with banana. A splash of dark rum in the cheesecake layer makes these feel more adult and sophisticated. You could also swap the vanilla wafers for graham crackers or even Biscoff cookies for a completely different flavor profile.
- Try crushing some butterfinger candy bars on top instead of wafer crumbs for extra crunch
- A drizzle of caramel sauce over the final layer takes these to restaurant-quality status
- Toasted coconut adds lovely texture and tropical flavor that plays nicely with the banana
 Save to Pinterest
 There's something deeply satisfying about making a dessert that looks impressive but requires zero actual cooking. These cups have saved me more times than I can count when I needed to bring something wonderful but had zero energy to turn on the oven.
Recipe FAQs
- → Can I make these cups ahead of time?
-
Yes, these cups are perfect for making ahead. You can prepare them up to 24 hours in advance and store them covered in the refrigerator. For best results, add fresh banana slices and whipped topping just before serving to prevent the bananas from browning.
- → How do I prevent bananas from turning brown?
-
To keep banana slices fresh and prevent browning, toss them lightly in lemon juice before layering. Alternatively, add the banana topping immediately before serving. The lemon juice won't affect the taste but will help maintain the bright yellow color.
- → Can I use homemade pudding instead of instant mix?
-
Absolutely! Homemade vanilla or banana pudding made from scratch works beautifully. Just ensure it's completely cooled before layering. Homemade pudding may need additional chilling time to set properly in the cups.
- → What type of cups work best for serving?
-
Clear glass cups, mason jars, or dessert goblets work wonderfully as they showcase the beautiful layers. You'll need six vessels that hold approximately 8-10 ounces each. The transparency adds to the visual appeal of this layered dessert.
- → Can I make this dessert gluten-free?
-
Yes, simply substitute gluten-free vanilla wafers or crushed gluten-free graham crackers for the crust. Ensure your instant pudding mix is certified gluten-free as well. The rest of the ingredients are naturally gluten-free.
- → How long will these cups stay fresh?
-
These cups are best enjoyed within 24-48 hours. The texture remains optimal when stored properly covered in the refrigerator. After 48 hours, the wafer crust may begin to soften and the bananas may start to brown, though they'll still be safe to eat.
