
 Save to Pinterest
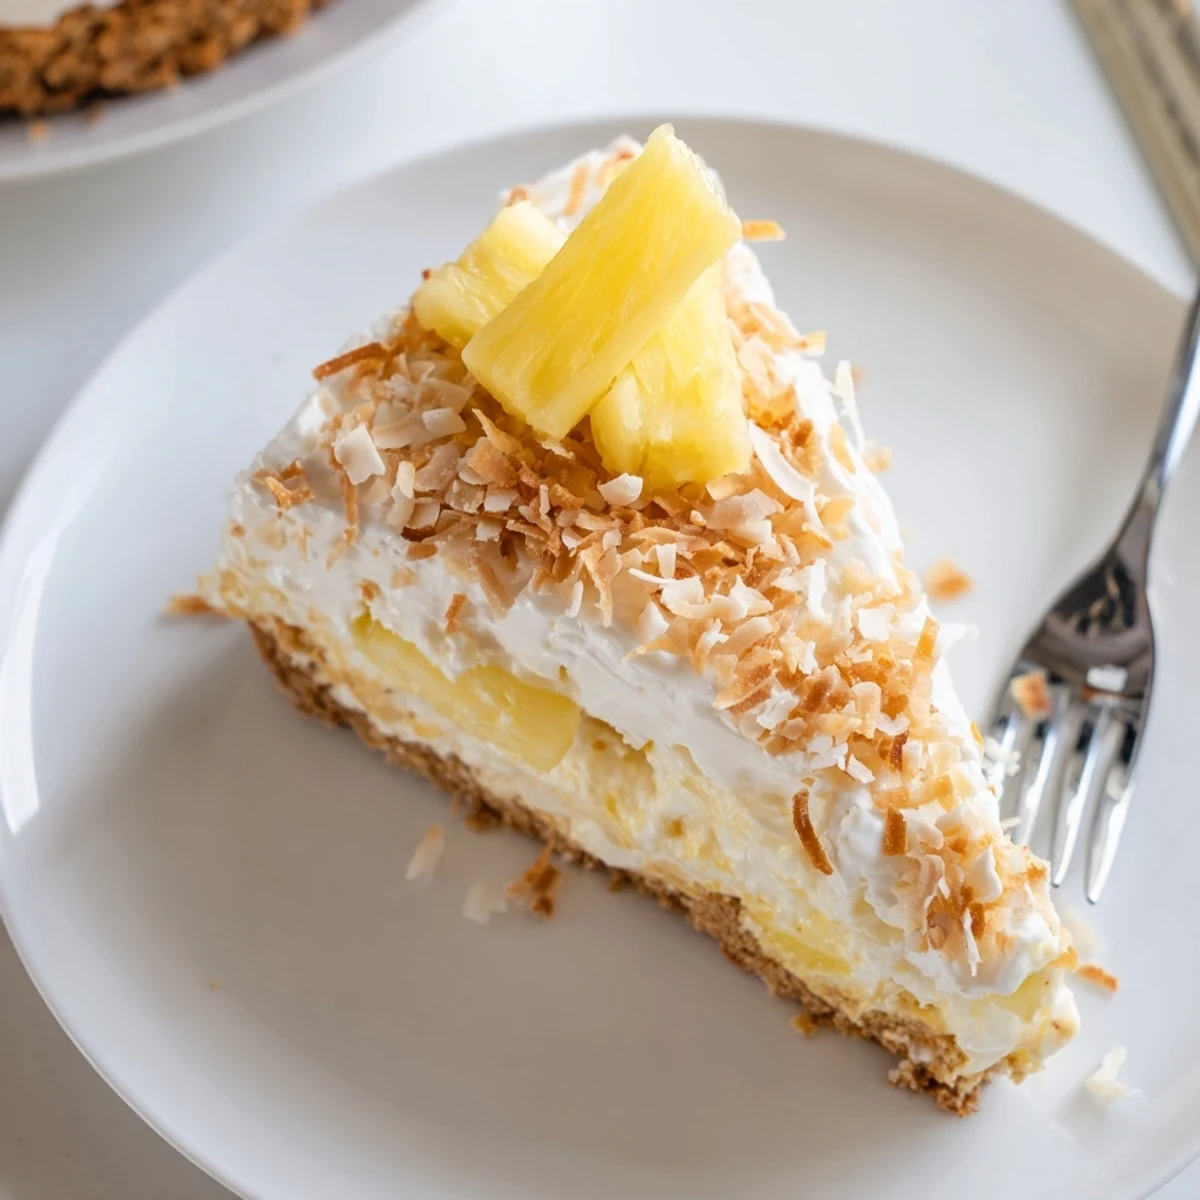
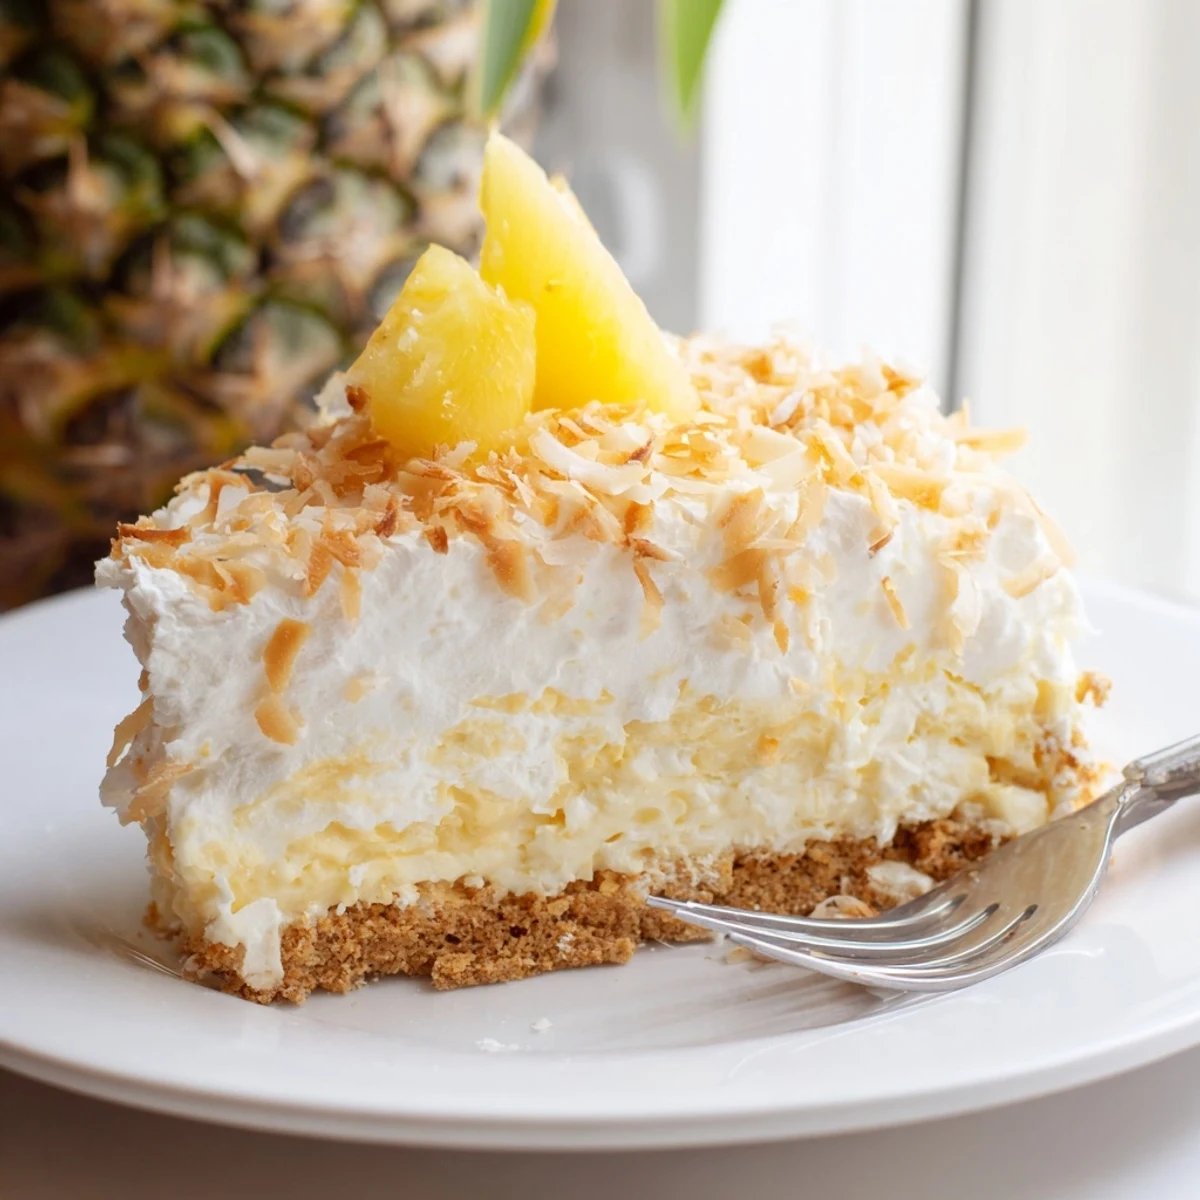
 This no-bake pineapple coconut cream cake is a refreshing tropical dessert that comes together in just 25 minutes of prep time. A buttery graham cracker crust serves as the base for a luscious filling made with cream cheese, whipped heavy cream, crushed pineapple, and shredded coconut.
After chilling for at least 4 hours, the cake sets into a creamy, sliceable dessert topped with toasted coconut and optional pineapple garnish. It's an easy, oven-free option perfect for summer gatherings, potlucks, or any occasion calling for a cool, fruity treat.
The air conditioner broke the week of my sisters baby shower, and the thought of turning on the oven made me want to cry into a paper fan. That panic led me down a rabbit hole of no bake desserts, and this pineapple coconut cream cake was the happy accident that saved the day. Something about pressing that buttery graham crust into the pan while the ceiling fan whirred on high felt almost meditative. Its been my go to summer dessert ever since.
My best friend Megan took one forkful at the shower, set her plate down, and said absolutely nothing for about ten seconds. Then she whispered that it tasted like a vacation and asked if she could take the rest home. I pretended to think about it before handing her the whole pan.
Ingredients
- Graham cracker crumbs: Two cups give you a sturdy base, and toasting them briefly in a dry pan adds a nutty depth most people skip.
- Unsalted butter, melted: Half a cup binds everything together, and using unsalted lets you control the sweetness of the crust.
- Granulated sugar: Just two tablespoons in the crust balance the butter and give the edges a slight caramel note.
- Crushed pineapple, well drained: One twenty ounce can is perfect, and I cannot stress enough how important it is to press every bit of liquid out through a fine mesh strainer.
- Sweetened shredded coconut: One cup folded into the filling gives you chewy little pockets of tropical flavor throughout every slice.
- Cream cheese, softened: Let it sit out for at least an hour because cold cream cheese will leave you with lumpy filling and a frustrated expression.
- Powdered sugar: One cup sweetens the cream layer without any graininess that granulated sugar would leave behind.
- Vanilla extract: A teaspoon might seem small but it bridges the gap between the pineapple and coconut beautifully.
- Heavy whipping cream, cold: Two cups whipped to stiff peaks is what makes this feel airy and luxurious instead of dense and heavy.
- Toasted coconut for topping: Half a cup of coconut toasted in a dry skillet until golden turns a simple dessert into something bakery worthy.
Instructions
- Build the crust foundation:
- Toss the graham crumbs, melted butter, and sugar together until the mixture feels like damp sand that holds its shape when you squeeze it. Press it firmly and evenly into your springform pan, really getting into the corners, then tuck it into the fridge to firm up while you work on the filling.
- Whip up the cream cheese base:
- Beat the softened cream cheese, powdered sugar, and vanilla together until completely smooth and there is not a single lump in sight. Scrape the bowl once or twice because cream cheese loves to hide in clumps along the bottom edge.
- Fold in the cloud like cream:
- In a separate chilled bowl, whip the cold heavy cream until it holds stiff peaks that stand tall when you lift the beaters. Gently fold this into the cream cheese mixture with a spatula, using slow sweeping motions so you keep as much air in the batter as possible.
- Add the tropical mix ins:
- Fold in your meticulously drained crushed pineapple and the shredded coconut until they are evenly distributed throughout the fluffy cream. Take care not to overmix here or you will deflate all that lovely volume you just built.
- Assemble and chill:
- Spoon the filling over the chilled crust and use your spatula to smooth the top into an even layer. Cover it gently with plastic wrap and refrigerate for at least four hours, though overnight is even better if you can wait that long.
- Finish with a golden crown:
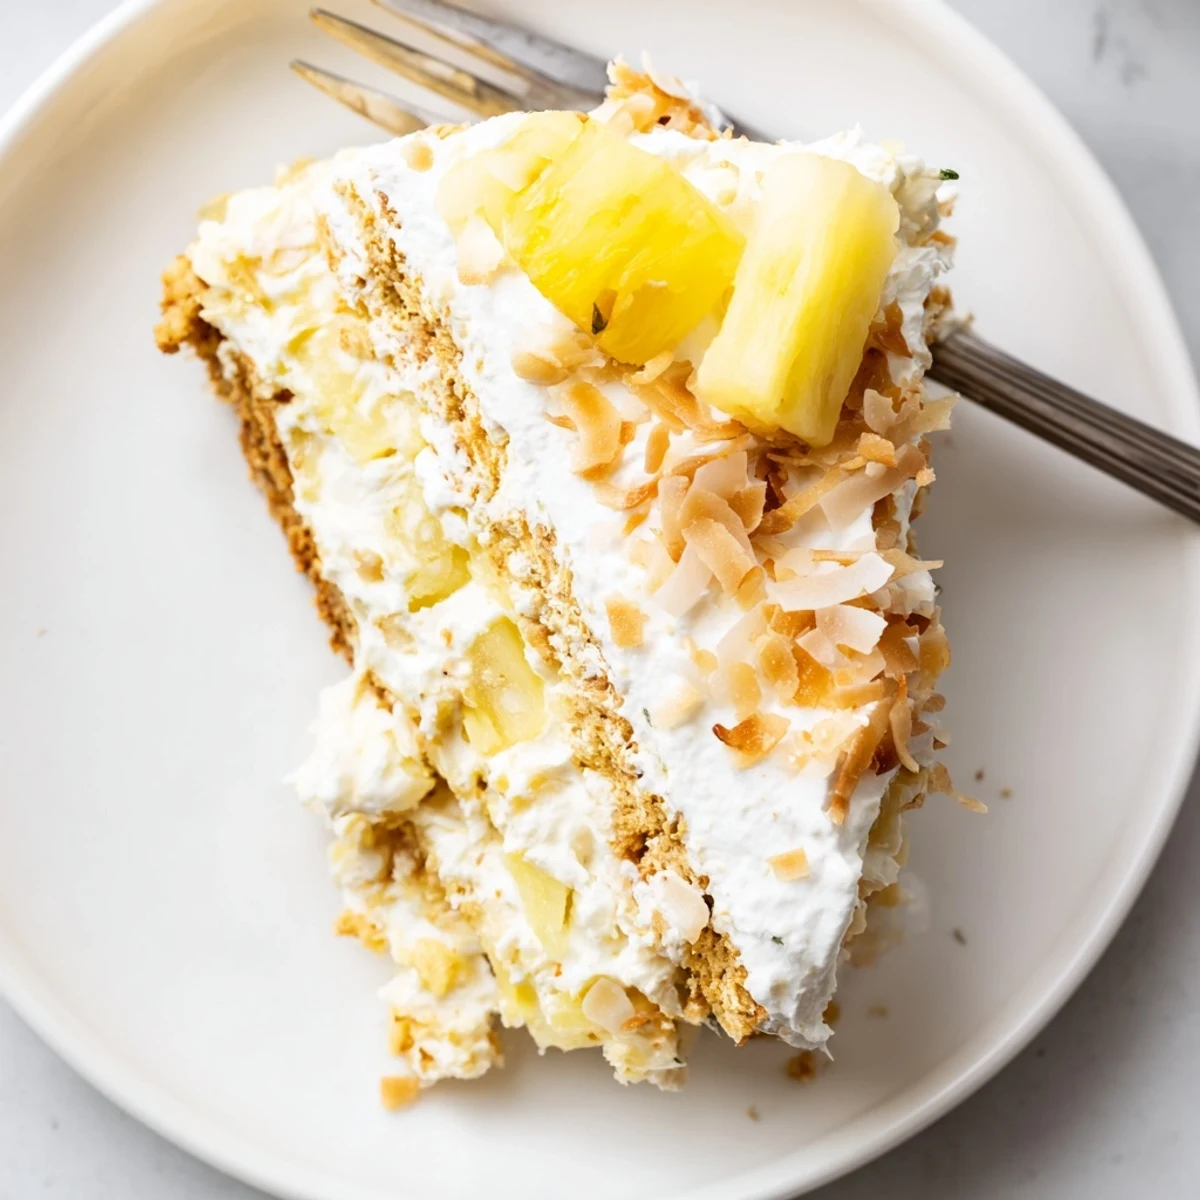
- Just before serving, scatter the toasted coconut across the top and arrange pineapple chunks or slices if you want that extra visual punch. Release the springform ring carefully, slice with a warm knife for clean edges, and serve it proudly chilled.
 Save to Pinterest
 The moment I knew this cake was a keeper was when my dad, who basically only eats chocolate desserts, went back for a second slice without saying a word. He just pointed at the pan and nodded in my direction. That nod was louder than any compliment.
Storing Leftovers the Right Way
Keep any leftover cake covered tightly in the refrigerator and it will hold beautifully for up to three days. The crust may soften slightly by day two but honestly that just makes it taste even more like a tropical bread pudding situation.
Making It Gluten Free
Swap the graham crackers for your favorite gluten free cookie crumbs and you are completely in the clear. I have used both gluten free gingersnaps and vanilla cookies with great results, and the slight spice from gingersnaps actually pairs wonderfully with the coconut.
Tools That Make This Easier
A springform pan is your best friend here because releasing the ring gives you that clean bakery style reveal without any awkward flipping or hoping the slice survives the transfer.
- An electric mixer will save your arm from the fifteen minutes of whipping this recipe demands.
- A fine mesh strainer is the secret weapon for squeezing every last drop of liquid out of that pineapple.
- Always dip your knife in hot water and wipe it dry between slices for those perfectly clean edges.
 Save to Pinterest
 This is the kind of recipe that makes you look like you tried much harder than you actually did, and there is absolutely nothing wrong with that. Bring it to your next gathering and watch it disappear before everything else on the table.
Recipe FAQs
- → Can I make this cake ahead of time?
-
Yes, this cake actually benefits from being made ahead. You can prepare it up to 24 hours in advance and keep it chilled in the refrigerator. The flavors meld and the texture firms up nicely overnight, making it even easier to slice and serve.
- → How do I get the best results when draining the crushed pineapple?
-
For the creamiest filling, drain the crushed pineapple thoroughly. Press it through a fine-mesh sieve with the back of a spoon, then let it sit for a few minutes and press again. Excess liquid can make the filling runny and prevent proper setting.
- → Can I use frozen pineapple instead of canned?
-
Frozen pineapple can work, but you'll need to thaw and drain it very well first. Chop it into small pieces to mimic the texture of crushed pineapple. Keep in mind that frozen pineapple may release more liquid, so extra draining is essential to maintain the cake's structure.
- → What's the best way to toast the coconut for the topping?
-
Spread shredded coconut in an even layer on a baking sheet and toast in a preheated oven at 350°F (175°C) for 3 to 5 minutes, stirring halfway through. Watch it closely as coconut can go from golden to burnt quickly. You can also toast it in a dry skillet over medium heat on the stovetop.
- → How should I store leftovers?
-
Cover the cake tightly with plastic wrap or store individual slices in an airtight container in the refrigerator. It will stay fresh for up to 3 days. The crust may soften slightly over time, but the flavor remains delicious. Do not freeze, as the cream filling can separate when thawed.
- → Can I make this dessert gluten-free?
-
Absolutely. Simply substitute the graham cracker crumbs with gluten-free cookie or cracker crumbs. Crushed gluten-free vanilla wafers or graham-style crackers work well as a 1-to-1 replacement for the crust. Verify all other packaged ingredients are certified gluten-free as well.