 Save to Pinterest
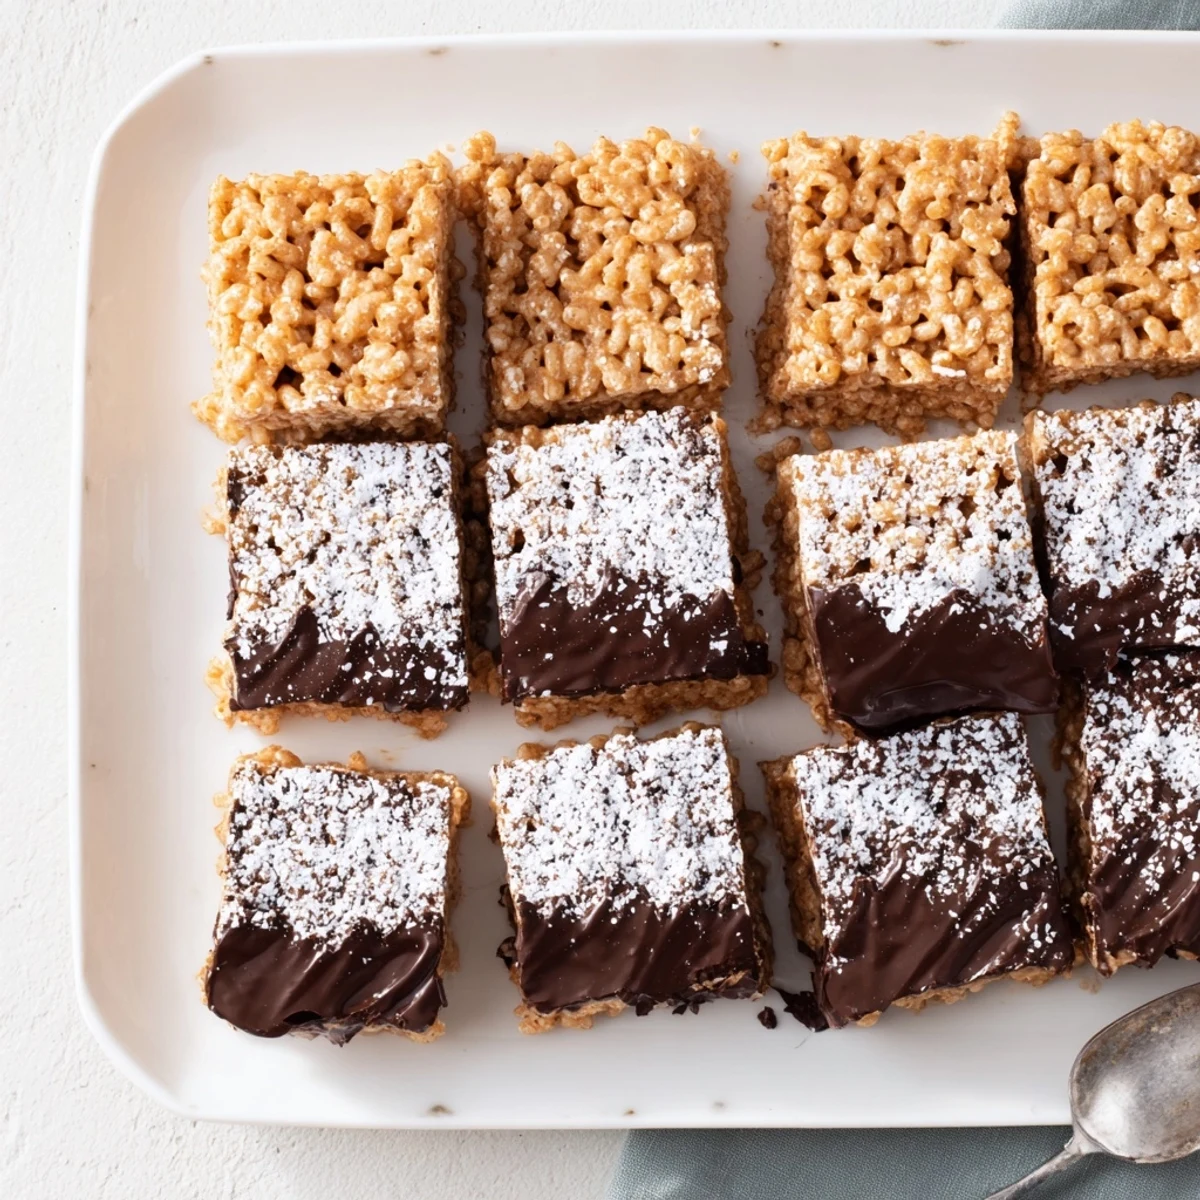
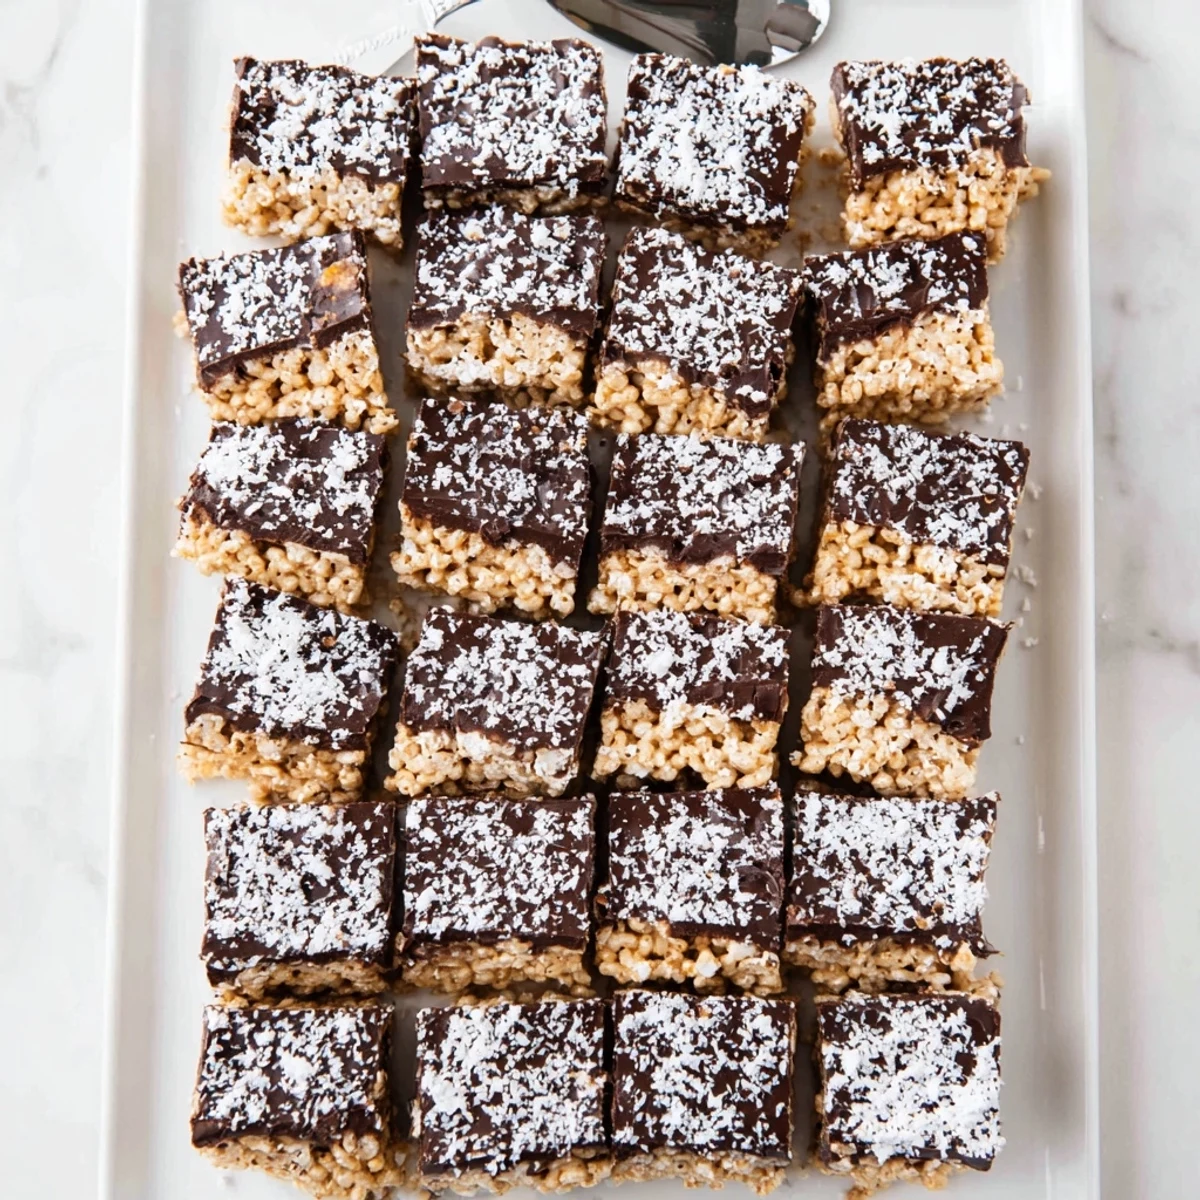
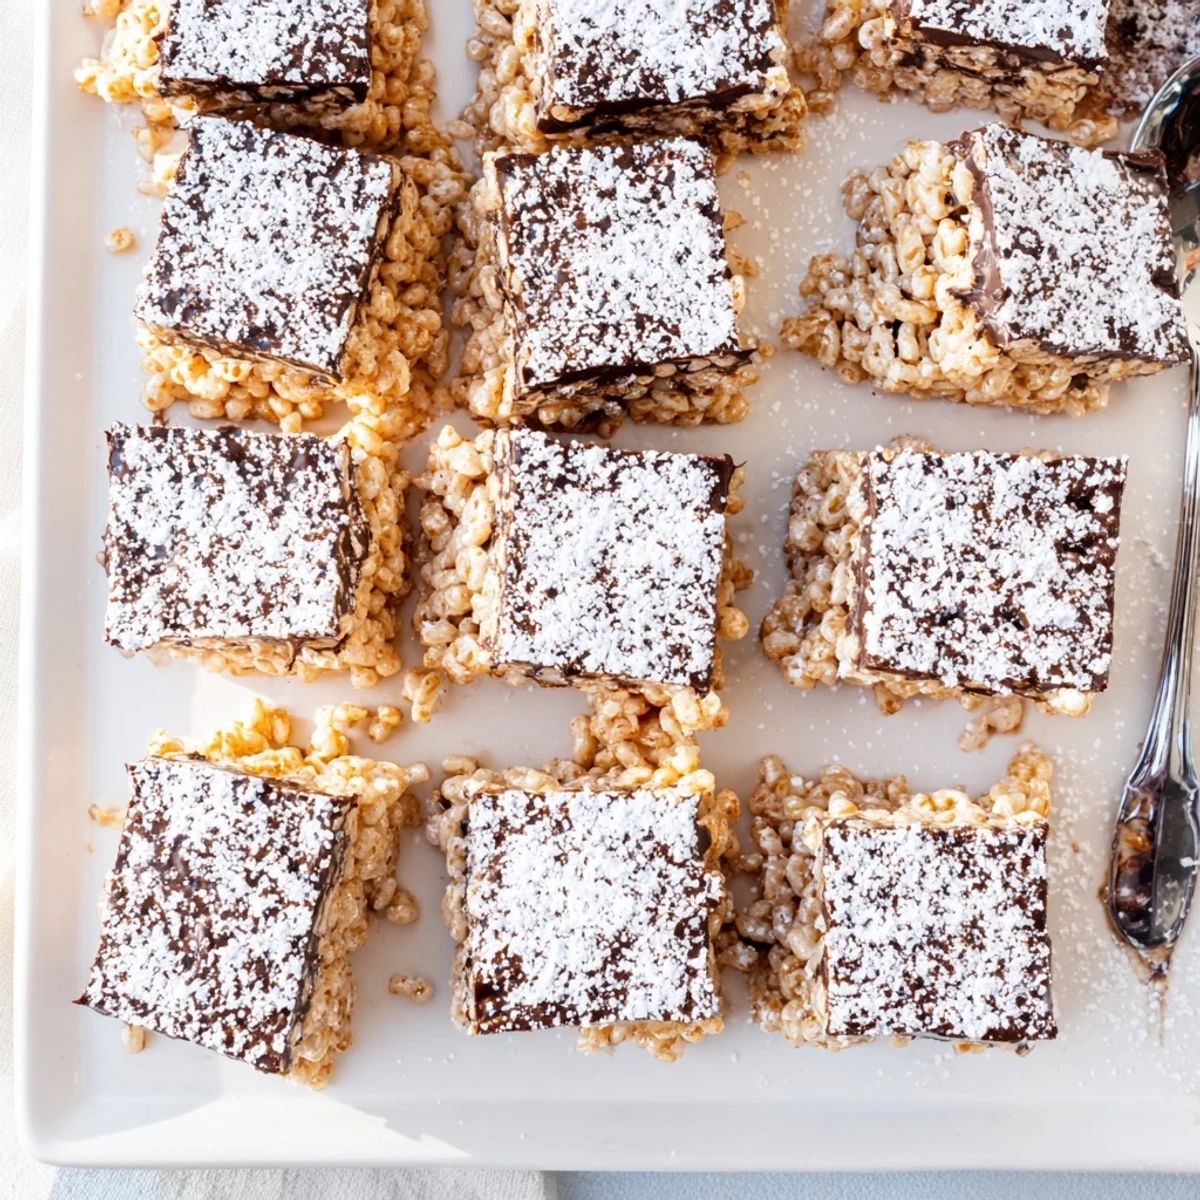
 These addictive squares transform classic Rice Krispies into something extraordinary. The cereal gets coated in a warm, glossy mixture of semisweet chocolate chips and creamy peanut butter, then finished with a generous dusting of powdered sugar that creates that signature muddy buddy texture.
The process is simple enough for beginner cooks—just melt, stir, coat, and toss. Each bite delivers perfect crunch from the cereal, creaminess from the chocolate-peanut butter coating, and sweet powdery finish. They're ideal for bake sales, potlucks, or whenever you need a crowd-pleasing treat that comes together in under 30 minutes.
The rainy Tuesday when I first threw these together was completely accidental. I had half a bag of chocolate chips, a nearly empty peanut butter jar, and a house full of teenagers who needed something sweet immediately. The combination of melted chocolate and peanut butter coating those crispy rice squares created something that disappeared in record time. Now they are my go-to when I need a treat that feels playful but tastes sophisticated.
Last summer my niece asked me to make treats for her graduation party. I showed up with three pans of these muddy buddy squares and watched them vanish before the pizza even arrived. Her grandfather kept sneaking back to the kitchen, claiming he was just checking on things, when really he could not stay away from that chocolate-peanut butter combination. Now every family gathering includes a request for these squares.
Ingredients
- 6 cups Rice Krispies cereal: This creates the perfect airy crunch that holds up beautifully when coated in the chocolate mixture. I have found that gently crushing about a cup of the cereal creates variation in texture.
- 1 cup semisweet chocolate chips: The semisweet variety balances the peanut butter without becoming cloyingly sweet. Ghirardelli chips melt particularly smoothly but any quality brand works well.
- 1/2 cup creamy peanut butter: Use a commercial brand like Skippy or Jif for the smoothest melting experience. Natural peanut butter can separate and create a grainy texture in the final coating.
- 1/4 cup unsalted butter: This creates that luxurious mouthfeel and helps the chocolate coating set perfectly firm at room temperature.
- 1 teaspoon pure vanilla extract: Do not skip this, it amplifies the chocolate flavor and adds that bakery-quality taste.
- 1 1/2 cups powdered sugar: This creates that signature snowy finish while balancing the rich chocolate. Sift it first to avoid any lumpy spots on your finished squares.
Instructions
- Prepare your workspace:
- Line a 9x13-inch baking pan with parchment paper, leaving an overhang on the sides. This makes lifting the whole batch out later incredibly simple.
- Get the cereal ready:
- Pour the Rice Krispies into a large mixing bowl and set aside. Use the biggest bowl you own because you need room to fold everything together without crushing the cereal.
- Melt the chocolate mixture:
- Combine chocolate chips, peanut butter, and butter in a microwave-safe bowl. Heat in 30-second intervals, stirring thoroughly between each, until completely smooth and glossy. This usually takes about 90 seconds total but watch closely to prevent scorching.
- Add the vanilla:
- Stir in the vanilla extract until fully incorporated. The mixture should smell absolutely heavenly at this point.
- Combine everything:
- Pour the warm chocolate mixture over the cereal. Use a spatula to gently fold and coat all the cereal pieces without crushing them. Work quickly but gently.
- Press into the pan:
- Transfer the coated cereal to your prepared pan. Use the back of a greased spatula to press it into an even layer without compressing it too tightly.
- Prepare for coating:
- Place the powdered sugar in a large zip-top bag. Cut the cereal mixture into 16 squares while still in the pan.
- Add the snowy finish:
- Lift a few squares at a time and gently tumble them in the powdered sugar bag until coated on all sides. Place finished squares on a wire rack to set for 10 minutes before serving.
 Save to Pinterest
 My neighbor smelled these cooling through our open kitchen window and showed up with an empty Tupperware container. She claimed she was just returning one I had lent her weeks ago, but we both knew she had been drawn in by that chocolate and peanut butter aroma wafting down the street. I sent her home with half the pan and a printed recipe, and now we have standing weekend treat swaps.
Making These Your Own
The beauty of this recipe lies in its adaptability. Sometimes I toss in a handful of mini marshmallows before pressing the mixture into the pan for little pockets of sweetness. Other times I add crushed pretzels for a salty-sweet crunch that people cannot stop talking about. The base recipe is forgiving enough that experimentation almost always yields delicious results.
Storage Secrets
These squares maintain their texture beautifully when stored properly. I layer them between sheets of wax paper in an airtight container, which prevents them from sticking together while keeping that signature crunch. Room temperature storage works perfectly for up to four days, though I have never had them last longer than two in my house. The powdered sugar coating does become slightly absorbed over time, but that just intensifies the fudgy texture.
Serving Suggestions
These muddy buddy squares shine at everything from casual movie nights to somewhat fancy dessert platters. I have served them alongside fresh berries to cut through the richness, and the combination is unexpectedly elegant. They also crumble beautifully over vanilla ice cream for an instant sundae topping that looks impressive with zero effort.
- Cut them smaller for bite-sized party treats that guests can grab easily
- Stack them on a cake stand for an impressive but effortless presentation
- Package them in clear bags tied with ribbon for edible gifts that always delight
 Save to Pinterest
 There is something deeply satisfying about making a treat that brings such instant joy to people. These squares never fail to create smiles, and that is really what baking is all about.
Recipe FAQs
- → Can I make these ahead of time?
-
Yes, these squares store beautifully in an airtight container at room temperature for up to 4 days. The cereal stays crunchy and the coating remains fresh. For longer storage, you can freeze them for up to 2 months, though the texture may soften slightly after thawing.
- → What's the best way to coat the cereal evenly?
-
Work in gentle folding motions rather than stirring vigorously to avoid crushing the cereal. Use a large bowl to give yourself plenty of space, and pour the chocolate mixture slowly while constantly turning the cereal. A rubber spatula works better than a metal spoon for this delicate process.
- → Can I use natural peanut butter?
-
Natural peanut butter will work, but the oil separation can make the coating thinner and slightly greasier. If using natural varieties, stir the oil back in thoroughly and consider reducing the butter by half. Creamy commercial peanut butter creates the most consistent coating texture.
- → How do I prevent the powdered sugar from making everything messy?
-
The zip-top bag method is actually the cleanest approach. Add your powdered sugar to the bag first, then drop in the cut squares. Seal and shake gently—the sugar clings perfectly while keeping everything contained. You can also sift the sugar over the squares placed on a wire rack over parchment paper for a lighter coating.
- → Can I make these gluten-free?
-
Absolutely. Simply substitute the Rice Krispies with a certified gluten-free crispy rice cereal. All other ingredients are naturally gluten-free, though always check your chocolate chips to ensure they're produced in a gluten-free facility if cross-contamination is a concern.
- → Why do my squares fall apart when cutting?
-
This usually happens if the mixture wasn't pressed firmly enough into the pan. Use the back of a measuring cup or greased hands to press the cereal mixture down firmly before the chocolate sets. Let it cool completely before cutting—warm pieces are more likely to crumble. A sharp knife wiped clean between cuts helps too.
