 Save to Pinterest
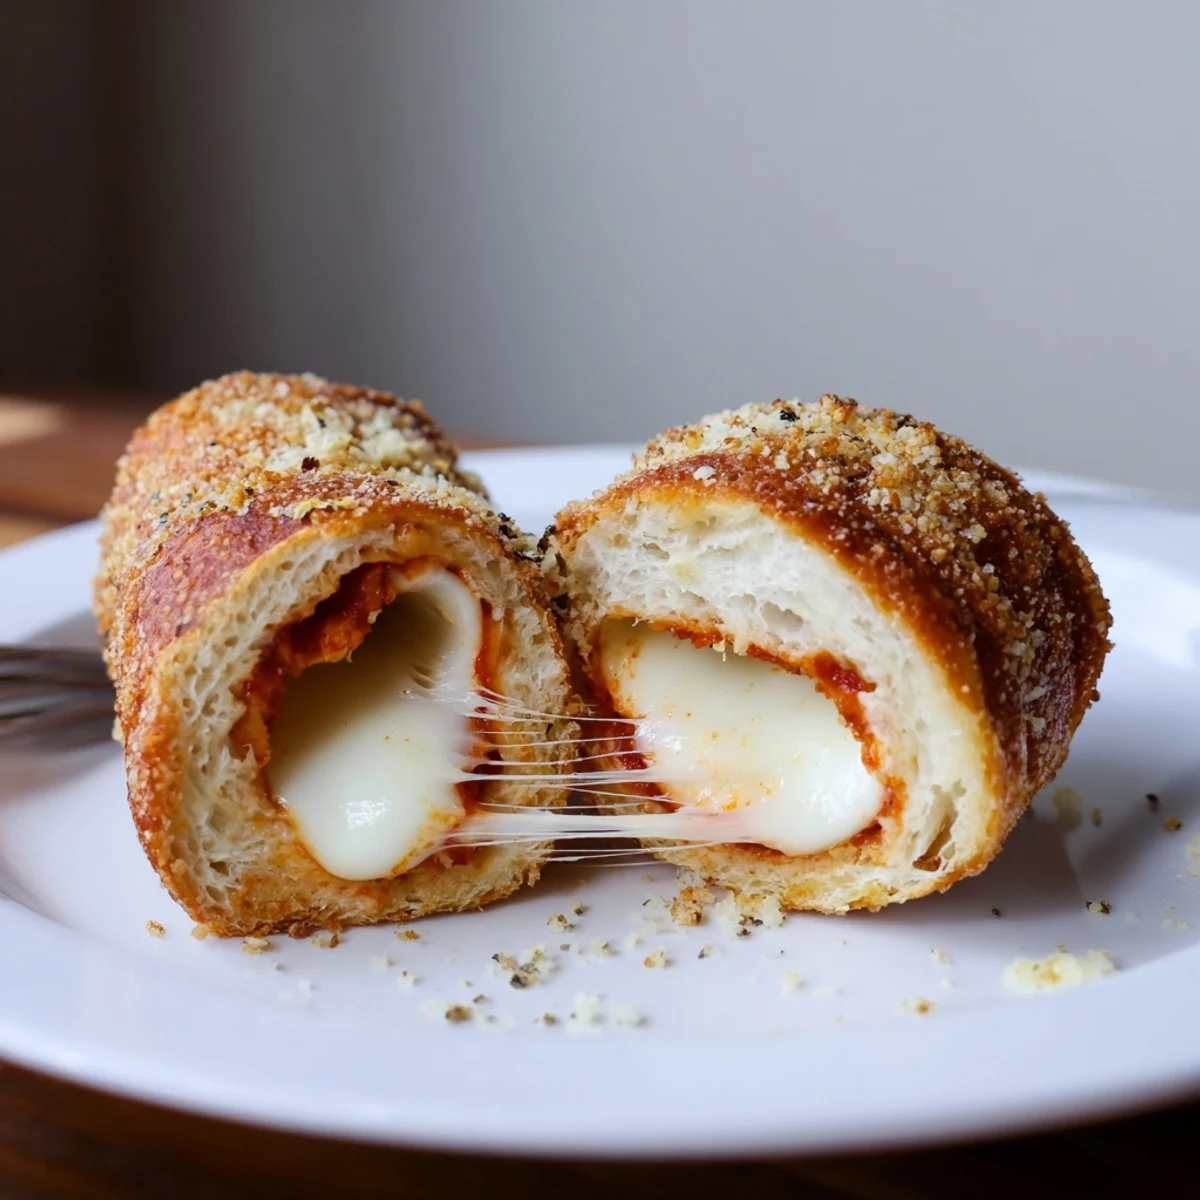
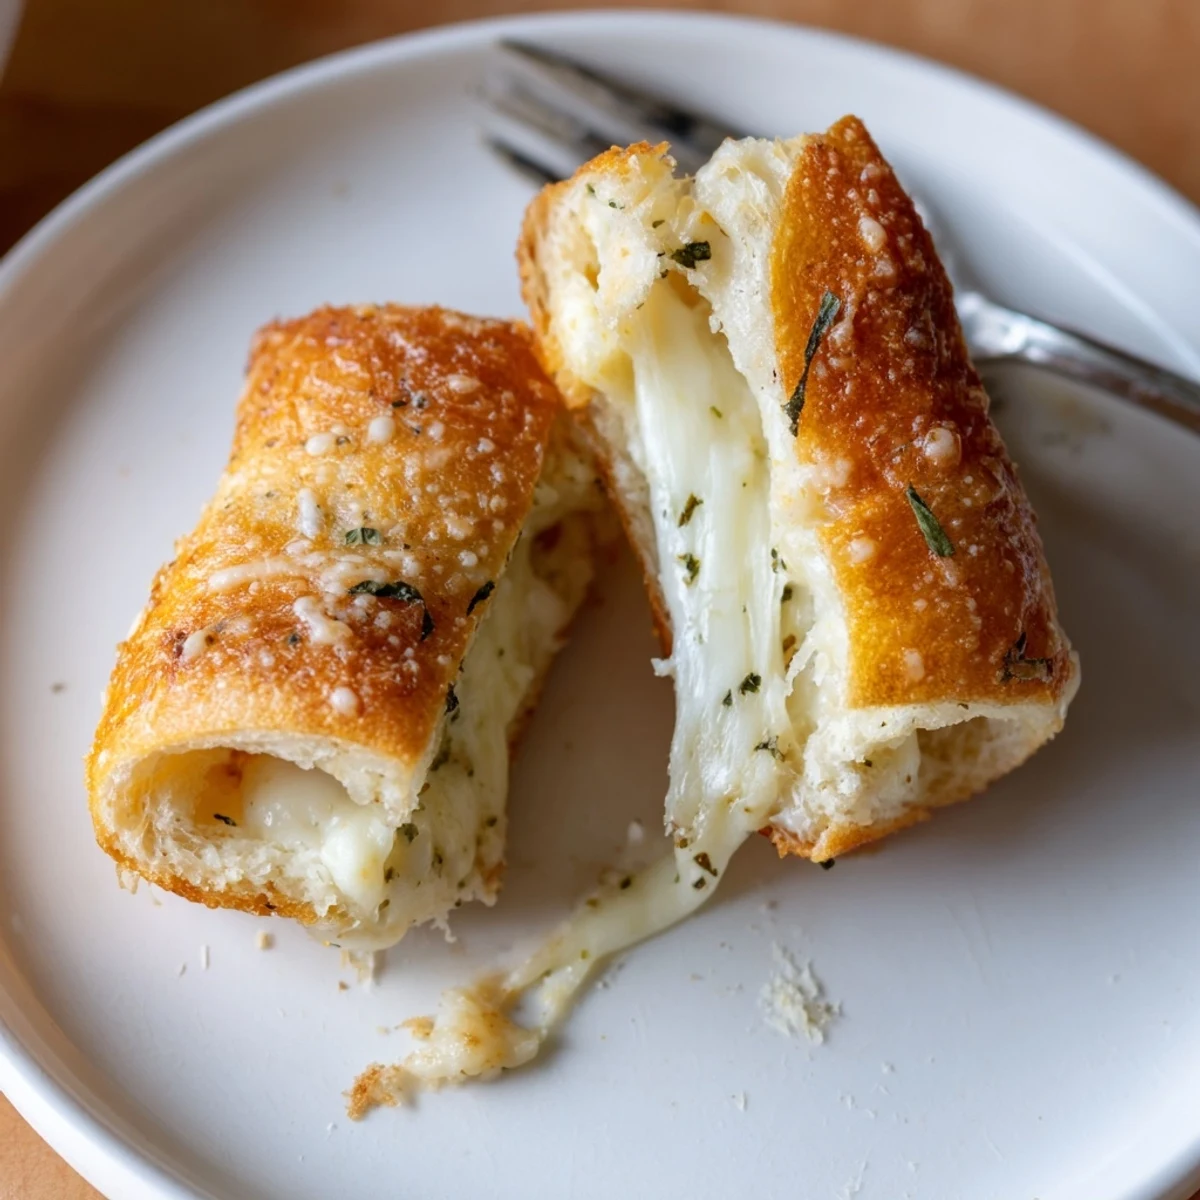
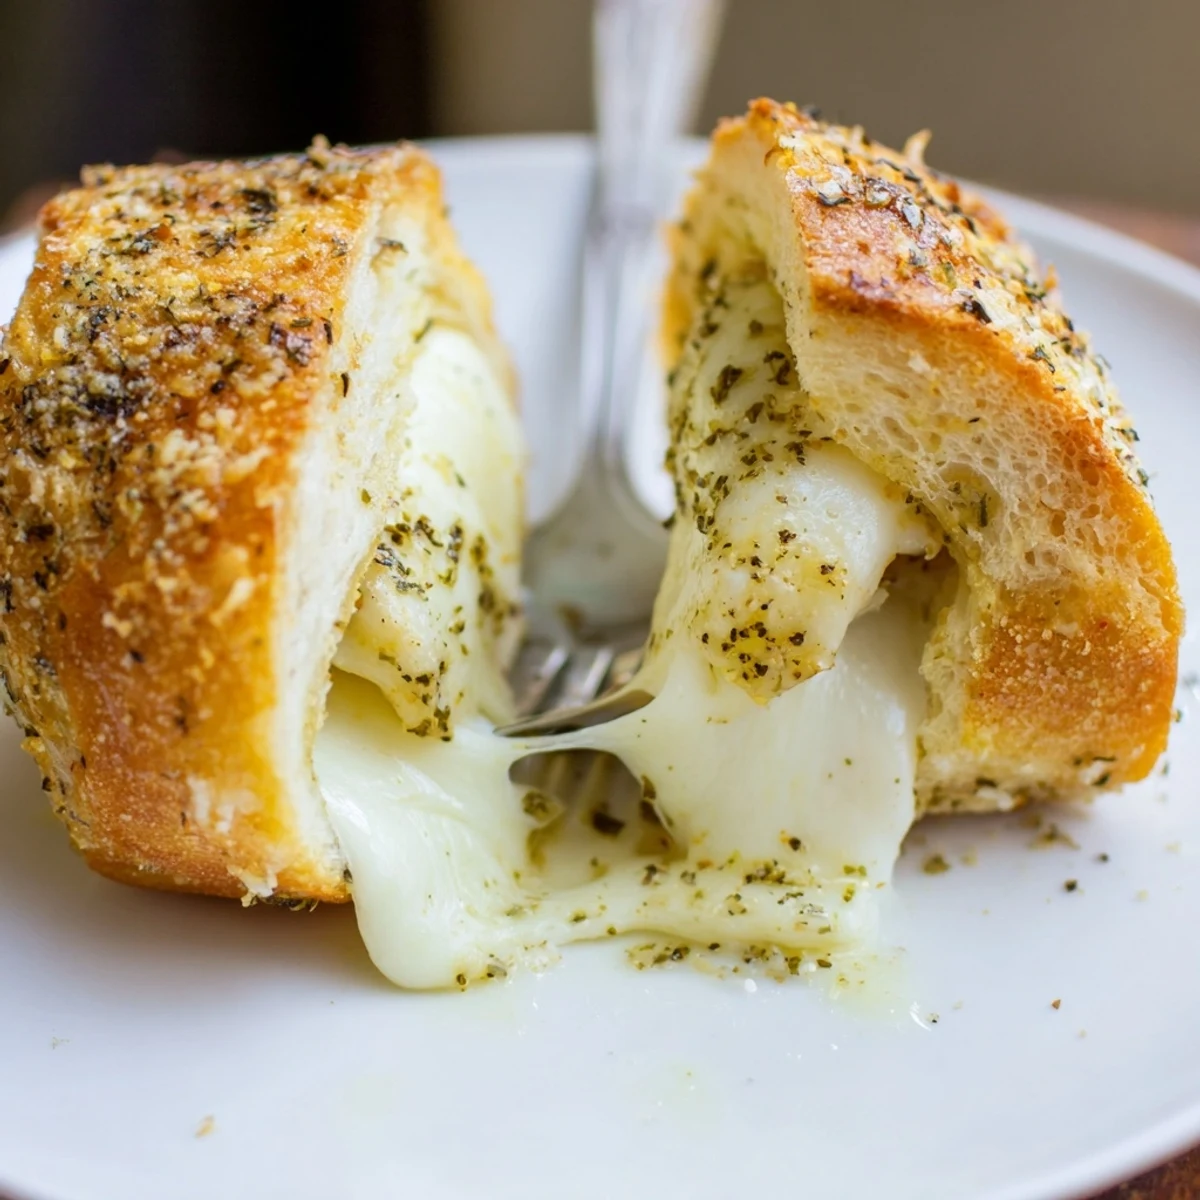
 These crispy cheesy roll ups transform sandwich bread and mozzarella sticks into golden, handheld bites in about 20 minutes. Flatten bread, wrap a cheese stick and seal with melted butter, brush with more butter, then sprinkle a mix of Parmesan, garlic powder and Italian herbs. Bake or pan-fry until deeply golden and crisp. Serve warm with marinara; for extra crunch, roll in panko before cooking. Variations: add thin deli ham or turkey.
The first time I made these crispy cheesy roll ups, the kitchen was filled with a buttery aroma that made everyone peek around the corner. There was no special occasion, just a weeknight with leftover bread staring at me and a craving for something crunchy. I underestimated how fun it would be to flatten bread slices with a rolling pin—it became a bit of a game. By the time the cheese started oozing out in the oven, I knew these would be more than a once-in-a-while treat.
I remember making a double batch for game night with friends who always arrived starving. There was a noisy debate over marinara versus ranch for dipping, but absolutely no complaints once they tried the golden, melty centers. I hadn’t planned on them being the star of the table, but even the pickiest eater kept reaching for more. That night someone called them 'cheese hugs'—and the name stuck.
Ingredients
- White sandwich bread: The softest sandwich bread rolls easily and toasts up golden; stale bread won’t flatten smoothly.
- Mozzarella (or cheddar) cheese sticks: Pre-cut sticks save time, but freshly cut hunks of cheese melt best and add a little drama when you pull them apart.
- Melted butter: Don’t skimp; brushing the bread with plenty of butter is what gives each roll its rich crunch.
- Grated Parmesan cheese: Adds a salty kick and browns beautifully on top; the more finely grated, the better it sticks.
- Garlic powder: Lends savory depth that blooms as the roll ups bake.
- Dried Italian herbs: Just a sprinkle makes the kitchen smell like an old-school pizzeria.
- Salt and pepper: Essential for balance; I always finish with a pinch of cracked pepper for extra zing.
Instructions
- Heat things up:
- Set your oven to 400°F (200°C) or preheat a nonstick skillet over medium if you prefer pan-frying; you’ll feel the anticipation building as the oven hums to life.
- Flatten the bread:
- Take your rolling pin and press each bread slice until it’s thin and flexible, about a quarter inch; there’s something oddly satisfying about how springy it gets.
- Roll the cheese:
- Line up a cheese stick along the edge and roll tightly, pressing the end sealed with a dab of melted butter—nothing worse than losing cheese to the pan.
- Butter them up:
- Brush each roll up generously with melted butter, making sure to cover every nook; this is what creates that brilliant golden crust.
- Season the tops:
- Mix Parmesan, garlic powder, and herbs, then shower over the roll ups for an herby, cheesy finish you can already smell in the air.
- Arrange and bake:
- Lay the rolls seam-side down on a parchment-lined tray, spacing them so each can crisp; if you’re pan-frying, turn them with tongs for even color.
- Finish & serve:
- Bake or fry 8–10 minutes until deeply golden, then serve warm with your favorite dip; listen for that first crunchy bite!
 Save to Pinterest
 One late afternoon, my niece helped me make a batch for her school lunchbox. She insisted on extra Parmesan and insisted even more on tasting every flavor combination of dip. When we packed them up the next morning, she grinned and said it smelled better than the cafeteria pizza. Sometimes, it’s the simplest kitchen experiments you keep coming back to.
Unexpected Dipping Delights
I used to default to basic marinara, but mixing things up became half the fun. Honey mustard, spicy ketchup, or garlic aioli totally change the flavor vibe of the roll ups. Don’t be surprised if you catch someone dunking in three sauces at once—it’s part of the experience.
Make-Ahead Magic
Roll ups can be assembled the night before and kept covered in the fridge, ready for morning baking. It saves precious time on busy weekends when guests arrive early or kids bounce out of bed hungry. The bread stays soft overnight and crisps up just as well as fresh-made when baked straight from the fridge.
Little Variations, Big Results
Trying out different cheeses or sneaking in a slice of ham transforms these from simple snacks to mini sandwiches. I've even sprinkled panko over the top for extra crunch, per a friend's suggestion—and it’s now a regular upgrade. You can really make every batch a new discovery in flavors and textures.
- Cut larger roll ups in half for perfect party bites
- Switch up seasonings to match your dip of choice
- Let cool a few minutes before serving for best cheese stretch
 Save to Pinterest
 These crispy cheesy roll ups have a knack for brightening up a table or a lunchbox. Enjoy the delight of a crunchy bite and gooey cheese, wherever and whenever hunger strikes.
Recipe FAQs
- → How do I prevent the cheese from leaking out?
-
Flatten the bread thinly and roll tightly around the cheese stick, sealing the edge with a little melted butter. Avoid overfilling and press the seam down on the baking tray so it sets as it cooks.
- → Can I pan-fry instead of baking?
-
Yes. Heat a nonstick skillet over medium, place rolls seam-side down and turn frequently for even browning. Cook until all sides are golden and the cheese is melted, about 6–8 minutes total.
- → What cheeses work best for the filling?
-
Low-moisture mozzarella or string cheese are ideal for gooey pulls. Cheddar, provolone, or a firm melting blend also work; avoid very wet fresh cheeses that can make the bread soggy.
- → How can I make them extra crunchy?
-
Brush rolls with melted butter, then roll them in panko breadcrumbs before baking or frying. A quick chill before cooking firms the seam and helps maintain shape while crisping.
- → How should leftovers be stored and reheated?
-
Cool completely, then refrigerate in an airtight container for up to 48 hours. Reheat in a preheated oven or air fryer at 350°F (175°C) until crisp and warmed through to restore the crunch.
- → Can I add meat or vegetables inside?
-
Yes—thin slices of deli ham or turkey tuck in well. For vegetables, use very thin or pre-cooked strips (like sautéed bell pepper) to avoid excess moisture inside the roll.
