 Save to Pinterest
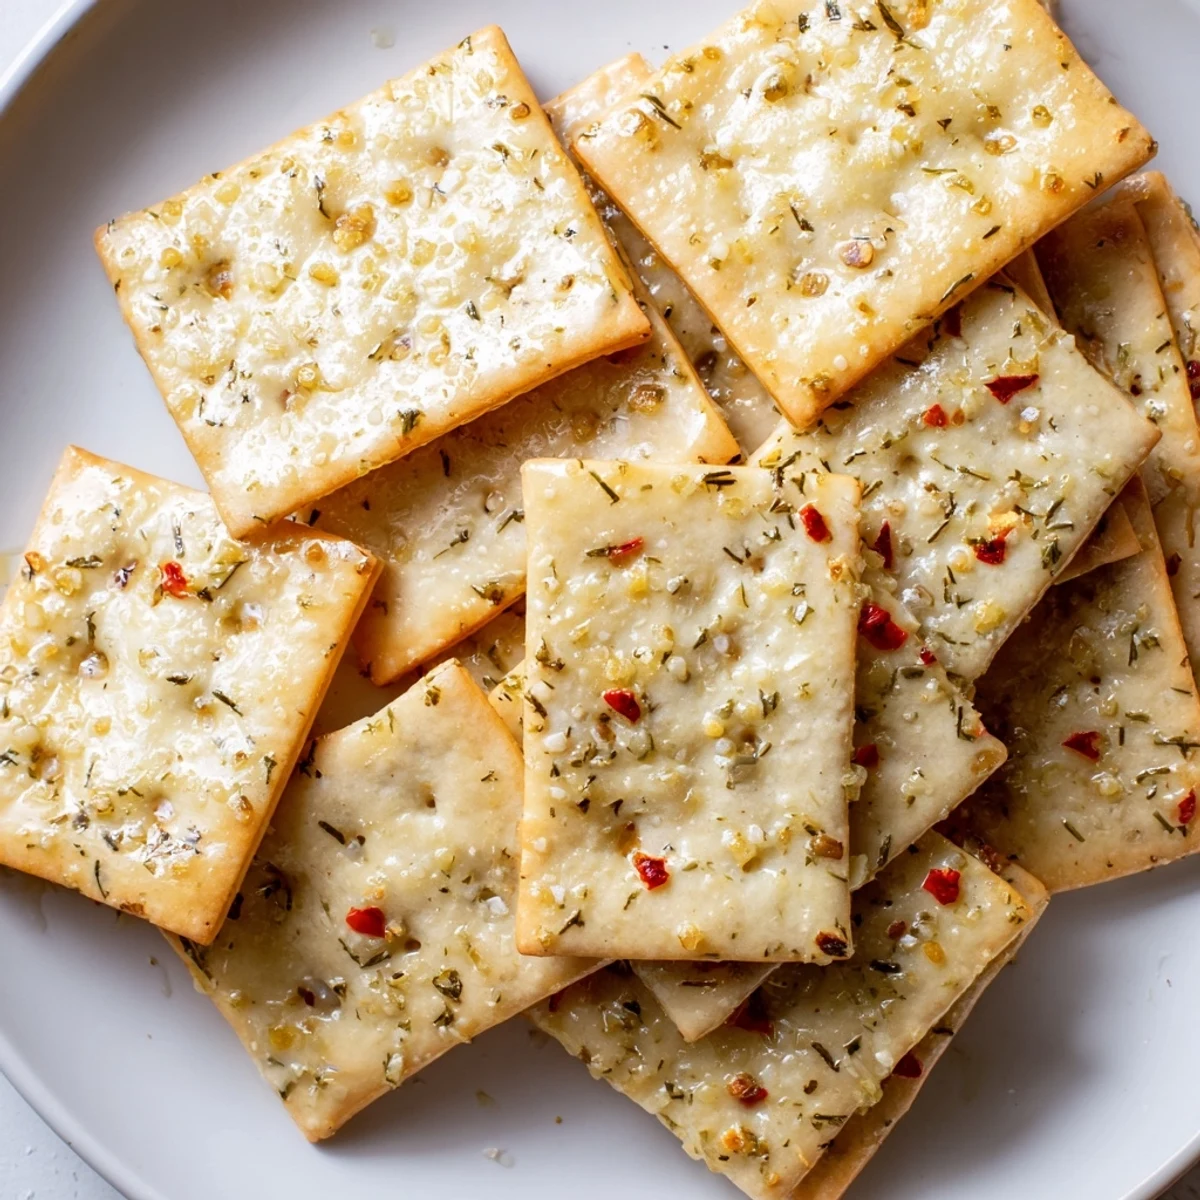
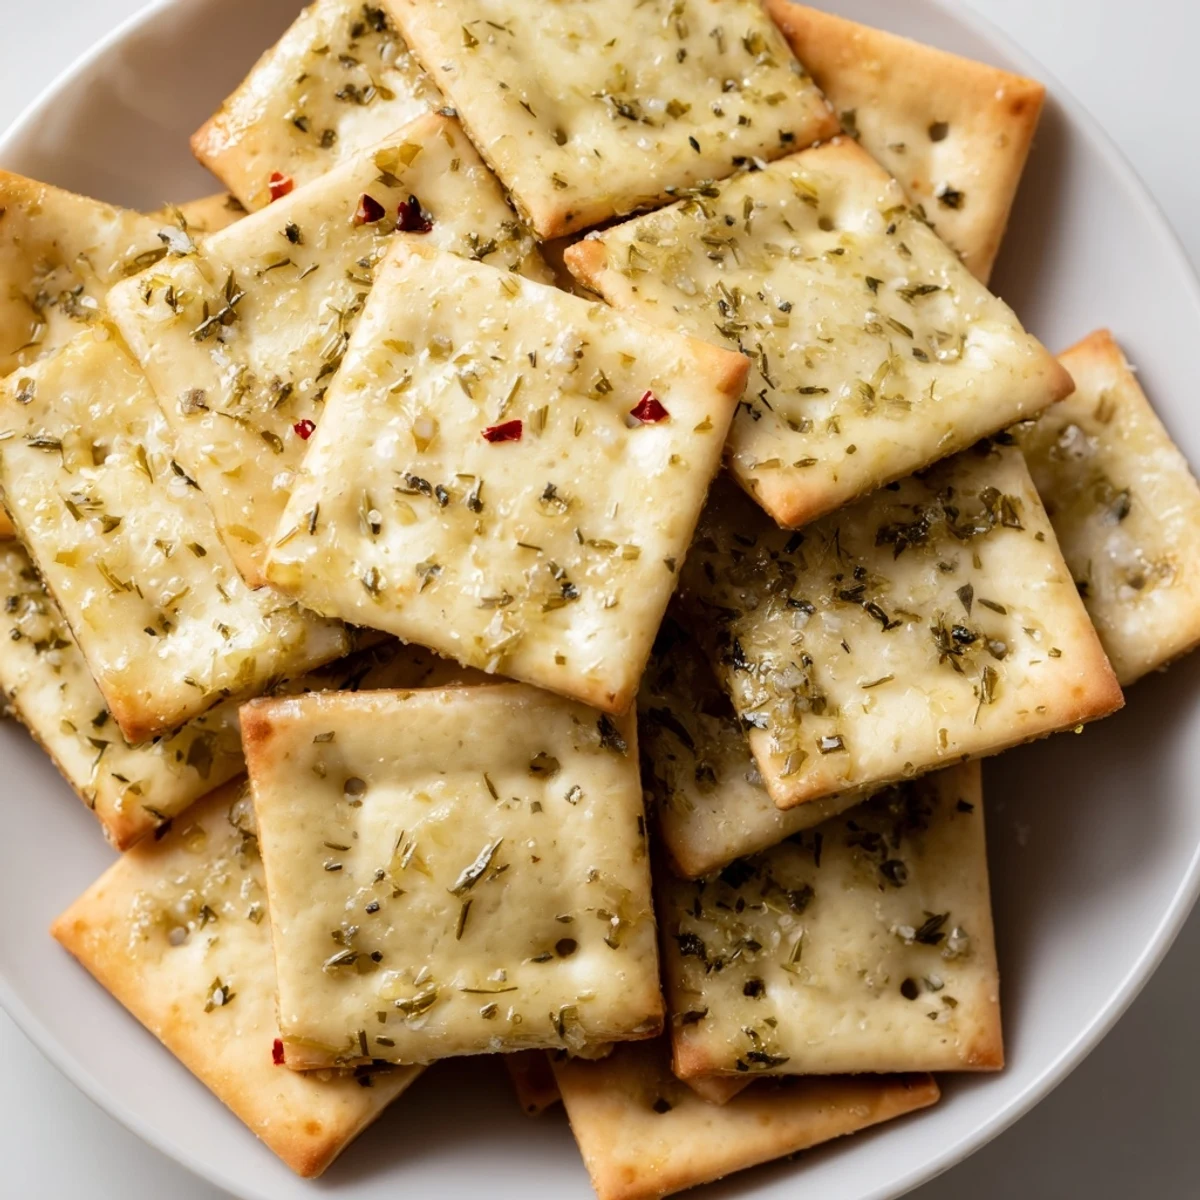
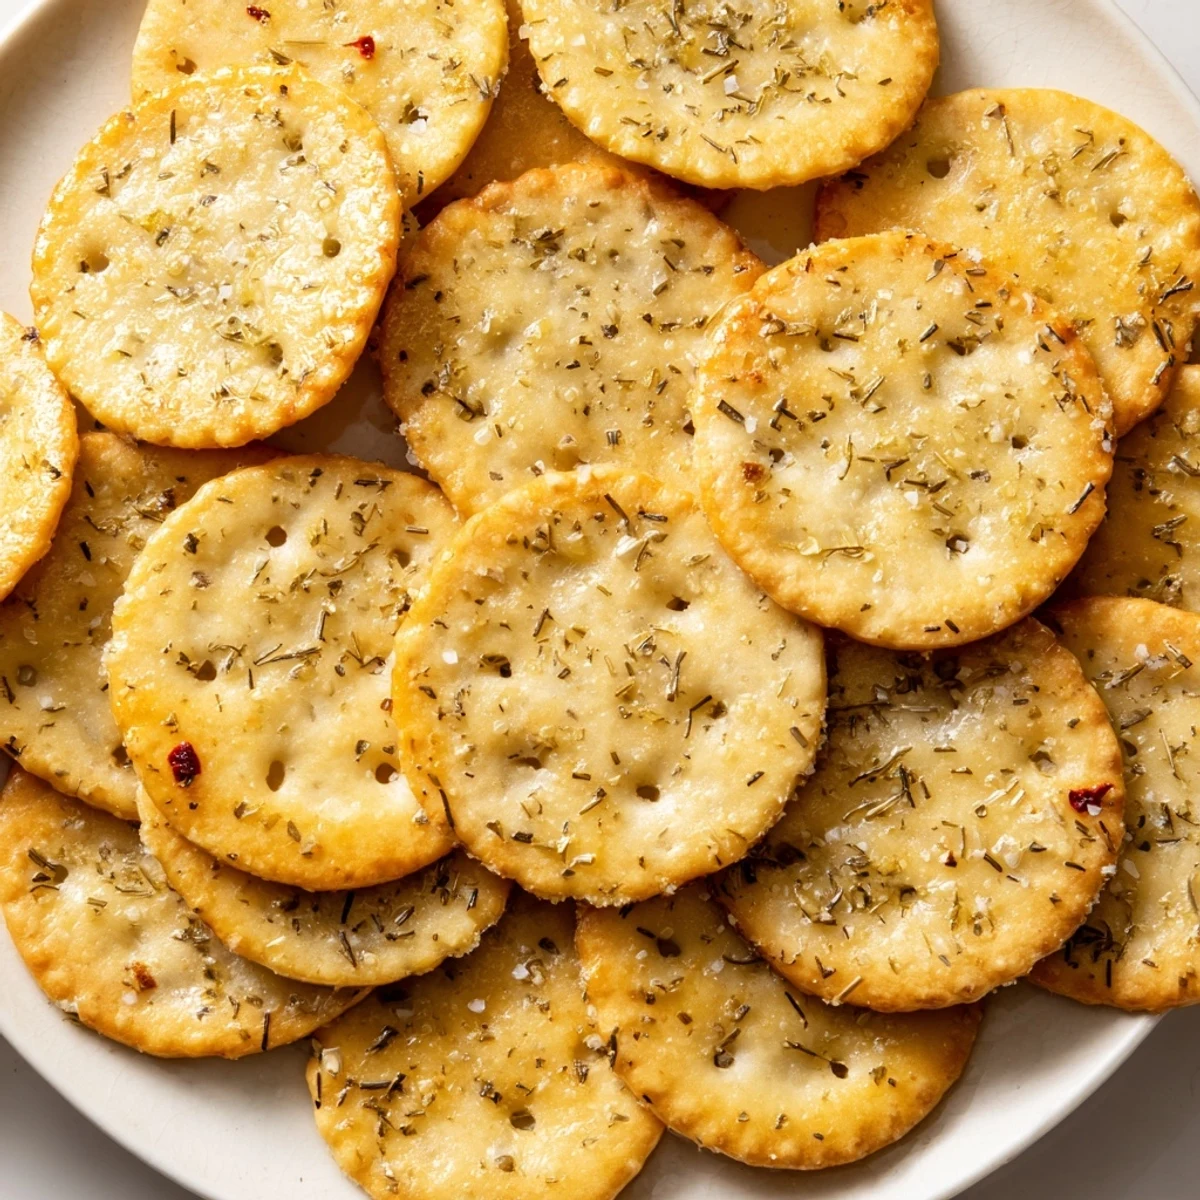
 Elevate plain saltine crackers into a tangy, crave-worthy snack with just a few pantry staples. The dill pickle juice and melted butter create a zesty coating that infuses each cracker with bold flavor, while garlic powder and dried dill add aromatic depth. These oven-baked treats emerge perfectly crisp and golden, ready for your next gathering or afternoon snack. The simple preparation takes under 30 minutes from start to finish, making them ideal for unexpected guests or busy weeknights.
The afternoon my cousin declared these crackers the best thing she'd ever eaten, I knew I'd found something special. We'd planned elaborate appetizers for her backyard gathering, but everyone kept circling back to this simple bowl of seasoned saltines. Now they're my go-to when I need something that disappears faster than I can replenish it.
Last summer I made three batches for a neighborhood block party, and the only evidence left was the empty serving bowl. My neighbor Tom actually hunted me down two days later just to get the recipe, claiming his kids were now demanding them constantly. There's something about that dill-garlic combination that makes them utterly impossible to stop eating.
Ingredients
- Saltine crackers: One sleeve creates the perfect single layer on a standard baking sheet
- Unsalted butter: Melting it helps the seasoning cling to every cracker surface
- Dill pickle juice: This is the magic ingredient that gives them their signature tang
- Dried dill weed: Double the amount if using fresh for the same intensity
- Garlic powder: Distributes more evenly than fresh garlic would
- Onion powder: Adds a subtle savory depth that balances the bright pickle flavor
- Crushed red pepper flakes: Just a hint of heat makes these even more addictive
- Kosher salt: Adjust this depending on how salty your crackers already are
Instructions
- Prep your baking station:
- Set your oven to 300°F and line a baking sheet with parchment paper
- Arrange the crackers:
- Spread them in a single layer so none are overlapping
- Whisk the coating:
- Combine melted butter with pickle juice and all the seasonings until smooth
- Brush generously:
- Coat each cracker thoroughly, letting some mixture drip down the sides
- Bake until crisp:
- Let them bake 12 to 15 minutes until the topping looks set and crackers feel dry
- Cool completely:
- They'll crisp up further as they cool on the baking sheet
 Save to Pinterest
 My mother now keeps a small jar of pre-mixed seasoning in her pantry just for these crackers. She says pulling them together in five minutes makes her feel like she's always ready for unexpected guests. That's the beauty of this recipe; it's simple enough for Tuesday snacks but impressive enough for any gathering.
Making Them Ahead
I've learned these are actually best made the day before you need them. The flavors have time to settle into the crackers, creating this incredibly seasoned taste that feels almost restaurant-quality. Just store them in an airtight container and they'll stay perfectly crisp for three days.
Serving Suggestions
Cold beer is the classic pairing, but I've also served them alongside a cheese board where they somehow outshine the actual cheese. They're fantastic with cream cheese as a base, or just piled in a bowl for guests to grab by the handful. The red pepper flakes add just enough warmth to make these perfect any time of year.
Easy Variations
Sometimes I'll add grated parmesan over the crackers right after brushing them with the butter mixture. The cheese creates these incredible crispy edges that everyone fights over. You could also skip the red pepper flakes for a milder version that kids tend to love just as much.
- Try using everything bagel seasoning instead of the garlic and onion powder
- A sprinkle of everything bagel seasoning takes them in a completely different but equally delicious direction
- These make excellent homemade gifts layered in mason jars with festive ribbon
 Save to Pinterest
 Every time I serve these, someone asks if they're difficult to make, and I love explaining how incredibly simple they are. Those five ingredients you probably already have in your pantry can become the snack everyone remembers.
Recipe FAQs
- → Can I make these ahead of time?
-
Yes, you can prepare these up to 3 days in advance. Store in an airtight container at room temperature and they'll stay perfectly crisp. They're actually ideal for party prep since no reheating is needed.
- → What can I serve with dill pickle saltines?
-
These pair wonderfully with cold beer, sparkling water, or white wine. They also complement cheese plates, serve alongside soups like tomato or potato leek, or crush them as a tangy topping for casseroles and macaroni and cheese.
- → Can I use fresh dill instead of dried?
-
Absolutely! Fresh dill works beautifully—use about 2 tablespoons chopped fresh dill in place of 1 tablespoon dried. The flavor will be brighter and more vibrant, though either option delivers excellent results.
- → Are these spicy?
-
The red pepper flakes are optional and only add mild warmth. If you're sensitive to heat, simply omit them. The predominant flavors are tangy pickle, savory garlic, and buttery richness rather than spice.
- → Can I make these gluten-free?
-
Yes! Use gluten-free crackers and ensure your seasonings are certified gluten-free. The dill pickle juice, butter, and herbs are naturally gluten-free, making this an easy adaptation for dietary needs.
