 Save to Pinterest
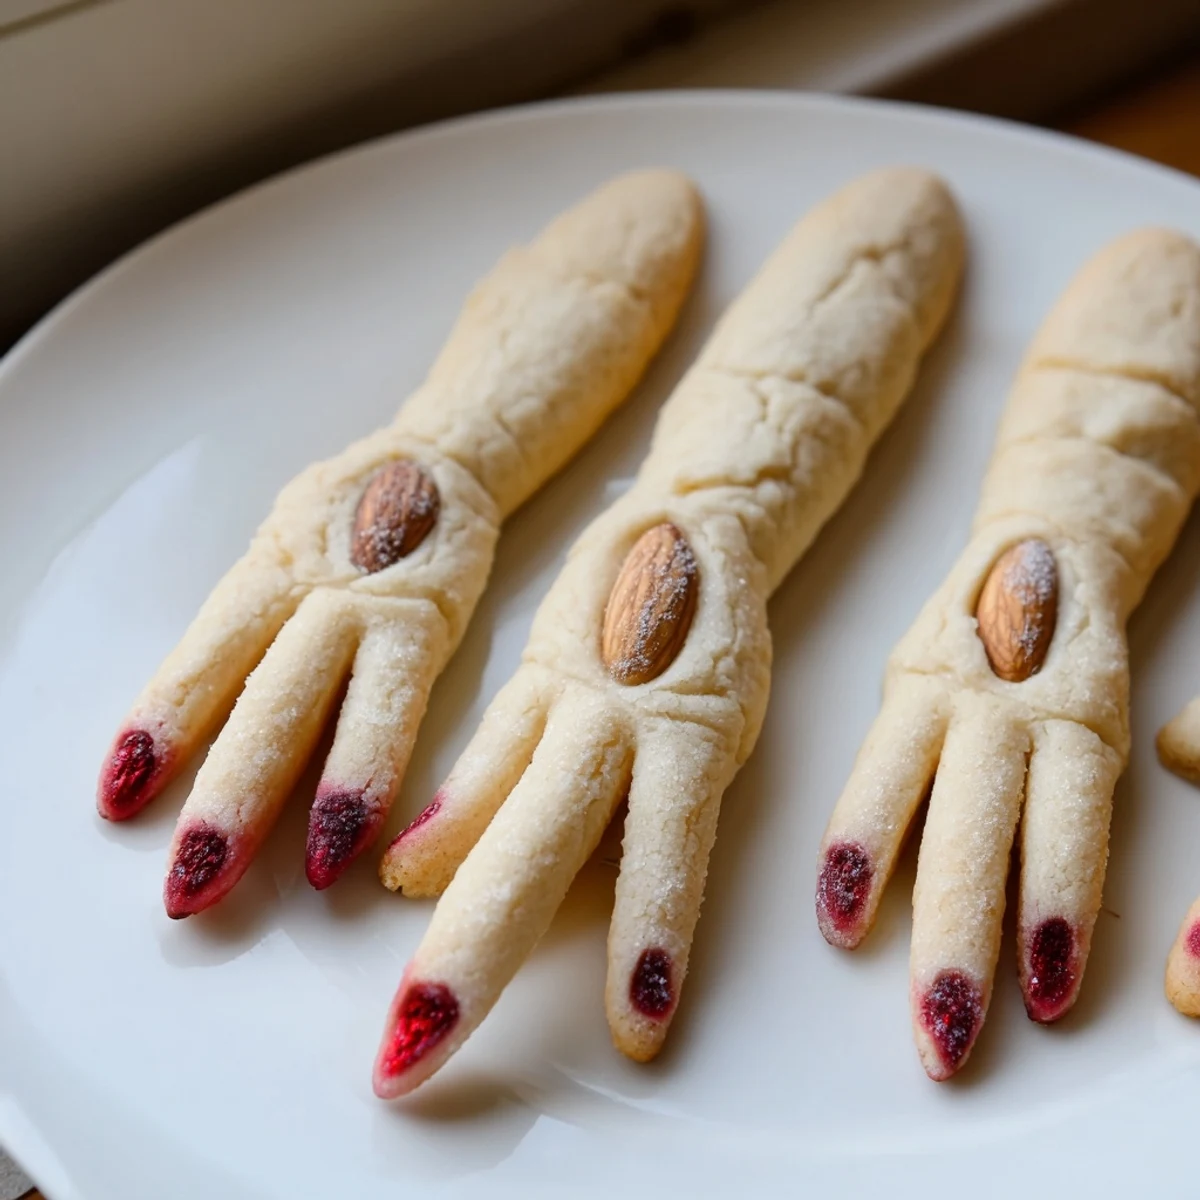
 These creepy witch finger cookies combine buttery almond-flavored dough with ghoulish details for the ultimate Halloween treat. Each finger-shaped cookie features realistic knuckle lines created with a knife and a blanched almond pressed into one end as a fingernail.
The bloody effect comes from red gel food coloring or strawberry jam applied beneath the almond "nail" after baking. You can tint the dough green or gray for extra creepiness. These spooky treats are perfect for Halloween parties, haunted houses, or any gathering where you want to delight and slightly unset your guests.
The cookies come together in just 45 minutes from start to finish and yield 24 fingers—enough for a whole coven of guests. Serve with hot cider or spooky cocktails for the complete Halloween experience.
My college roommate burst out laughing the first time she opened our refrigerator and found a Tupperware container full of severed fingers. We had made them for a dorm Halloween party the night before and honestly forgot they were in there. The look on her face was absolutely worth every minute of rolling that dough.
Last year my niece helped me make three batches and discovered she has a genuine talent for creating disturbingly realistic knuckle creases. She insisted her fingers looked the most gruesome, which she considered the highest possible compliment. Now she asks every September if we can start production early.
Ingredients
- Unsalted butter softened: Cold butter creates flat cookies and room temperature butter gives you that perfectly creepy finger texture
- Granulated sugar: Cream this thoroughly with the butter until the mixture looks pale and fluffy for light tender cookies
- Large egg: Bring this to room temperature too so it incorporates evenly into the dough
- Pure vanilla extract and almond extract: The almond flavor is essential here but you can use less if you prefer a subtler taste
- All-purpose flour: Measure this by spooning it into your measuring cup and leveling it off for accurate results
- Baking powder and salt: These give your fingers just enough lift without spreading too much in the oven
- Whole blanched almonds: Look for consistently sized nuts so the fingernails look uniform across the batch
- Red gel food coloring or strawberry jam: Jam creates a gooier bloody effect while gel gives you more control over the drips
Instructions
- Preheat your oven:
- Set it to 325°F and line two baking sheets with parchment paper so nothing sticks
- Cream the butter and sugar:
- Beat them together until the mixture is pale and fluffy, which takes about 3 minutes with an electric mixer
- Add the egg and extracts:
- Mix in the egg, vanilla, and almond extract until everything is well combined and smooth
- Whisk the dry ingredients:
- In a separate bowl, combine the flour, baking powder, and salt so they distribute evenly
- Combine everything:
- Gradually mix the dry ingredients into the wet ingredients, stopping as soon as the dough comes together
- Shape the fingers:
- Roll about 1 tablespoon of dough into a 3 to 4 inch cylinder, making one end slightly wider than the other
- Add the details:
- Use a knife to gently score knuckle lines on the wider end and press an almond fingernail into the narrow tip
- Bake until golden:
- Space the fingers 2 inches apart on the baking sheets and bake for 18 to 20 minutes until lightly golden
- Create the bloody effect:
- Carefully remove each almond, dab red food coloring or jam underneath, and press the almond back into place
- Cool completely:
- Let the cookies set on a wire rack so they firm up and the bloody details dry properly
 Save to Pinterest
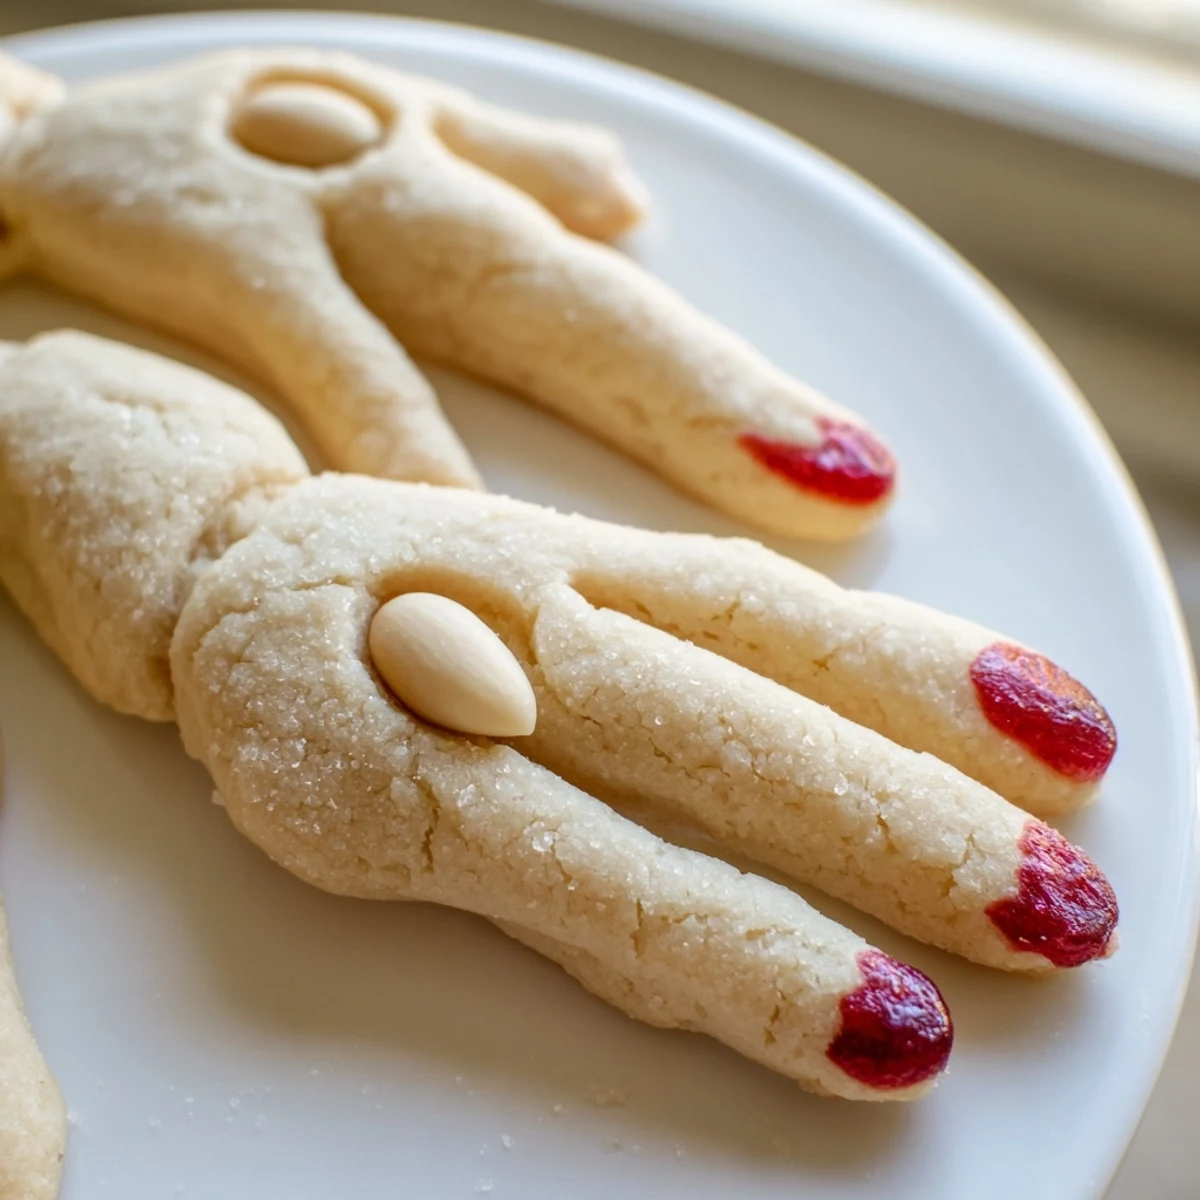
 My dad actually refused to try one for three years because he said they looked too realistic. Eventually my mom put one on his plate when he wasnt looking and he admitted halfway through that the almond flavor won him over completely.
Making Them Extra Creepy
You can tint small portions of dough with green or gray food coloring to create variation among the fingers. I once made an entire batch of pale green ones and people genuinely hesitated before taking their first bite.
Presentation Ideas
Arrange them on a platter reaching toward your guests or stick them upright into a mound of chocolate dirt for a graveyard scene. I like serving them in a shallow bowl that looks like they are trying to escape.
Storage And Make Ahead Tips
These cookies actually freeze beautifully before baking. You can shape the fingers, freeze them on a baking sheet, then transfer to a bag for later. Bake them straight from frozen, adding just 2 or 3 minutes to the baking time.
- Store baked cookies in an airtight container for up to 5 days
- Apply the bloody effect the same day you plan to serve them
- The jam version gets increasingly gruesome as it sits, which some people consider a feature
 Save to Pinterest
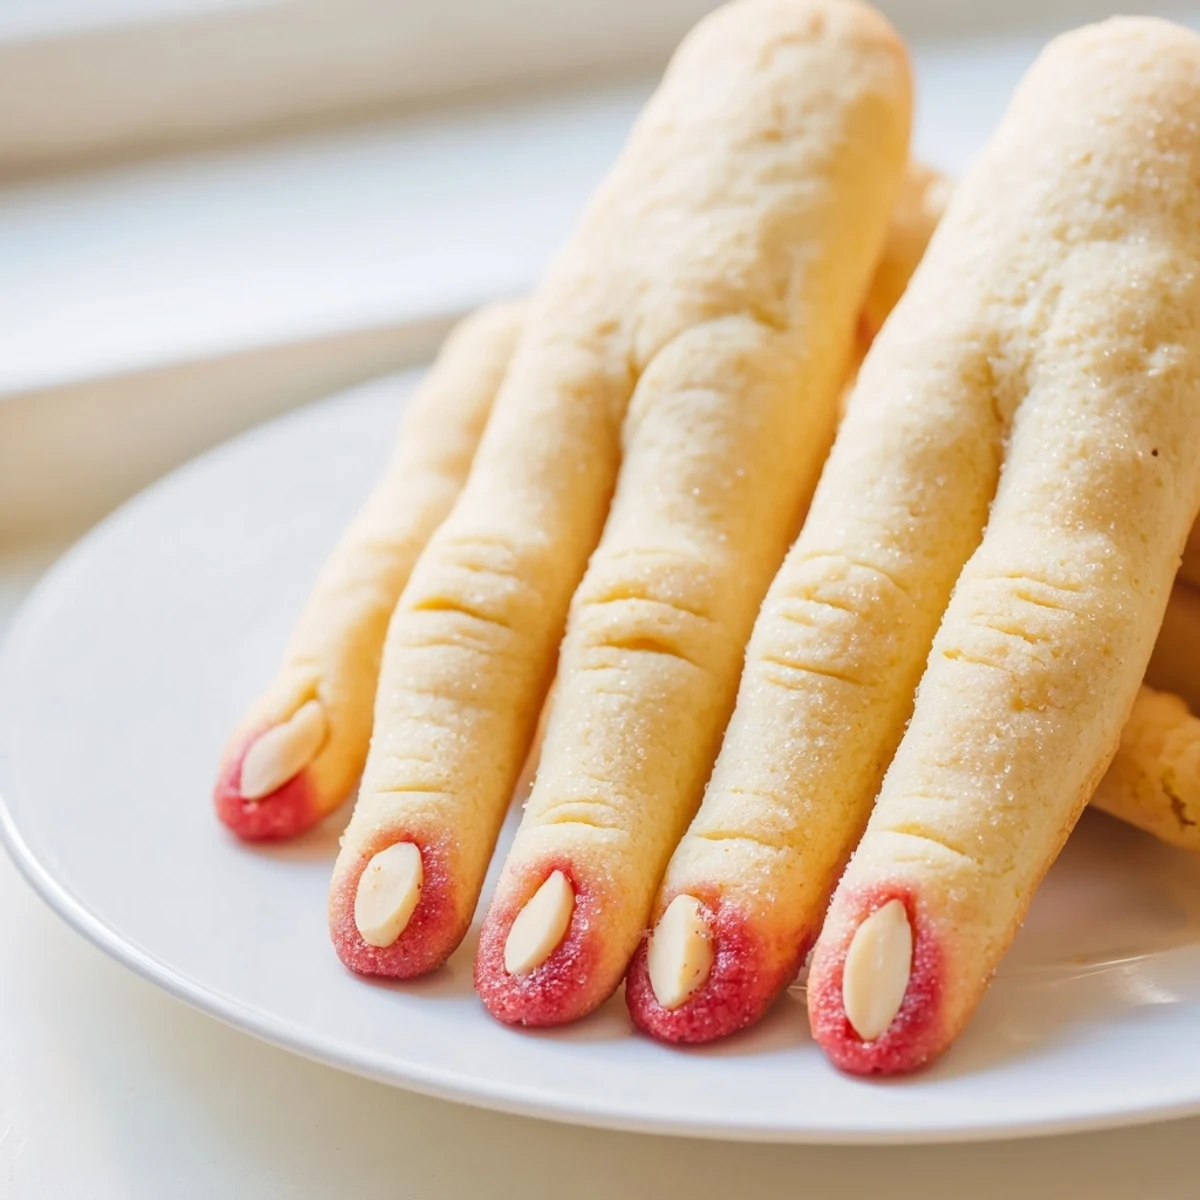
 Happy haunting and may your Halloween be just spooky enough to keep everyone looking over their shoulder while reaching for another cookie.
Recipe FAQs
- → How do I make the knuckle lines on the cookies?
-
Use a small knife to gently press horizontal lines into the rolled dough before baking. Make three lines per cookie to simulate finger knuckles—don't cut too deep, just indent the surface enough for the texture to remain after baking.
- → Can I make these cookies ahead of time?
-
Yes, you can prepare the dough up to 2 days in advance and store it wrapped in the refrigerator. The baked cookies also keep well in an airtight container for up to 5 days. Add the bloody garnish just before serving for the freshest appearance.
- → What's the best way to create the bloody fingernail effect?
-
Remove the almond fingernail immediately after baking while the cookie is still warm. Brush a small amount of red gel food coloring or strawberry jam onto the indented area, then gently press the almond back into place. The jam creates a more realistic, slightly tacky blood effect.
- → Can I use other nuts instead of almonds?
-
Blanched almonds work best because they naturally resemble fingernails in shape and color. However, you can use blanched pistachios for a greenish witchy look or pine nuts for smaller fingers. Just ensure the nuts are raw and unsalted for the best appearance and flavor.
- → How do I prevent the cookies from spreading too much while baking?
-
Chill the shaped fingers on the baking sheets for 15-20 minutes before placing them in the oven. This helps them hold their shape and maintains the finger definition. Also ensure your butter isn't too warm when mixing the dough.
