 Save to Pinterest
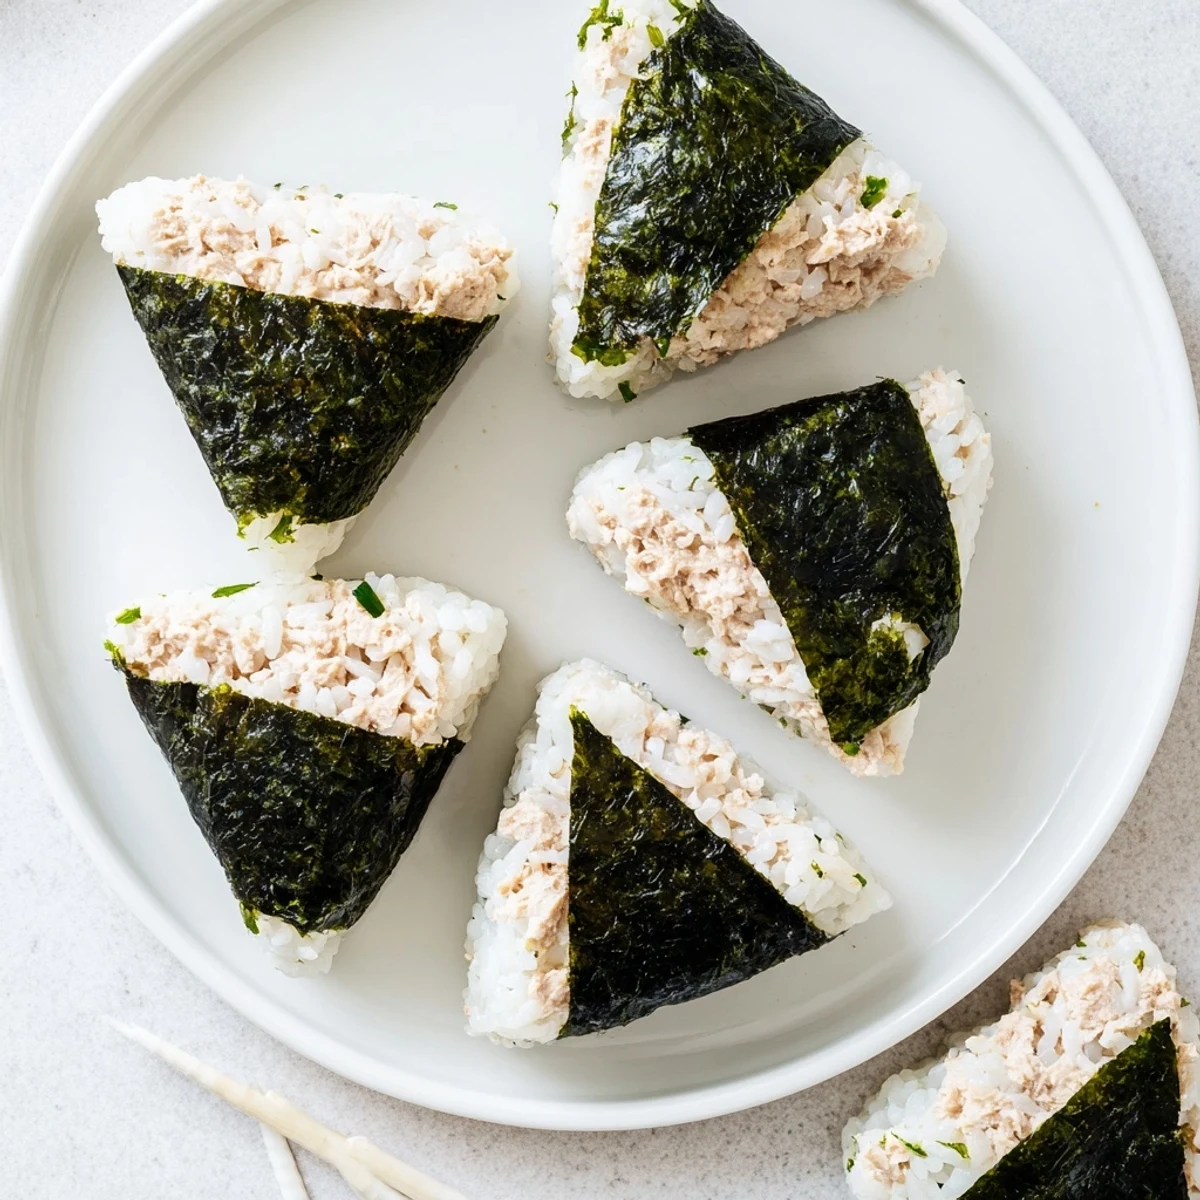
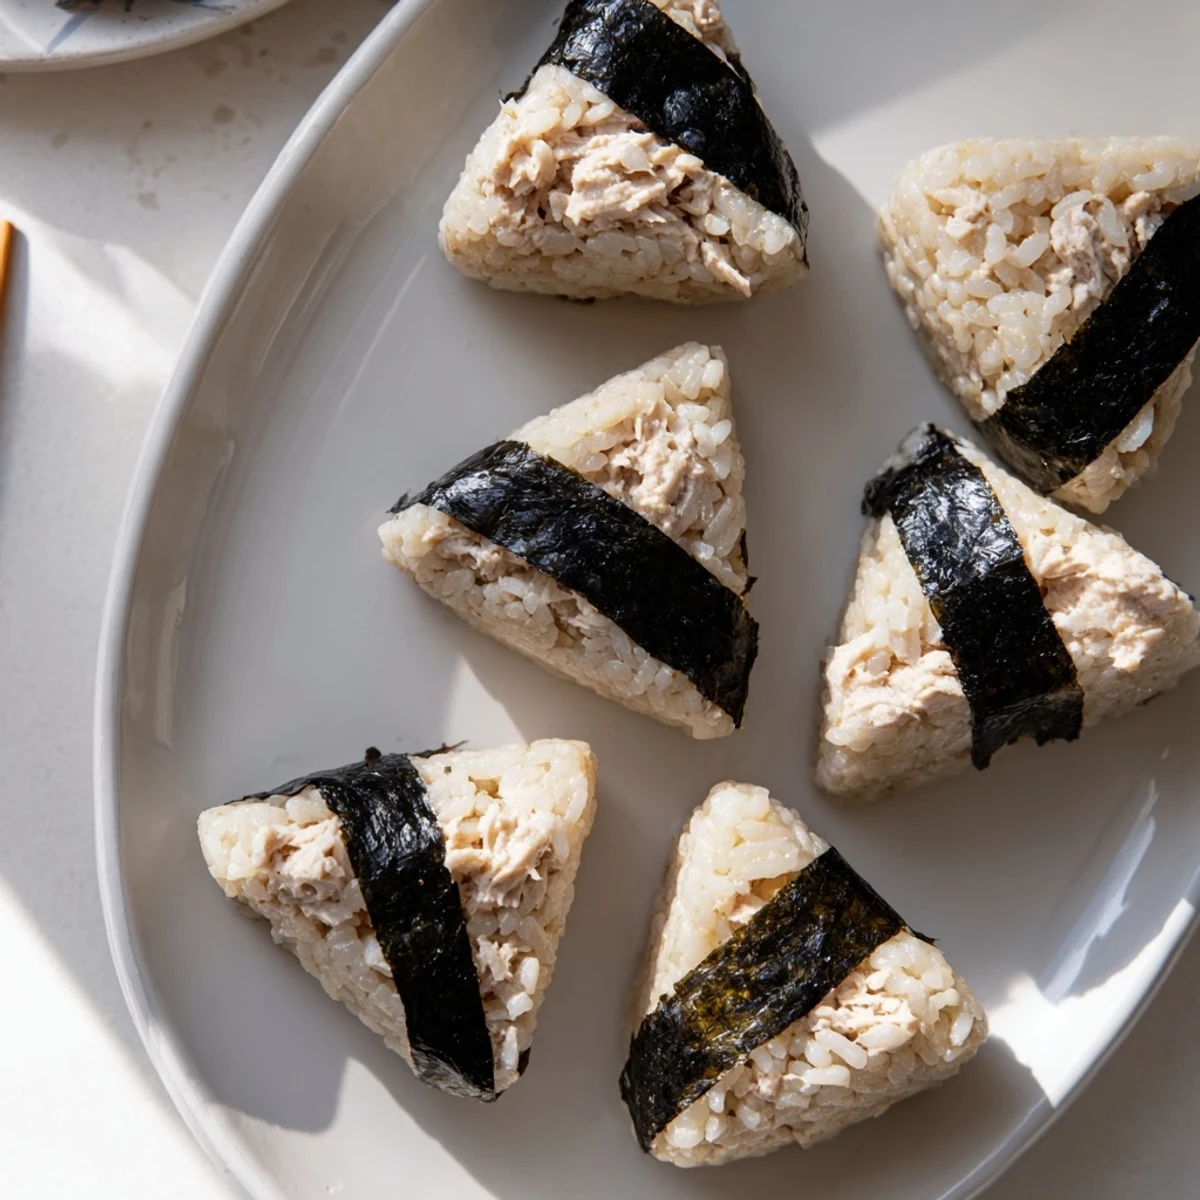
 Create these beloved Japanese convenience food staples in your own kitchen. The combination of tender short-grain rice seasoned with salt pairs perfectly with a creamy, savory tuna mayonnaise filling. Each handheld triangle offers a satisfying balance of textures—fluffy rice, velvety filling, and crispy nori wrapping.
This preparation yields six portions, making it excellent for meal prep or family lunches. The technique involves washing rice until clear, cooking it to perfect fluffiness, then mixing canned tuna with Japanese mayonnaise and soy sauce for that authentic umami-rich filling.
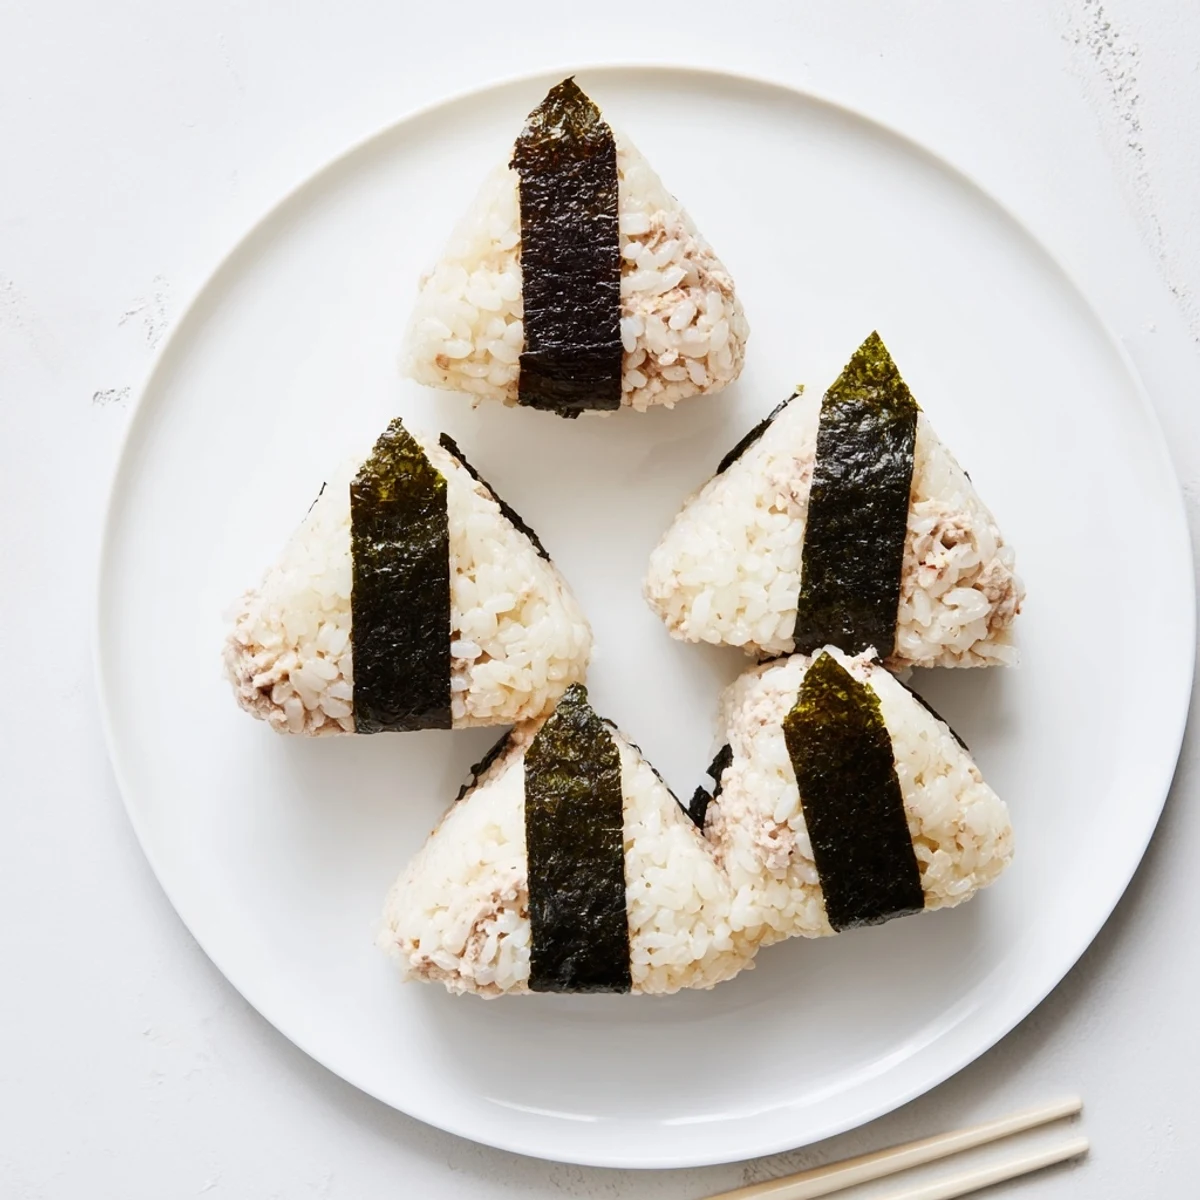
Shaping requires wet, salted hands to prevent sticking while forming traditional triangular shapes. Wrap with nori strips just before serving to maintain the seaweed's crisp texture. These keep well for 24 hours when properly wrapped, though they're best enjoyed fresh and still slightly warm.
The convenience store freezer section in Tokyo taught me something no cookbook ever could: that the humblest foods carry the deepest comfort. Among rows of elaborate bento boxes, I kept reaching for a simple tuna mayo onigiri wrapped in crackly nori, still cold from the refrigerated case. That salty, creamy filling tucked inside warm seasoned rice became my unofficial breakfast for an entire week of that trip.
I made a batch for a road trip last summer and my friend ate three before we even left the driveway. She claimed she was quality testing them for safety. We had to pull over and make more at a rest stop using a cooler and a bag of rice I had packed as backup.
Ingredients
- 2 cups Japanese short-grain rice: This is non-negotiable because long-grain varieties will not stick together when you shape the onigiri. Rinse it until the water runs completely clear to remove excess starch that makes the texture gummy.
- 2 1/2 cups water: Use the standard measurement for cooking Japanese rice in a pot or rice cooker. If your rice cooker has markings, simply fill to the corresponding line.
- 1 can (5 oz/140 g) tuna in water, drained: Squeeze the can lid down firmly to remove as much liquid as possible. Oil-packed tuna works too but creates a heavier filling.
- 3 tablespoons Japanese mayonnaise (e.g., Kewpie): Kewpie has more egg yolks and a tangier richness than standard mayo, which is what gives the filling its signature taste. Regular mayonnaise will work in a pinch but the flavor leans flatter.
- 1 teaspoon soy sauce: Just enough to deepen the savory notes without overpowering the tuna. Use a Japanese brand if you have one for the most authentic result.
- 1/4 teaspoon ground black pepper (optional): A faint prickle of heat that balances the creaminess. Skip it if you prefer a milder filling, especially when making these for kids.
- 1/2 teaspoon salt: This gets rubbed onto your wet palms during shaping and seasons the outside of each rice ball while preventing sticking.
- 6 small sheets nori (seaweed), cut into strips: The nori adds crunch and a hit of oceanic umami. Wrap them on just before eating so they stay crisp.
Instructions
- Clean the rice:
- Place the rice in a bowl, cover with cold water, swirl gently, and drain. Repeat this process four or five times until the water is nearly transparent, then let the rice drain in a fine mesh strainer for a few minutes.
- Cook the rice:
- Combine the rinsed rice and water in a rice cooker or a heavy-bottomed pot. If using a pot, bring it to a boil over medium heat, then reduce to the lowest setting, cover tightly, and cook for 12 to 15 minutes. Let the cooked rice rest with the lid on for 10 minutes so the grains firm up slightly.
- Mix the filling:
- While the rice rests, dump the drained tuna into a bowl and add the mayonnaise, soy sauce, and pepper. Mash and stir with a fork until you have a smooth, creamy paste with no large tuna chunks remaining.
- Prepare your hands:
- Fill a small bowl with water and set it next to your workspace. Wet both palms thoroughly, then sprinkle a pinch of salt across your hands and rub them together so the salt dissolves into a thin film.
- Shape the onigiri:
- Scoop roughly 1/2 cup of warm rice into one palm and flatten it into a thick disc. Plop a generous spoonful of the tuna mayo mixture into the center, then gently fold the rice up and around the filling, cupping your hands to press it into a triangle or oval shape.
- Wrap with nori:
- Lay a strip of nori across the bottom third of each rice ball and press it lightly so it adheres. Serve immediately if you want the seaweed snappy and crisp, or wrap the whole onigiri tightly in plastic if saving for later.
 Save to Pinterest
 I packed these in my daughters lunchbox once and she came home asking why her sandwich could not be shaped like a triangle. We have not bought sandwich bread since.
Flavor Variations Worth Trying
Chopped scallions folded into the tuna mayo add a fresh bite that cuts through the richness. A few drops of toasted sesame oil drizzled into the filling transforms the whole flavor profile into something warmer and more aromatic. I sometimes press a thin strip of pickled plum into the center alongside the tuna for a punchy, sour surprise.
Storage and Make-Ahead Advice
Onigiri are at their absolute best the day they are made, when the rice is still slightly soft and the nori snaps cleanly. If you need to store them, wrap each one individually in plastic wrap and keep them in the refrigerator for up to 24 hours. Let them come to room temperature for about twenty minutes before eating because cold rice loses its appealing chew.
Most shaping problems trace back to one of two things: rice that is too dry or hands that are too dry. If your onigiri crack along the edges, the rice has cooled too much and you can briefly microwave it for ten seconds to soften it again.
- Keep a damp towel nearby to wipe stray grains off your palms between each piece.
- If the filling leaks out the bottom, you used too much or did not create a thick enough rice base underneath.
- Trust the process because your first few onigiri will look messy but they will still taste wonderful.
 Save to Pinterest
 Once you get the hang of shaping these, you will start filling them with everything from leftover salmon to spicy kimchi. Keep a bowl of rice ready in your cooker and onigiri night becomes whatever you want it to be.
Recipe FAQs
- → What type of rice works best for onigiri?
-
Japanese short-grain rice is essential because its higher starch content creates the sticky texture needed to hold the triangular shape. Long-grain varieties like jasmine or basmati lack the necessary cohesion and will fall apart during shaping.
- → Can I use canned tuna in oil instead of water?
-
Yes, though you may want to reduce the mayonnaise slightly since oil-packed tuna adds extra richness. Drain thoroughly before mixing with other ingredients to prevent the filling from becoming too loose.
- → Why do I need to wet my hands when shaping?
-
Moistening your hands with water prevents the warm rice from sticking to your palms. The small amount of salt rubbed onto wet hands also lightly seasons the exterior while adding flavor layers throughout each bite.
- → How should I store leftover onigiri?
-
Wrap each piece tightly in plastic wrap and refrigerate for up to 24 hours. Let them come to room temperature before eating, as cold rice loses its appealing texture. Avoid wrapping nori around them until ready to serve, otherwise it becomes soggy.
- → What makes Japanese mayonnaise different from regular?
-
Japanese mayonnaise like Kewpie uses egg yolks rather than whole eggs and includes rice vinegar or apple cider vinegar, creating a richer, tangier flavor profile that enhances the tuna filling beautifully. Regular mayonnaise works as a substitute with slightly different results.
- → Can I add other ingredients to the tuna filling?
-
Absolutely. Chopped scallions, sesame seeds, corn kernels, or small diced pickles add extra texture and flavor complexity. Some cooks also mix in a dash of sesame oil or chili oil for additional depth.
