 Save to Pinterest
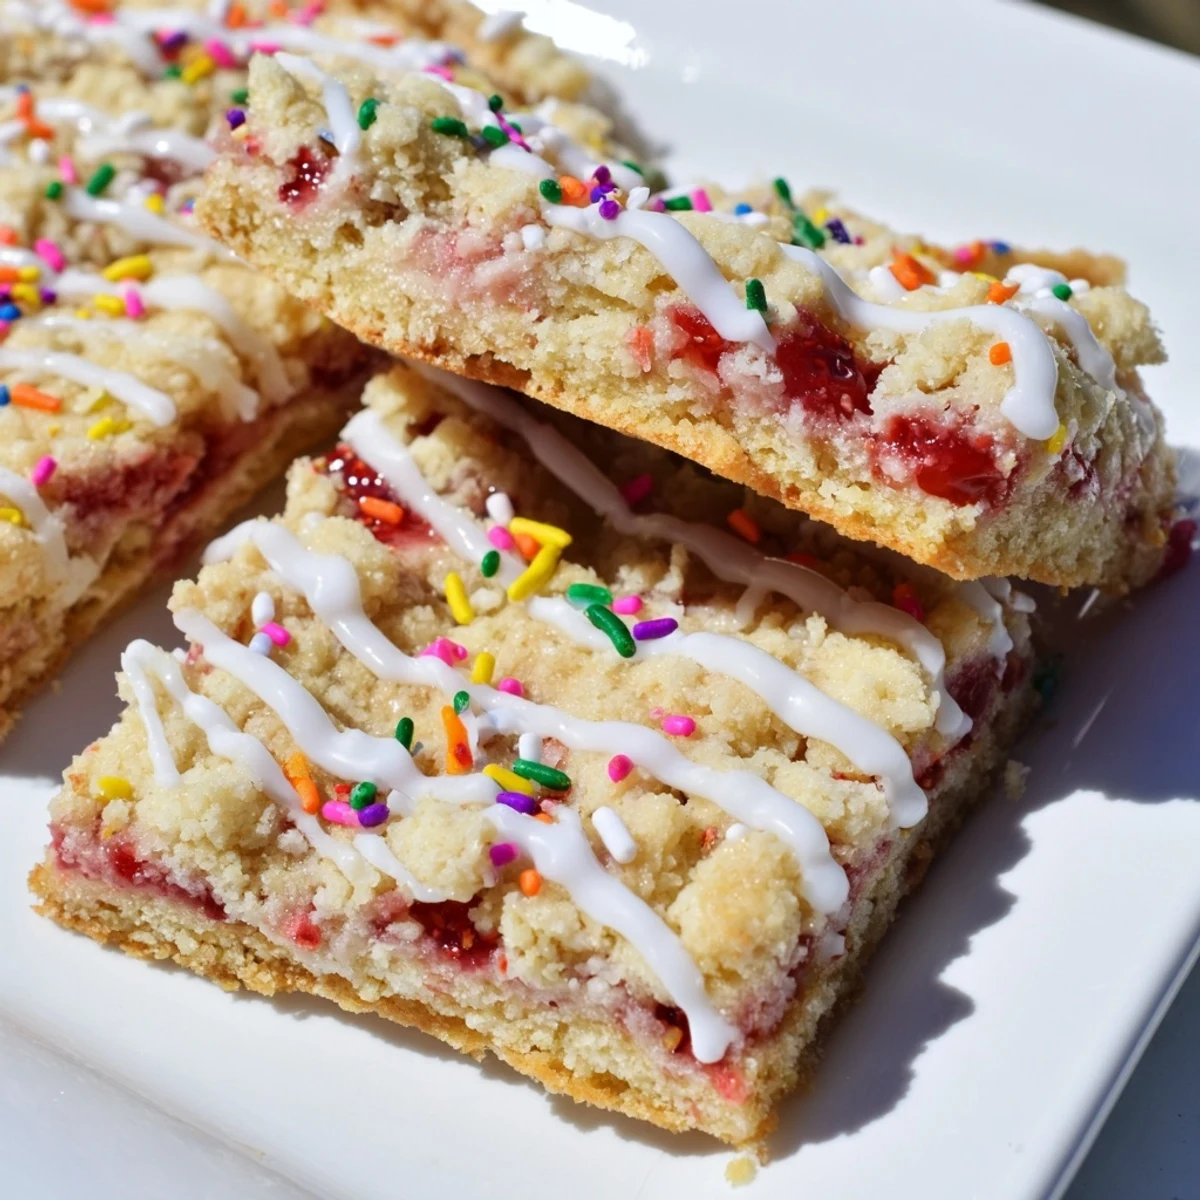
 These nostalgic dessert bars combine a soft, buttery sugar cookie base with sweet strawberry jam filling and a vanilla glaze topped with colorful sprinkles. The dough comes together quickly and requires just 20 minutes of prep before baking.
Press two-thirds of the cookie dough into your pan, spread with jam, then crumble the remaining dough over the top. The result is a chewy, fruit-filled bar that tastes like a homemade version of the classic toaster pastry.
Customize with any jam flavor you prefer—raspberry, blueberry, or apricot all work beautifully. The finished bars keep well for several days, making them ideal for bake sales, potlucks, or afternoon treats.
Last weekend, I found myself craving something fun and nostalgic to bake with my kids. We'd just finished a movie marathon featuring all our favorite 90s throwbacks, and suddenly those foil-wrapped breakfast pastries from childhood sounded brilliant. I decided to transform that pop tart magic into a shareable dessert bar that would feed a crowd.
My daughter asked if we could make them look like real pop tarts with the colorful sprinkles on top. We stood over the pan together, drizzling glaze and raining down rainbow jimmies while they were still wet. The best part was that first warm bite, with the jam layer oozing slightly and the buttery cookie crumbling perfectly under the sweet icing.
Ingredients
- Unsalted butter: Softened to room temperature so it creams beautifully with the sugar without leaving chunks
- Granulated sugar: Creates that tender cookie texture and helps the edges caramelize slightly in the oven
- Large eggs: Bind everything together while adding structure to the cookie base
- Vanilla extract: Dont skimp here, it balances the sweetness of both cookie and glaze
- All purpose flour: The foundation of your cookie layer, measured properly for the right texture
- Baking powder and salt: These work together to give the base a subtle lift without making it cakey
- Strawberry jam: Choose a quality jam with real fruit pieces, or swap for raspberry or blueberry
- Powdered sugar: Creates that signature smooth glaze that sets beautifully on top
- Milk: Adjust this to get your glaze to perfect pouring consistency
- Sprinkles: The essential finishing touch that makes these feel like celebration food
Instructions
- Get your oven ready:
- Preheat to 350°F and line a 9x13-inch pan with parchment paper, leaving those edges hanging over so you can lift the whole thing out later like a pro.
- Build your cookie base:
- Cream the butter and sugar until its pale and fluffy, then beat in eggs one at a time before stirring in vanilla.
- Combine dry and wet:
- Whisk flour, baking powder, and salt in a separate bowl, then gradually mix into your butter mixture until just combined.
- Layer it up:
- Press about two thirds of the dough into your pan, spread that jam layer evenly, then crumble the remaining dough over the top.
- Bake to golden:
- Slide it into the oven for 23 to 27 minutes until the edges are golden and the center looks set, not jiggly.
- The grand finale:
- Let it cool completely, then whisk powdered sugar, milk, and vanilla for the glaze, drizzle it over, and immediately shower with sprinkles before it sets.
 Save to Pinterest
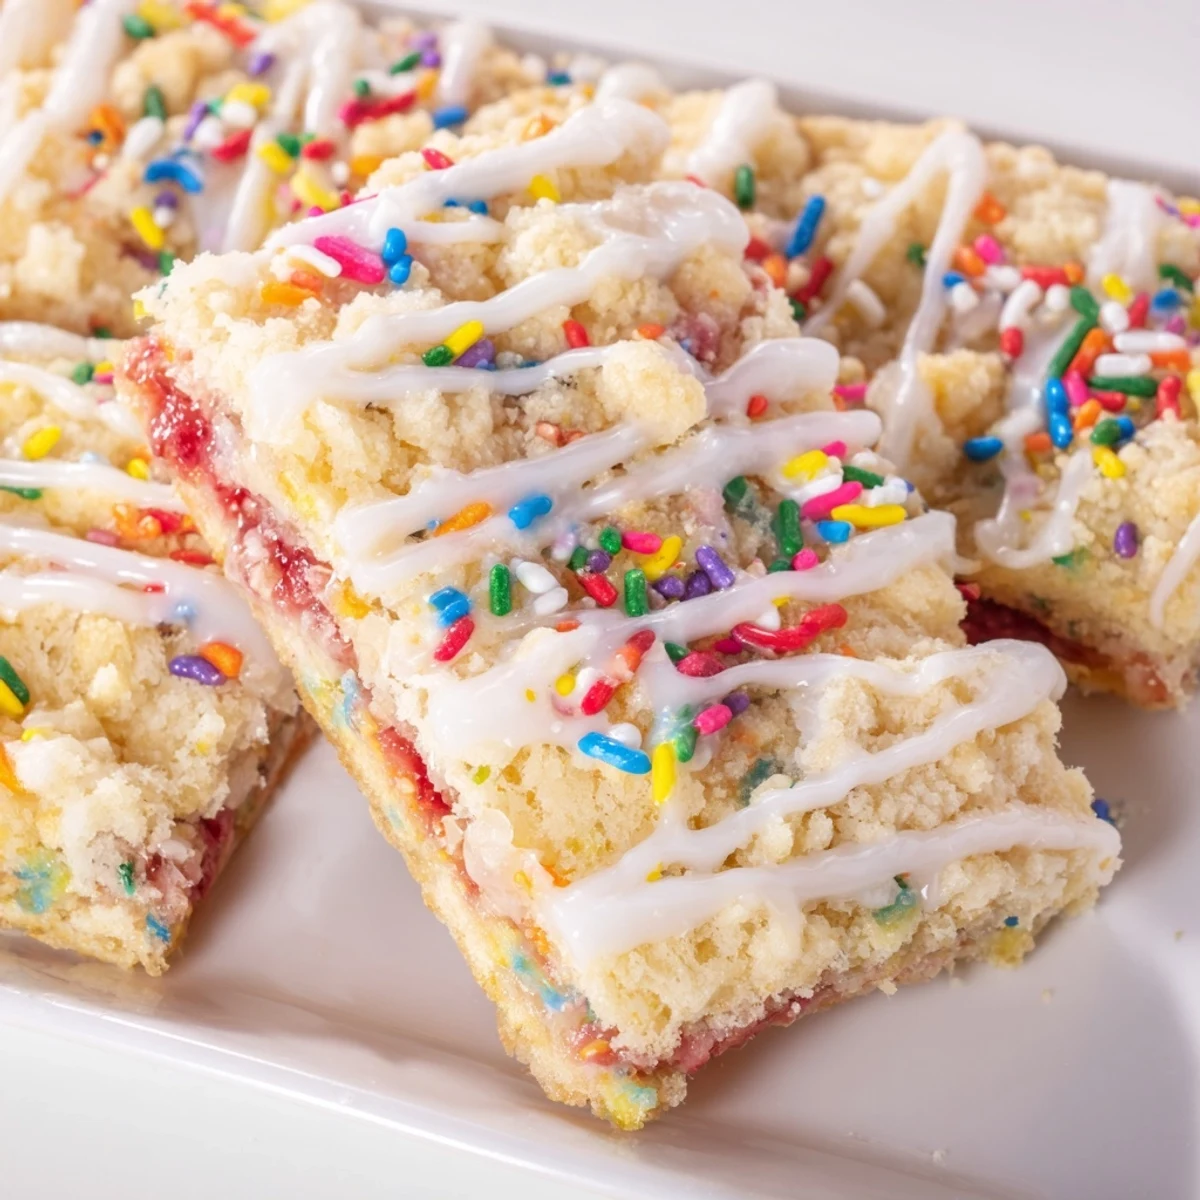
 These became an instant request for every birthday and school event. Theres something magical about serving a dessert that makes grown adults light up like kids again, remembering Saturday mornings in front of cartoons.
Jam Selection Secrets
Ive learned that the quality of jam makes or breaks these bars. Cheap, overly sweet jam creates a one dimensional filling, while a preserve with actual fruit pieces gives you those lovely jammy pockets. My personal favorite is a strawberry rhubarb that adds just enough tartness to cut through all that buttery sweetness.
Make Ahead Magic
You can bake the cookie base a day ahead and store it tightly wrapped at room temperature. Wait to glaze until within a few hours of serving, though, since the sprinkles can get slightly soggy overnight. Ive served these at room temperature and slightly warmed, and honestly both ways disappear just as fast.
Serving & Storage
Cut these with a sharp knife and wipe the blade between slices for clean edges. They keep beautifully in an airtight container for up to three days, though they rarely last that long in my house.
- For picnics or potlucks, pack them between parchment layers so the glaze doesnt stick to everything
- If you need to transport them, wait to add sprinkles until you arrive to prevent colorful messes
- These freeze surprisingly well without the glaze if you want to get ahead for holidays
 Save to Pinterest
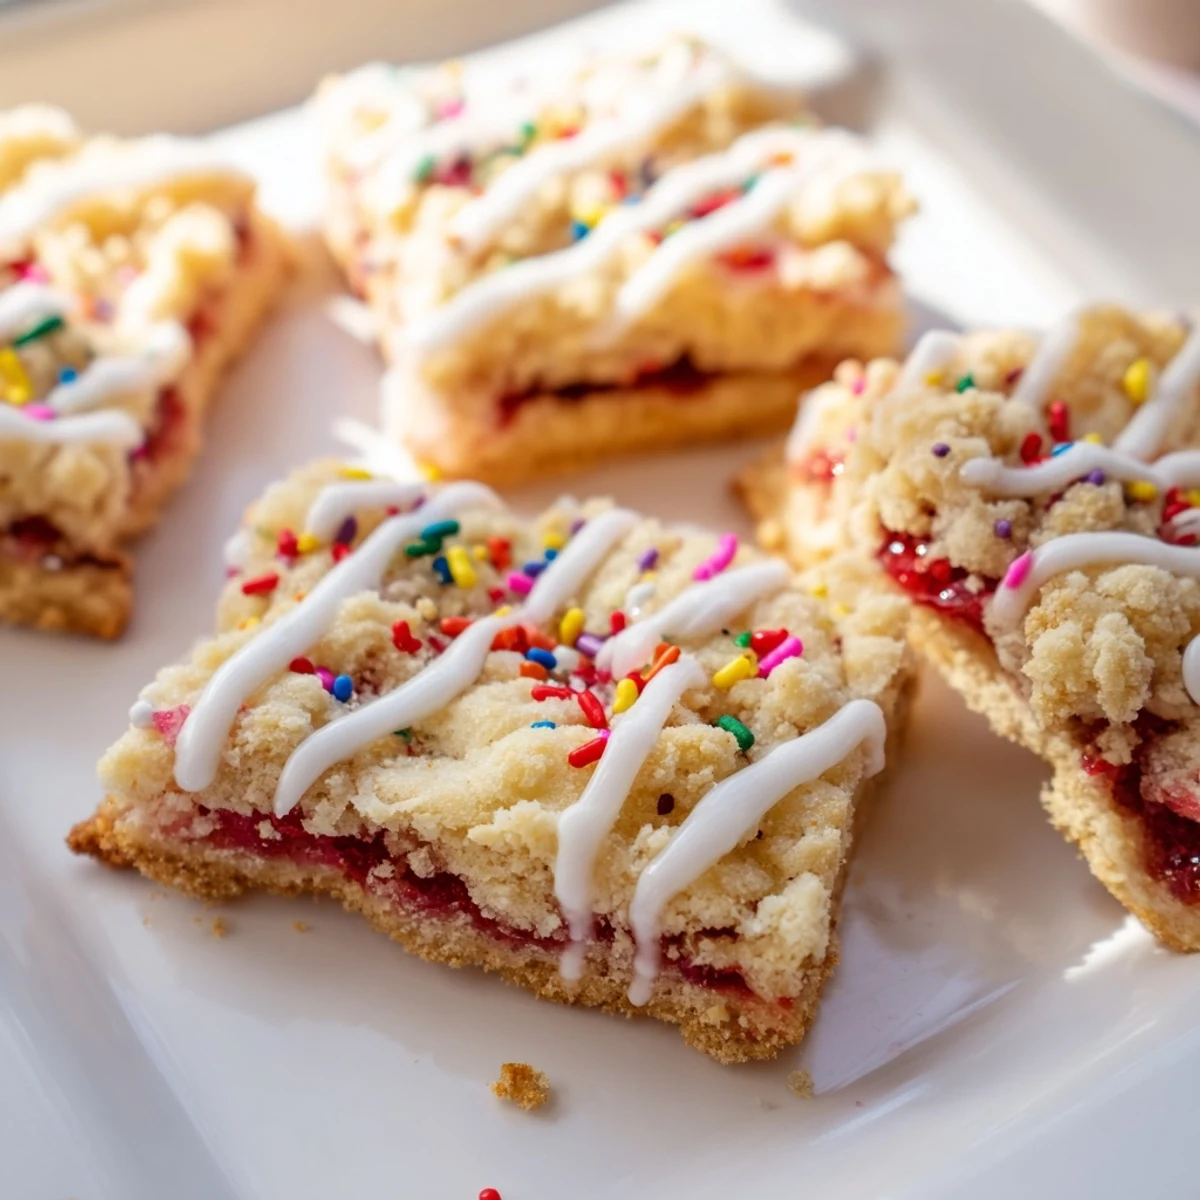
 Theres nothing quite like pulling a pan of these out at a gathering and watching faces light up with recognition and delight. Theyre the perfect dessert for your inner child.
Recipe FAQs
- → Can I use different jam flavors?
-
Absolutely. Strawberry, raspberry, blueberry, and apricot all work wonderfully. You can even mix half strawberry and half raspberry for a mixed berry filling.
- → How should I store these bars?
-
Store in an airtight container at room temperature for up to 3 days. The glaze may soften slightly over time but the bars will remain delicious. For longer storage, refrigerate for up to a week.
- → Can I make these ahead of time?
-
Yes. You can bake the bars a day ahead and glaze them before serving. If making further in advance, freeze the unglazed baked bars, then thaw and add glaze and sprinkles when ready to serve.
- → Do I need an electric mixer?
-
An electric mixer makes creaming the butter and sugar easier, but you can do this by hand with a sturdy spoon and some elbow grease. Just make sure your butter is sufficiently softened first.
- → Can I make these gluten-free?
-
Yes. Substitute the all-purpose flour with a 1:1 gluten-free baking blend that contains xanthan gum. The texture will be slightly different but still delicious.
- → Why does the dough need to be divided?
-
The bottom layer creates a solid base, while the crumbled top allows the jam to peek through and creates that classic poptart appearance. The crumble also adds nice texture variation.
