 Save to Pinterest
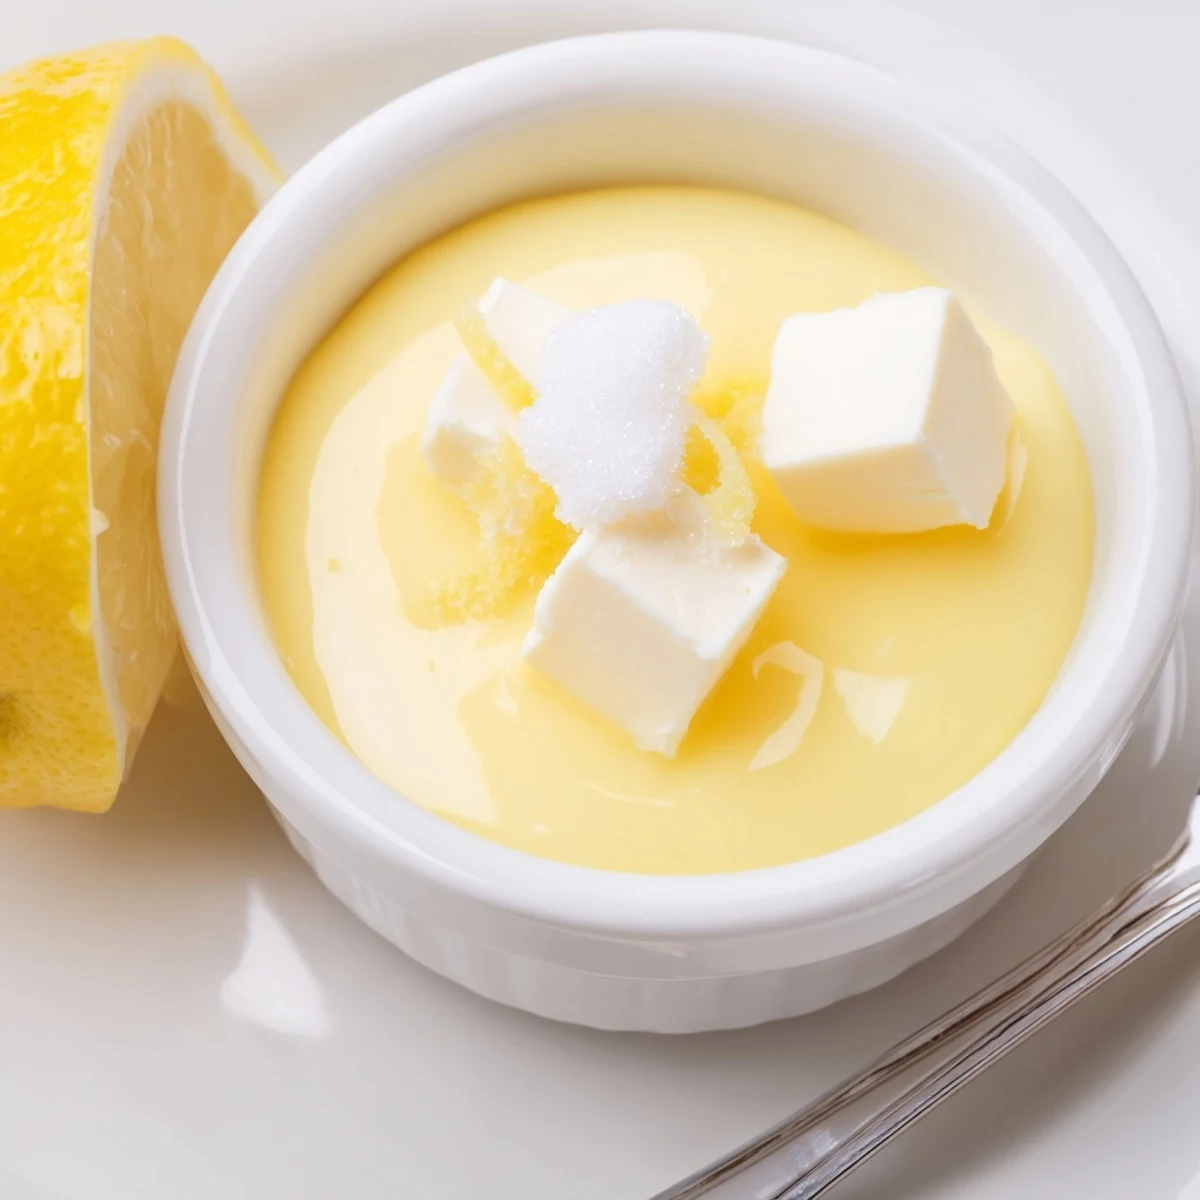
 A quick stovetop method for silky lemon curd using fresh lemon zest and juice, eggs, sugar and butter. Whisk eggs and sugar, stir in citrus, then cook gently over a simmering double boiler, whisking constantly until the mixture coats a spoon (about 8–10 minutes). Remove from heat, whisk in butter until glossy, strain for extra smoothness, cool and jar. Chill up to two weeks.
Steam fogged up my glasses the first time I made lemon curd, and I couldn’t help but laugh as I tried to read the recipe through citrus-scented air. As zest curled under my fingers and bright yellow juice pooled on the cutting board, the kitchen felt instantly more alive. I still marvel at how a few humble ingredients—eggs, butter, sugar, and lemons—turn silky and vibrant with just a little patience and heat. Lemon curd is a reminder that even simple steps can create something truly luscious.
One rainy Sunday, I made this lemon curd for friends coming over for afternoon tea—and it ended up being the unexpected highlight, giggles erupting as someone snuck ‘just one more spoonful’ from the jar while the scones were still warm. Sharing it fresh with loved ones, watching it disappear faster than planned, is now a little ritual I look forward to.
Ingredients
- Large eggs: Whisking in the eggs carefully is key—room temperature eggs blend more smoothly, and you avoid little bits of “scrambled” curd.
- Unsalted butter: Adding cold butter at the end makes everything glossy; cube it first so it melts in evenly and quickly.
- Lemons (zest and juice): Fresh lemons make all the difference—use a microplane for the zest, and roll them on the counter first to get every last drop of juice.
- Granulated sugar: Sugar balances the extreme tartness and helps give curd its silky finish; don’t skimp, or it gets too sharp!
Instructions
- Whisk the base:
- In a heatproof bowl, whisk the eggs and sugar until they’re thick and pale; it always surprises me how glossy it looks this quickly.
- Add the citrus:
- Stir in all that vibrant zest and juice, inhaling as the fragrance lifts—my hands always smell like lemons afterwards.
- Set up your double boiler:
- Place the bowl over gently simmering water, but make sure it doesn’t touch; I like to wiggle the bowl to check!
- Cook gently:
- Whisk slowly and constantly for 8-10 minutes—watch for it to thicken and coat the back of a spoon, and listen for the faint change in texture as it’s nearly there.
- Finish with butter:
- Take the curd off the heat and add butter cubes, whisking persistently until each piece melts in and the curd goes glossy and rich.
- Strain for smoothness:
- Pour through a fine-mesh sieve into a clean bowl—it seems fussy, but it makes all the difference for silkiness.
- Cool and store:
- Let it cool before pouring into sterilized jars; I always swipe a little from the spatula just for me, then into the fridge it goes.
 Save to Pinterest
 There’s a memory I cherish when Lemon Curd turned an ordinary Tuesday breakfast into a mini celebration—my partner and I spreading it onto toast, surprised by the spark of happiness from something so tart and cheerful. In moments like those, this curd feels less like a recipe and more like a small gift to start the day right.
Beyond Just Toast: Lemon Curd Ideas
I discovered by accident how good this lemon curd is swirled through Greek yogurt or layered in a quick parfait when dessert cravings hit after dinner. Leftover cake scraps and a spoonful of curd turned into a “fancy” treat that had everyone asking for the recipe.
Making It Dairy-Free
I once ran out of butter and gave plant-based a try—the result was still rich and creamy, with the lemon flavor even more pronounced. If you’re cooking for guests with dairy restrictions, swapping the butter means no one misses out on this zesty delight.
Storing, Gifting, and Sneaky Spoonfuls
Pouring warm curd into little jars and sealing them up makes it feel special; I sometimes tie on ribbons and tuck them into gift baskets. Make sure the jars are scrupulously clean and cooled before adding curd—and don’t forget to label the jars with the date, just in case they somehow last more than a week in your fridge!
- You can freeze lemon curd for longer storage if you leave a bit of space at the top.
- A silicone spatula helps get every last bit out of the bowl and into jars.
- Never pour hot curd straight onto plastic or non-sterile containers—it needs to cool off first!
 Save to Pinterest
 However you enjoy it, this sunshiny lemon curd always brings a little sparkle to the everyday. Whip up a batch—you’ll be amazed how quickly it disappears!
Recipe FAQs
- → How can I tell when the curd is done?
-
It’s ready when it thickly coats the back of a spoon and a finger drawn across the spoon leaves a clear line. The mixture should register a noticeable thickness after 8–10 minutes over gentle heat.
- → Can I make it dairy-free?
-
Yes—substitute plant-based butter and proceed the same way. The texture will be similar; adjust for salt if the alternative butter is unsalted.
- → Why strain the curd?
-
Straining removes bits of zest and any cooked egg solids, yielding a smoother, silkier finish—strain once for texture, twice for ultra-smooth results.
- → How should I store it?
-
Transfer cooled curd to sterilized jars and refrigerate. Stored airtight, it keeps well for up to two weeks; always use a clean utensil to avoid contamination.
- → Can I use bottled lemon juice?
-
Fresh lemon juice gives brighter aroma and zest flavor. Bottled juice will work but may yield a flatter citrus note; increase zest slightly to boost freshness.
- → Can I freeze lemon curd?
-
Yes—freeze in airtight containers, leaving headspace for expansion. Thaw slowly in the refrigerator and whisk before using to restore a smooth texture.
