 Save to Pinterest
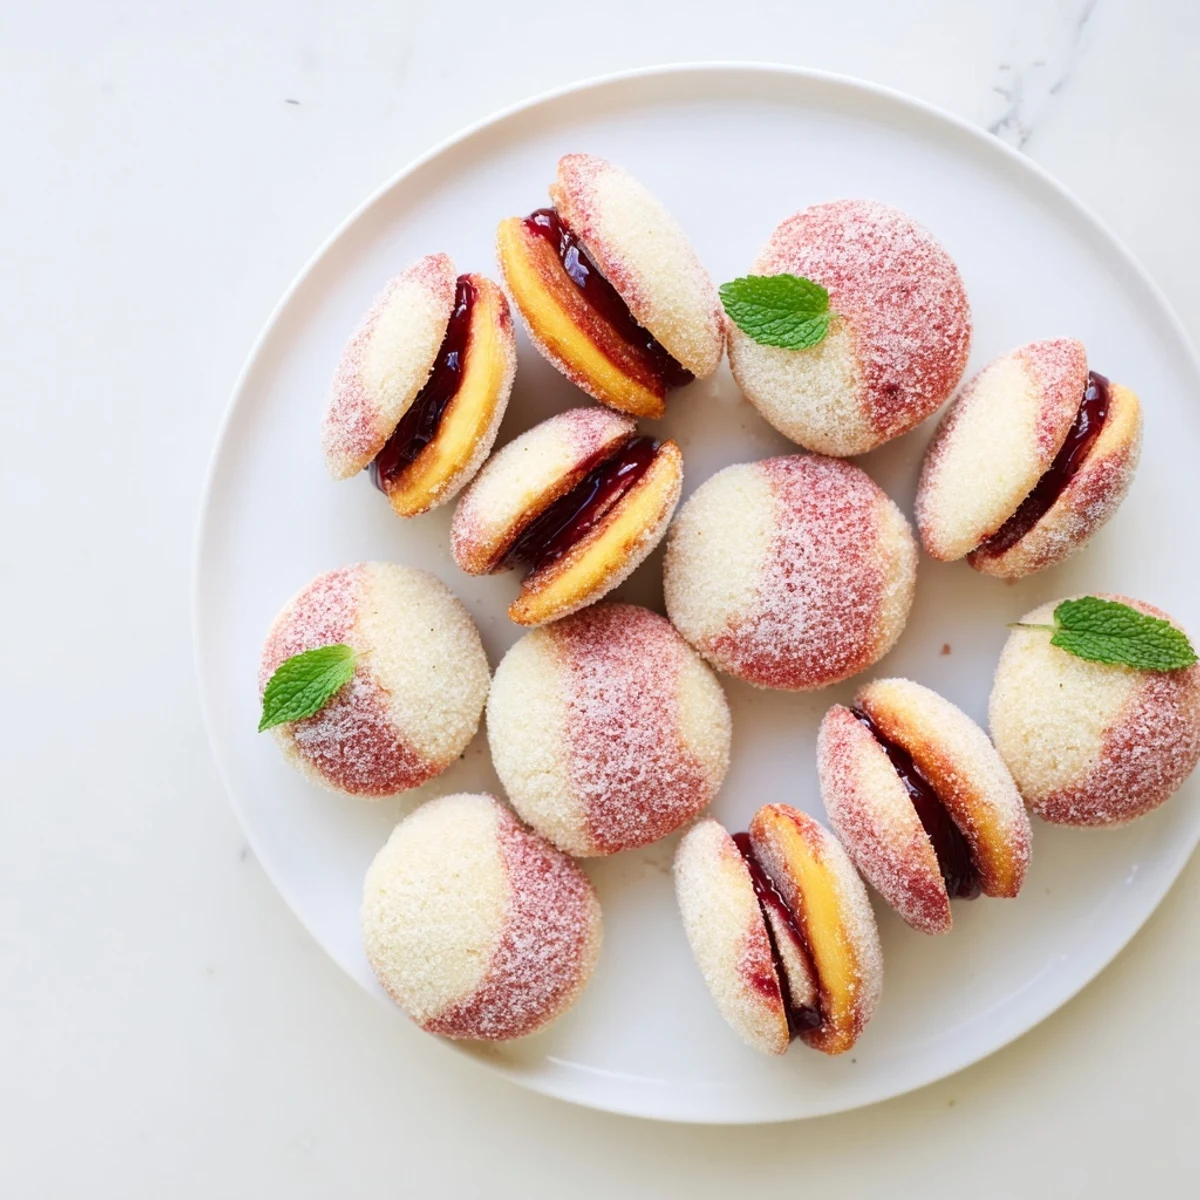
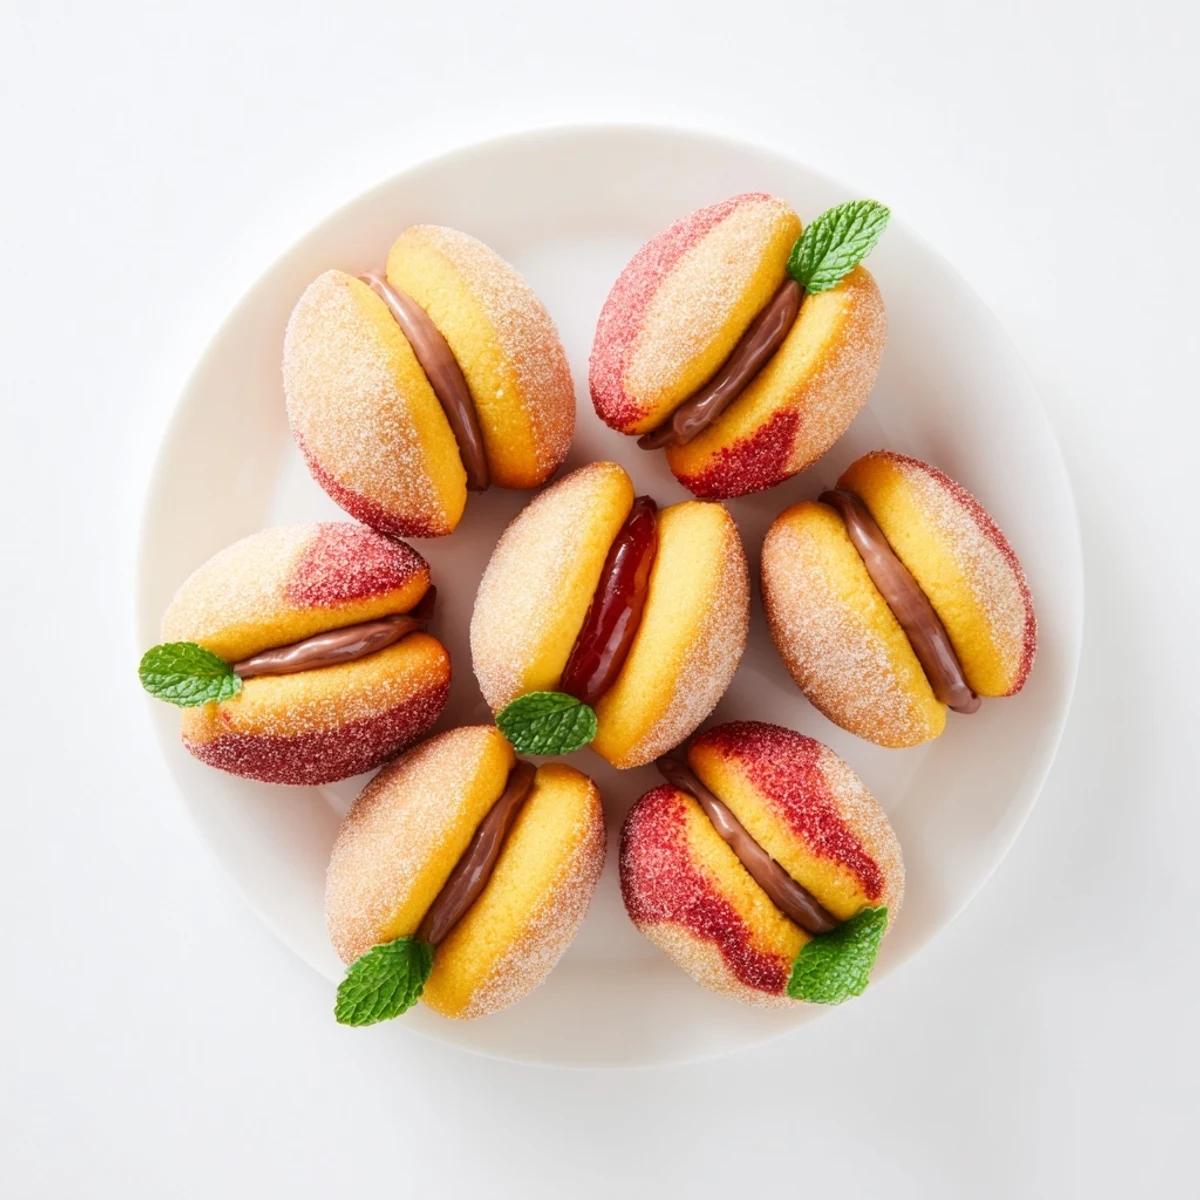
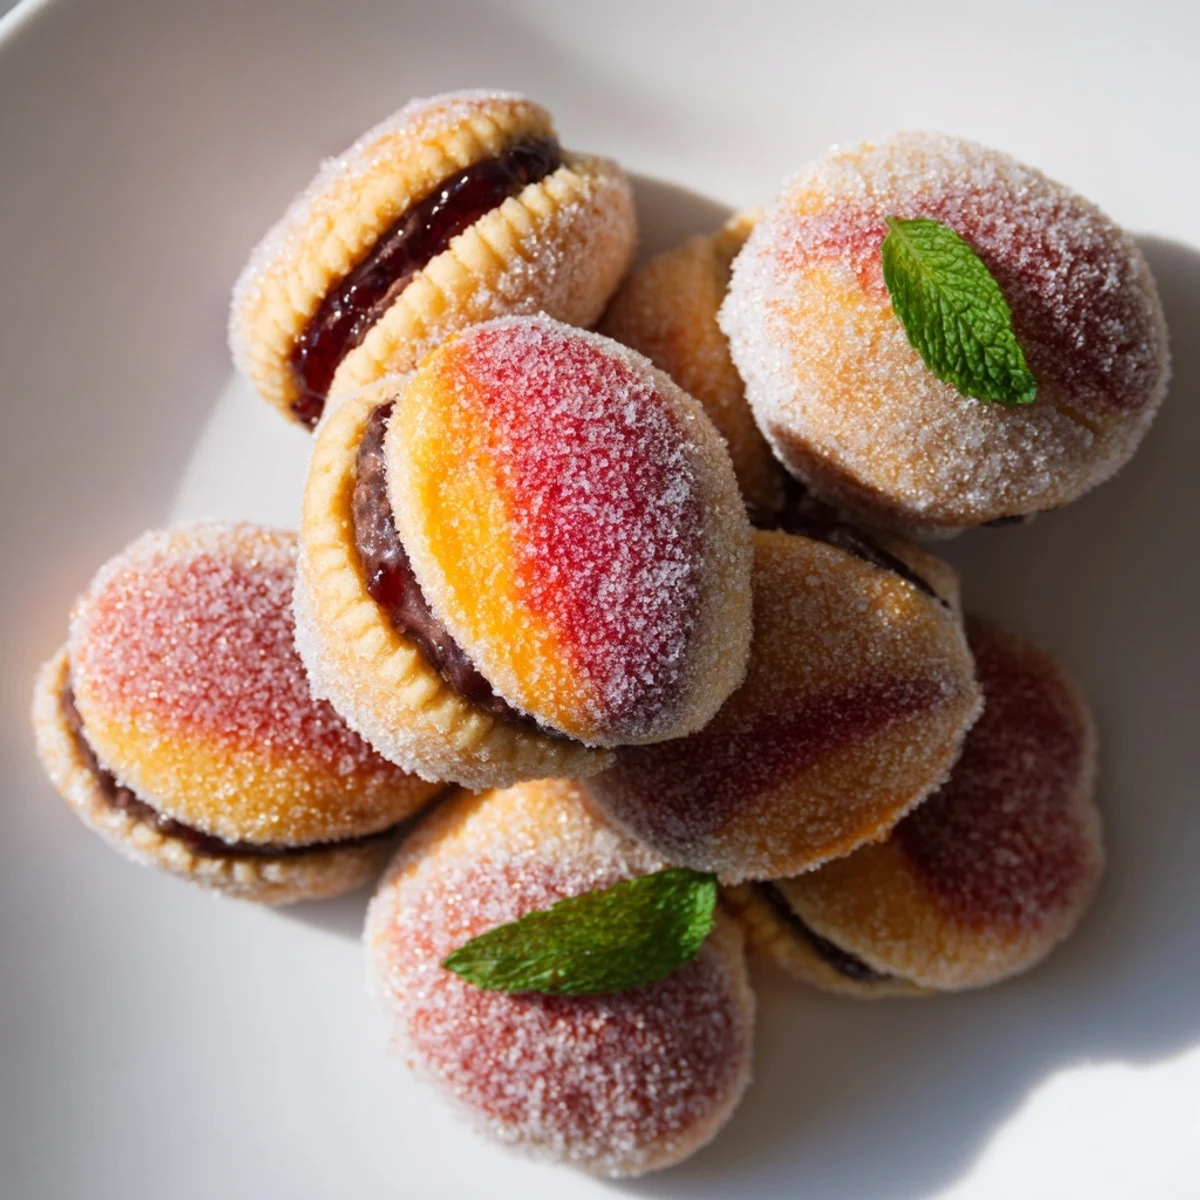
 Craft beautiful peach-shaped sandwich cookies that look almost too good to eat. These Italian delights feature tender buttery cookies filled with a luscious blend of melted chocolate, jam, and reserved cookie crumbs. The magic happens when you brush them with red and yellow food coloring, then roll in sparkling sugar for that authentic peach fuzz finish. Top with fresh mint leaves for the stem and you have dessert masterpieces that will impress everyone at your next gathering.
The summer my Italian neighbor Maria taught me to make peach cookies, I kept laughing because they looked like little peaches sitting on her tray. She explained these are traditional Italian festa cookies, meant to surprise and delight guests who think they are about to eat fruit. The moment I bit into my first one, expecting fruit but finding rich chocolate and jam instead, I understood the magic completely.
I made these for my daughters birthday party last year and watched every single guest do a double take at the dessert table. My father in law picked one up, turned it over suspiciously, then took the most cautious bite Ive ever seen. His eyes went wide when he realized what he was actually eating, and he reached for another one immediately.
Ingredients
- All purpose flour: The structure of these cookies depends on the right flour ratio, so measure carefully for the perfect tender crumb
- Unsalted butter: Soften it completely so it creams beautifully with the sugar, creating that light texture that makes the filling shine
- Granulated sugar: Cream this thoroughly with butter until the mixture looks pale and fluffy for the best cookie texture
- Eggs: Room temperature eggs incorporate better, preventing the dough from separating during mixing
- Whole milk: Add this slowly to help bring the dough together without making it too sticky to handle
- Baking powder: This gentle lift keeps the cookies tender rather than cakey or dense
- Salt: Just a pinch wakes up all the flavors and balances the sweetness
- Vanilla extract: Pure vanilla makes all the difference here since the flavor is subtle but essential
- Lemon zest: Fresh zest adds brightness that cuts through the rich filling beautifully
- Peach or apricot jam: The jam provides fruitiness and helps bind the chocolate filling together
- Dark chocolate: Use good quality chocolate because the flavor really comes through in the small filling
- Heavy cream: This makes the chocolate silky and helps create the perfect filling consistency
- Red and yellow food coloring: Mix these separately with water so you can paint realistic peach gradients
- Extra granulated sugar: Rolling the finished cookies in sugar gives them that authentic fuzzy peach appearance
- Fresh mint leaves: These little leaves make the peaches look impossibly realistic on the serving plate
Instructions
- Preheat your oven:
- Set the oven to 175 degrees Celsius and line two baking sheets with parchment paper so nothing sticks.
- Cream the butter and sugar:
- Beat them together until the mixture is light and fluffy, which takes about three minutes of serious mixing.
- Add the eggs and flavorings:
- Beat in eggs one at a time, then mix in the vanilla and lemon zest until everything is combined.
- Whisk the dry ingredients:
- In another bowl, combine the flour, baking powder, and salt so they distribute evenly.
- Combine everything:
- Gradually mix the dry ingredients into the butter mixture, alternating with milk until a soft dough forms.
- Shape the cookies:
- Roll tablespoons of dough into balls and place them two inches apart on the prepared baking sheets.
- Bake until set:
- Bake for fifteen to eighteen minutes until they are just set and lightly golden on the bottom.
- Cool and create cavities:
- Let the cookies cool completely, then carefully scoop out a small hollow from the flat side of each.
- Make the filling:
- Melt the chocolate with cream until smooth, then stir in the jam and reserved cookie crumbs.
- Fill and sandwich:
- Fill one cookie half with the chocolate mixture and press another half gently on top to form a peach shape.
- Paint the peaches:
- Brush each cookie with red and yellow coloring mixed with water, blending them to look like real peaches.
- Roll in sugar:
- Coat each colored cookie generously in granulated sugar for that authentic fuzzy peach finish.
- Add the finishing touch:
- Tuck a fresh mint leaf into the top of each peach for the most realistic appearance possible.
 Save to Pinterest
 These cookies have become my go to contribution for summer potlucks because they travel well and never fail to make people smile. Last year I brought them to a Fourth of July party and the children were absolutely enchanted by them. They kept picking them up and examining them like little treasures before finally taking that first surprised bite.
Getting The Shape Right
The secret to realistic peach shapes is hollowing out just enough cookie to create a good cavity for filling without making the walls too thin. I learned this the hard way when my first batch cracked from being too delicate. A small teaspoon or melon baller works better than a knife for this job.
Perfecting The Peach Color
Mix your food coloring with a few drops of water in small separate bowls so you can paint the colors on rather than dipping them. Start with yellow on one side and blend into red toward the other side, just like real peaches have that natural gradient. The colors look subtle at first but deepen beautifully as they dry.
Storage And Serving Tips
These cookies actually taste better on the second day when the flavors have had time to meld together and the cookie softens slightly from the filling moisture. Store them in a single layer in an airtight container at room temperature.
- Place a piece of parchment paper between layers if you need to stack them
- Let them come to room temperature before serving for the best texture
- The mint leaves should be added right before serving so they stay fresh
 Save to Pinterest
 There is something so joyful about serving food that plays with expectations in such a delightful way. These peach cookies always bring smiles and surprise, which is exactly what dessert should do.
Recipe FAQs
- → How do I get the peach coloring right?
-
Mix small bowls of water with red and yellow food coloring separately. Lightly brush the cookies, blending the colors naturally to mimic real peach skin. Start with yellow at the center and add red blush toward the edges for authentic results.
- → Can I make the dough ahead of time?
-
Yes, you can refrigerate the dough for up to 24 hours before baking. Let it come to room temperature slightly before rolling into balls for easier handling.
- → What other fillings work well?
-
Try apricot, raspberry, or cherry jam instead of peach. You can also use Nutella, pastry cream, or buttercream filling for different flavor variations.
- → Why do I need to scoop out the cookie center?
-
Creating a small cavity allows more filling space and helps the two cookie halves nestle together properly when sandwiched, creating that characteristic peach shape.
- → How should I store these cookies?
-
Store in an airtight container at room temperature for up to 3 days. For longer storage, keep in the refrigerator for up to a week. They actually taste better the next day as flavors meld.
- → Can I freeze these peach cookies?
-
Freeze unfilled baked cookies for up to 3 months. Thaw and fill when ready to serve. Filled cookies can be frozen but the sugar coating may become slightly sticky.
