 Save to Pinterest
 These classic tender cookies deliver pure buttery richness with every bite. The dough comes together quickly with simple pantry staples, resulting in treats that literally melt on your tongue.
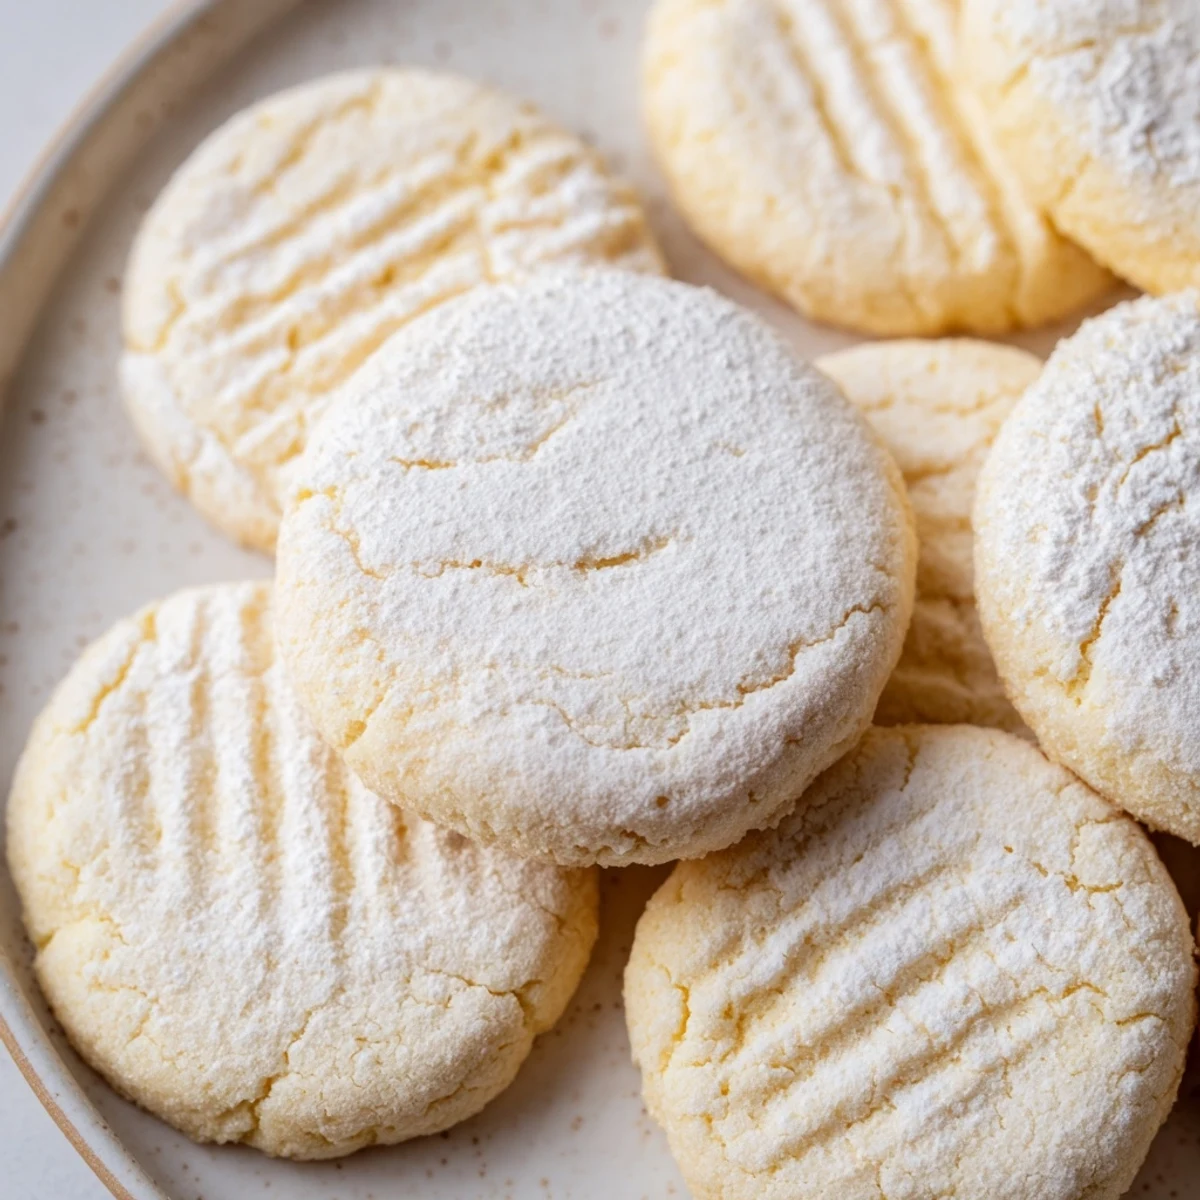
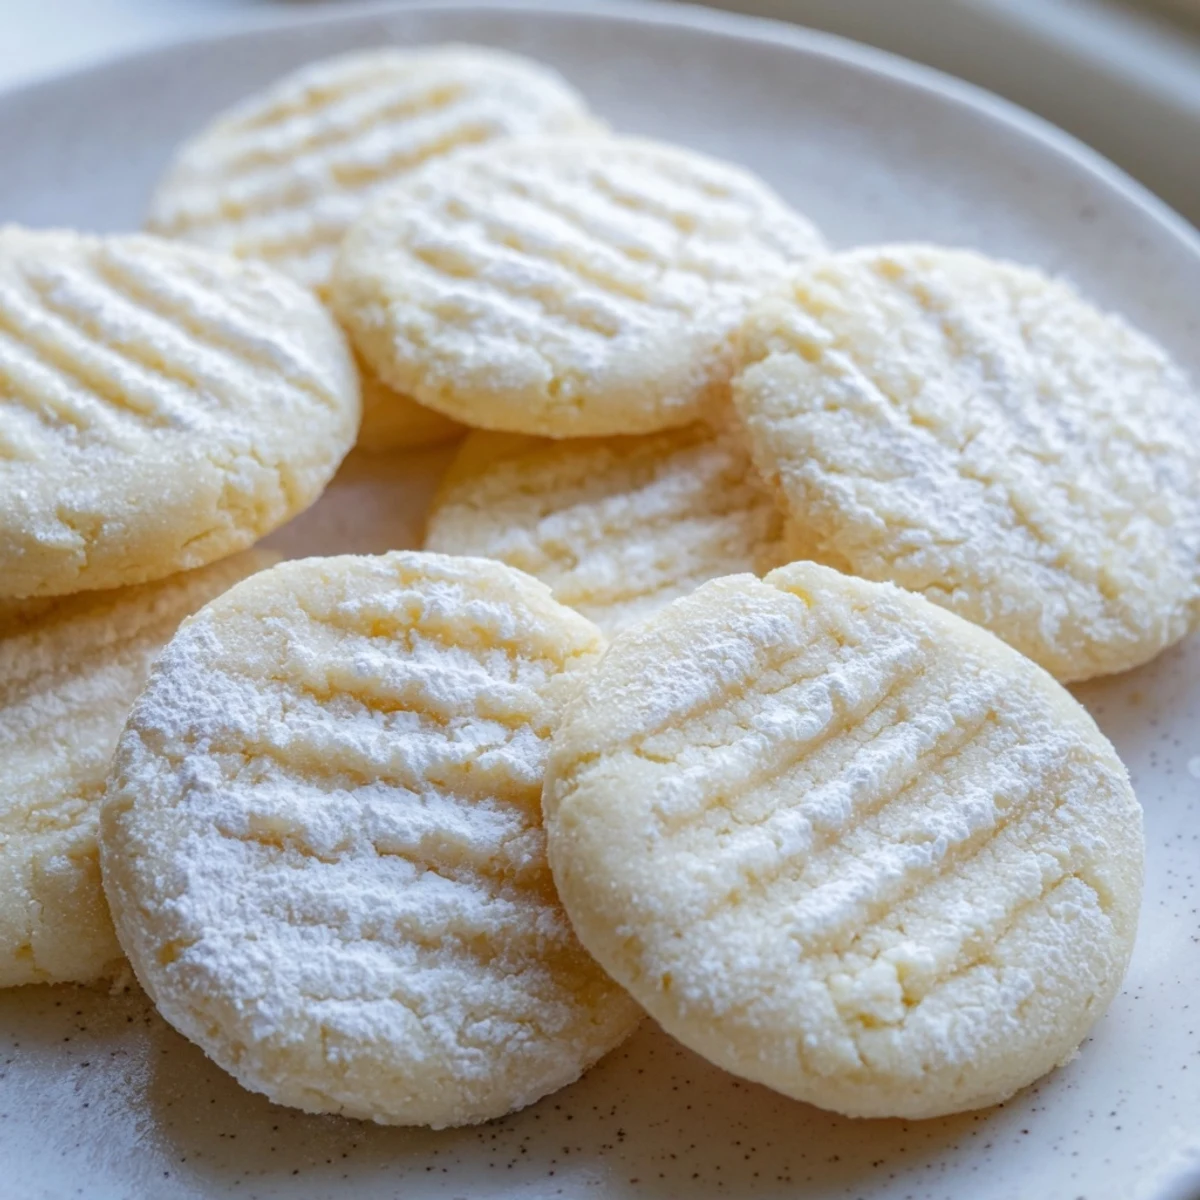
Baking at 350°F for just 10-12 minutes yields perfectly golden edges while keeping centers soft. The optional powdered sugar dusting adds an elegant finish, though a chocolate dip creates an equally stunning variation.
Store in an airtight container for up to a week—though they rarely last that long. Ideal for holiday platters, afternoon tea, or whenever cravings strike for something wonderfully nostalgic.
The smell of butter hitting sugar triggers something deep in my memory. I was probably seven years old, standing on a chair in Grandma's kitchen, watching her cream those two ingredients together with a wooden spoon. She'd let me sneak a finger swipe when she thought nobody was looking. That taste of pure sweet buttery bliss still defines everything I love about baking.
Last Christmas, my neighbor knocked on my door holding an empty Tupperware container. She'd received some of these cookies from another neighbor and had to track down the source. We ended up trading cookie stories for an hour on her porch while snow fell around us. Sometimes the simplest recipes create the biggest connections.
Ingredients
- All-purpose flour: The structure builder. I've learned that measuring by weight gives the most consistent results, but the scoop-and-level method works fine too.
- Sea salt: Don't skip this. It balances all that buttery sweetness and makes the flavors pop.
- Unsalted butter: Use real butter, never margarine. Room temperature butter creates that perfect creamy texture we're after.
- Granulated sugar: Provides just enough sweetness and helps create those crispy edges.
- Egg yolk: The yolk adds richness without making the cookie cakey. Save the whites for another use.
- Pure vanilla extract: The aromatic backbone. I splurge on the good stuff because you can taste the difference.
- Powdered sugar: Optional, but that snowy dusting makes them look bakery-perfect.
Instructions
- Prep your baking space:
- Preheat your oven to 350°F (180°C). Line two baking sheets with parchment paper. I like to use silicone baking mats too, they're reusable and give great results.
- Mix the dry ingredients:
- In a medium bowl, whisk together the flour and salt until well combined. Set aside.
- Cream butter and sugar:
- Beat the butter and granulated sugar together until light and fluffy, about 3 minutes. You'll know it's ready when the mixture looks pale and feels like soft clouds.
- Add the flavor:
- Mix in the egg yolk and vanilla extract until everything is incorporated. Scrape down the sides of the bowl to catch any pockets of butter.
- Combine everything:
- Gradually add the flour mixture to the wet ingredients, mixing just until the dough comes together. Don't overmix or the cookies will be tough.
- Shape the cookies:
- Roll tablespoonfuls of dough into balls and place them 2 inches apart on the prepared baking sheets. I use a small cookie scoop for uniform sizing.
- Add the signature look:
- Gently press each ball with the tines of a fork or the bottom of a glass to flatten slightly. This creates those classic ridges that hold the powdered sugar perfectly.
- Bake to golden perfection:
- Bake for 10-12 minutes, until the edges are just turning golden. The centers might look slightly underbaked but they'll firm up as they cool.
- Cool completely:
- Let the cookies rest on the baking sheet for 5 minutes before transferring to a wire rack. This cooling step is crucial for texture.
- Finish with flair:
- Dust cooled cookies lightly with powdered sugar if desired. A fine mesh sieve works wonders for even distribution.
 Save to Pinterest
 My daughter started helping me make these when she was six. Now at twelve, she can make them entirely by herself. Last weekend she brought a batch to her school bake sale and came home with a note from her teacher asking for the recipe. Watching her pass down this tradition feels like the best kind of inheritance.
Making Them Your Own
I've dipped half of each cooled cookie in melted dark chocolate and sprinkled them with sea salt. The combination of buttery vanilla cookie and bittersweet chocolate creates this sophisticated flavor profile that adults go crazy for. Just make sure the cookies are completely cooled before dipping, or the chocolate will slide right off.
Storage Secrets
These actually improve after a day. The flavors meld together and the texture becomes even more tender. I store them in a glass container with a piece of white bread, which keeps them soft. The bread trick was passed down from my grandmother and works like magic. They stay fresh for up to a week.
Timing Is Everything
The best time to bake these is early morning. Your kitchen will smell incredible all day long. Plus, they make the house feel so welcoming before anyone even takes a bite. I've started keeping a stash of frozen dough balls in the freezer for unexpected guests.
- Room temperature ingredients are non-negotiable for the right texture
- Chill your baking sheets between batches for consistent results
- Let the pan cool completely before adding the next batch of dough
 Save to Pinterest
 There's something magical about recipes that connect generations. Every batch I make carries those memories of Grandma's kitchen, and now I'm building new ones with my own family. That's the real secret ingredient.
Recipe FAQs
- → Why are my cookies spreading too much?
-
Chill the dough for 30 minutes before baking if your kitchen is warm. Room temperature butter should still feel cool to the touch, not soft or greasy. Measuring flour correctly prevents excess spread.
- → Can I make these ahead of time?
-
Absolutely. Form dough balls, freeze on a baking sheet, then transfer to a freezer bag. Bake straight from frozen, adding 1-2 minutes to baking time. Finished cookies also freeze beautifully for up to 3 months.
- → What's the secret to the tender texture?
-
Creaming butter and sugar for the full 3 minutes incorporates tiny air pockets, creating lightness. Avoid overmixing once flour is added—this prevents gluten development that would make them tough instead of tender.
- → Can I use salted butter instead?
-
Yes, simply reduce the added salt to 1/4 teaspoon. The flavor will be slightly different but still delicious. Many home bakers actually prefer salted butter for enhanced overall flavor balance.
- → Why do I need just the egg yolk?
-
Egg yolks add richness and tenderness thanks to their fat content. The extra moisture creates that signature melt-in-your-mouth quality. Whole eggs would make them slightly more cakey rather than tender.
- → How do I know when they're done?
-
Look for barely golden edges—the centers should still look slightly underbaked. They'll continue cooking on the hot baking sheet during those 5 minutes of cooling time. Overbaking makes them crisp rather than tender.
