 Save to Pinterest
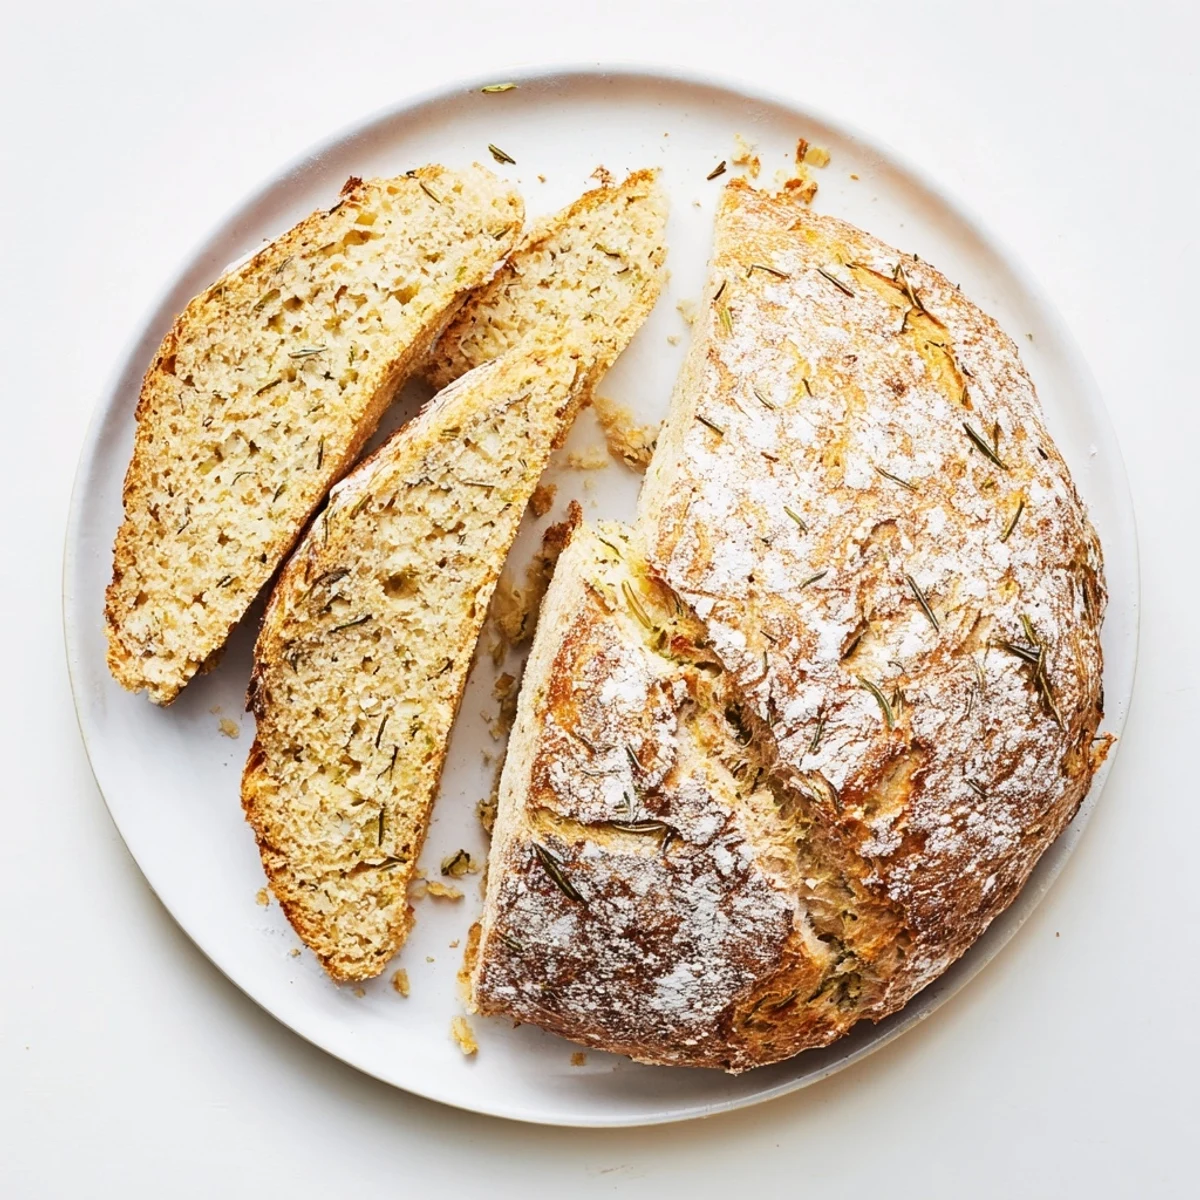
 Craft a bakery-quality loaf with minimal effort using a Dutch oven. The combination of fresh garlic and fragrant rosemary creates an irresistible aroma while the enclosed cooking environment produces that sought-after crackling crust and tender crumb. This versatile European-style bread pairs beautifully with soups, serves as an exceptional accompaniment to pasta dishes, or stands alone when drizzled with quality olive oil.
The winter after I moved into my first apartment, my kitchen barely had room for a cutting board, but somehow I justified buying a Dutch oven. My grandmother laughed when she saw it, then taught me this bread recipe the next weekend, explaining that great bread doesn't need a stand mixer or fancy skills—just patience and the confidence to handle sticky dough.
Last autumn, my neighbor knocked on my door while this bread was baking, asking what smelled so incredible. I ended up giving her half the loaf still warm from the oven, and now we exchange garden herbs for fresh bread every week. Food has this way of building community without either person trying very hard.
Ingredients
- 3 1/4 cups bread flour: High-protein flour creates the structure needed for that beautiful oven rise and chewy crumb
- 2 tsp fine sea salt: Don't skip this or reduce it—salt is essential for flavor and proper gluten development
- 1/2 tsp active dry yeast: The long fermentation means you need less yeast than typical recipes
- 1 1/2 cups lukewarm water: Temperature matters—too hot kills yeast, too cold slows everything down
- 2 tbsp olive oil: Keeps the dough supple and adds subtle richness to the final loaf
- 4 cloves garlic, minced: Fresh garlic perfume throughout every bite, not just in spots
- 2 tbsp fresh rosemary, finely chopped: Dried rosemary works in a pinch, but fresh has this piney brightness that makes the bread sing
- Extra flour or cornmeal for dusting: Prevents sticking and adds that professional looking finish to your crust
Instructions
- Mix the dry foundation:
- Whisk together bread flour, salt, and yeast in a large bowl until everything is evenly distributed
- Bring the dough together:
- Stir in the lukewarm water and olive oil until a shaggy, sticky dough forms—this is exactly how it should look
- Add the aromatic duo:
- Fold in the minced garlic and rosemary, mixing gently just enough to distribute them throughout
- Let time work its magic:
- Cover the bowl and let the dough rise at room temperature for 2 to 3 hours until it has doubled in size
- Shape with confidence:
- Turn the dough onto a floured surface and with floured hands shape it gently into a ball, being careful not to deflate all those beautiful air bubbles
- Prepare for the oven:
- Place dough seam side down on parchment paper, cover loosely, and let rise for another 30 to 45 minutes while you preheat your Dutch oven
- Get everything seriously hot:
- Place your Dutch oven with its lid in the oven and preheat to 450°F for at least 30 minutes—this creates the steam environment that makes artisan crusts possible
- Transfer with care:
- Carefully lift the hot Dutch oven out, use the parchment to lower the dough inside, and cover immediately with the lid
- Bake covered first:
- Cook for 30 minutes with the lid on to trap steam and develop that incredible rise
- Reveal the golden beauty:
- Remove the lid and bake for an additional 12 to 15 minutes until the crust is deep golden brown and sounds hollow when tapped
- Exercise patience:
- Cool on a rack for at least 20 minutes before slicing—cutting into hot bread ruins the texture, and I speak from experience
 Save to Pinterest
 My youngest daughter helped me make this for the first time when she was eight, and now at fourteen, it is still her favorite kitchen project. She has become the family bread expert, correcting anyone who tries to rush the rising time or peek under the lid too early. Watching her gain confidence in the kitchen through this recipe has been the unexpected joy of teaching her to cook.
Making It Your Own
Kalamata olives add this briny punch that cuts through the richness, while sun dried tomatoes bring sweetness and chew. I once added chopped walnuts when I was out of rosemary, and that earthy crunch became my new favorite variation. The base dough is so forgiving that almost any savory addition works beautifully.
Timing Your Bake
This bread is at its absolute best within four hours of baking, when the crust is still crisp and the interior is steamy soft. I often start the dough in the morning so it is ready to bake just before dinner. The long rise gives you flexibility to work around your schedule rather than the other way around.
Serving Suggestions
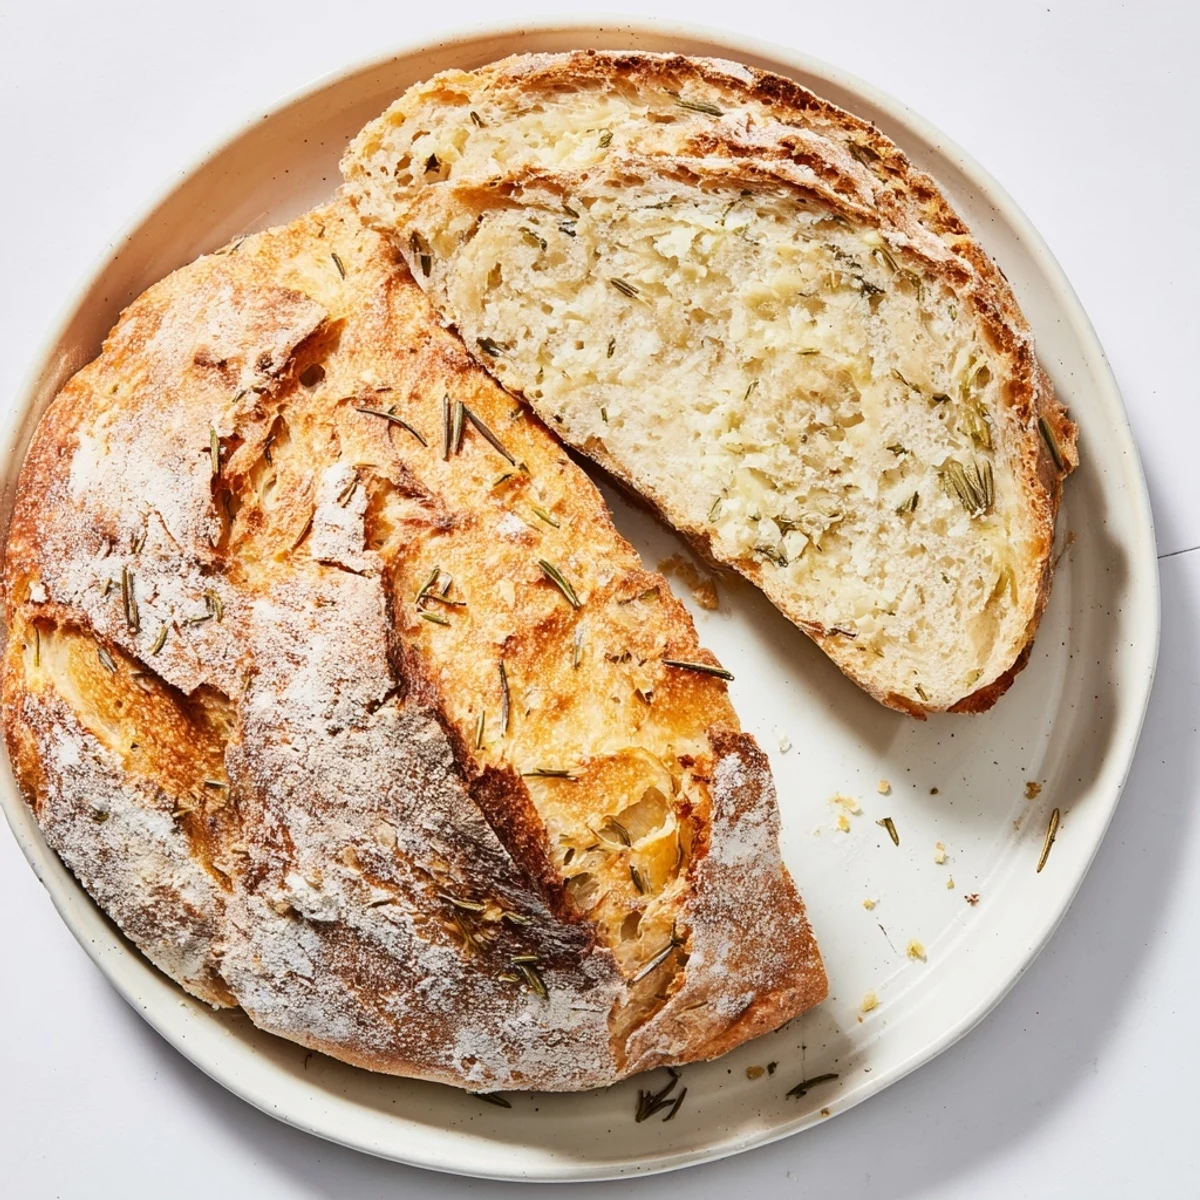
Tear off chunks while still warm and dip them in good olive oil with flaky salt for the simplest luxury. Slice thick for grilled cheese sandwiches or toast leftovers and rub with raw garlic for breakfast bruschetta. This bread also makes the most incredible panzanella when slightly stale.
- Pair with a hearty soup or stew for a complete meal
- Use day old slices to make the best croutons you have ever tasted
- Freeze extra loaves wrapped tightly in plastic and thaw at room temperature
 Save to Pinterest
 There is something profoundly satisfying about pulling a golden loaf from a simple pot, knowing your hands created something this beautiful from the most basic ingredients. May your kitchen always smell like rosemary and warm bread.
Recipe FAQs
- → Why use a Dutch oven for bread?
-
The Dutch oven creates a steam-filled environment that mimics professional deck ovens, resulting in superior oven spring and a crispy, golden crust that's difficult to achieve with regular baking sheets.
- → Can I use dried rosemary instead of fresh?
-
Fresh rosemary provides the best flavor profile, but you can substitute 2 teaspoons of dried rosemary. Add it earlier during mixing to allow the dried herbs time to rehydrate and release their oils.
- → How do I know when the bread is done?
-
The crust should be a deep golden brown color, and the loaf should sound hollow when tapped on the bottom. An instant thermometer inserted into the center should read between 200-205°F (93-96°C).
- → Can I make this without a Dutch oven?
-
You can bake on a baking stone or heavy sheet pan, but create steam by placing a pan of hot water on the bottom rack. The crust won't be quite as crisp, but you'll still get delicious results.
- → How should I store leftovers?
-
Wrap in a cloth or paper bag at room temperature for up to 2 days. For longer storage, slice and freeze in an airtight container. Revive day-old bread by warming in a 350°F oven for 10 minutes.
- → Can I add other ingredients?
-
This versatile dough welcomes additions like chopped Kalamata olives, sun-dried tomatoes, caramelized onions, or grated Parmesan. Fold them in during step 3 when adding the aromatics.
