 Save to Pinterest
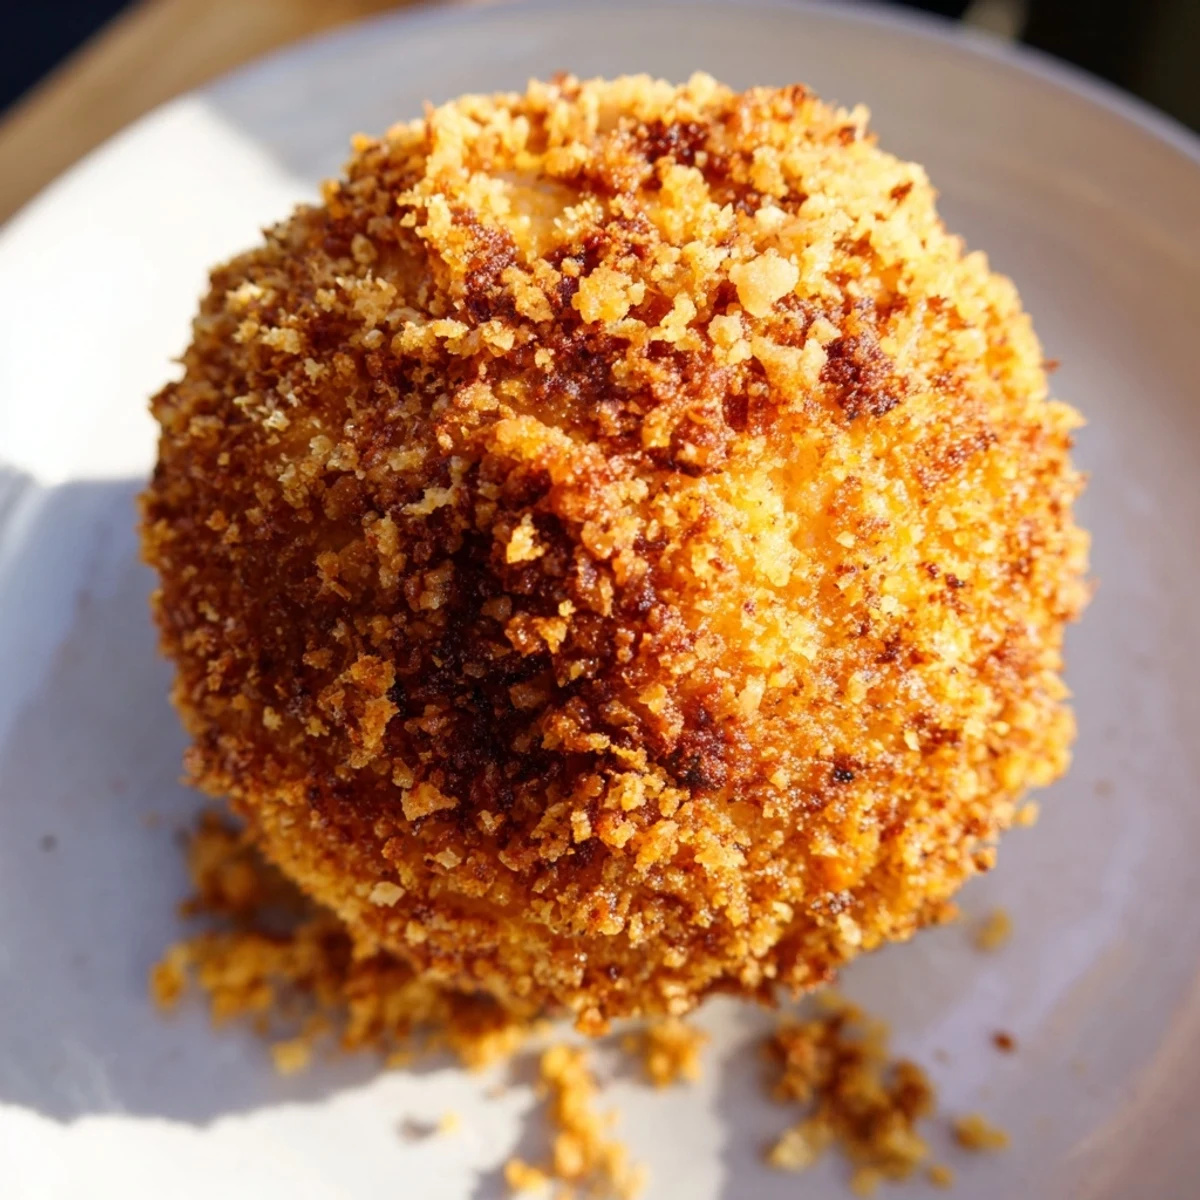
 These golden fried mac and cheese balls combine tender elbow pasta in a rich, creamy cheese sauce, formed into spheres and breaded with panko breadcrumbs for a satisfying crunch. After chilling to set the filling, each ball is deep-fried until golden brown and served hot with your favorite dipping sauce.
The key to success is properly chilling the mac and cheese mixture before forming and breading the balls, ensuring they hold their shape during frying. With a preparation time of 25 minutes, cooking time of 20 minutes, and 2 hours of chilling, you'll have 20 delicious balls perfect for serving 6–8 guests.
I discovered these mac and cheese balls during a frantic last-minute search for Super Bowl party food. The kitchen was already filled with the scent of buffalo wings when I realized we needed something more substantial. As the first batch emerged from the oil, golden and crackling, my guests practically hovered over the stove – those crispy orbs with molten centers disappeared faster than I could drain them on paper towels.
Last year during the playoff season, I set up a little assembly line with my nephew who was visiting from college. We turned the breading process into a competition to see who could coat their balls more perfectly. Between fits of laughter at the inevitable jokes, we created what my brother now requests every time football is on TV, claiming they bring his team luck.
Ingredients
- Sharp cheddar cheese: I learned that using a really good aged cheddar makes all the difference in the world, bringing a complexity that elevates these beyond just comfort food.
- Panko breadcrumbs: After trying regular breadcrumbs and being disappointed, I discovered panko creates that restaurant-quality crunch that stays crispy even after sitting out during halftime.
- Smoked paprika: This was a happy accident when I ran out of regular paprika, but the subtle smoky flavor in the coating complements the richness of the cheese beautifully.
- Elbow macaroni: Cook it just shy of al dente since it will continue to soften slightly in the cheese sauce, preventing mushy centers.
Instructions
- Make the mac and cheese base:
- Cook your macaroni in generously salted water until its just shy of al dente, then drain it well. Meanwhile, create your cheese sauce by melting butter, whisking in flour until it smells slightly nutty, then gradually adding milk until it thickens enough to coat the back of a spoon.
- Build the flavor foundation:
- Off the heat, stir in both cheeses along with the garlic powder, onion powder, salt and pepper until everything becomes gloriously smooth. Watch how the cheese transforms from shreds to a velvety sauce that will make you want to dip a spoon in for a taste test.
- Chill for success:
- After combining the sauce with macaroni, spread it in a shallow dish and let it cool before refrigerating for at least 2 hours. This chilling time is non-negotiable – I once rushed this step and ended up with a breading station disaster of epic proportions.
- Form your cheese treasures:
- Using slightly damp hands, scoop about 2 tablespoons of the chilled mixture and gently roll into balls about the size of a golf ball. Work quickly so they dont warm up too much in your hands.
- Bread like a pro:
- Set up your breading assembly line with flour, beaten egg mixture, and seasoned panko. Use one hand for dry ingredients and one for wet to avoid creating the dreaded breaded fingers that collect more coating than the mac and cheese.
- Fry to golden perfection:
- Heat your oil to exactly 350°F – too cool and theyll absorb oil, too hot and theyll burn before the center warms. Gently lower a few balls at a time into the oil, turning occasionally until they become a beautiful amber color with a satisfying crunch when tapped.
 Save to Pinterest
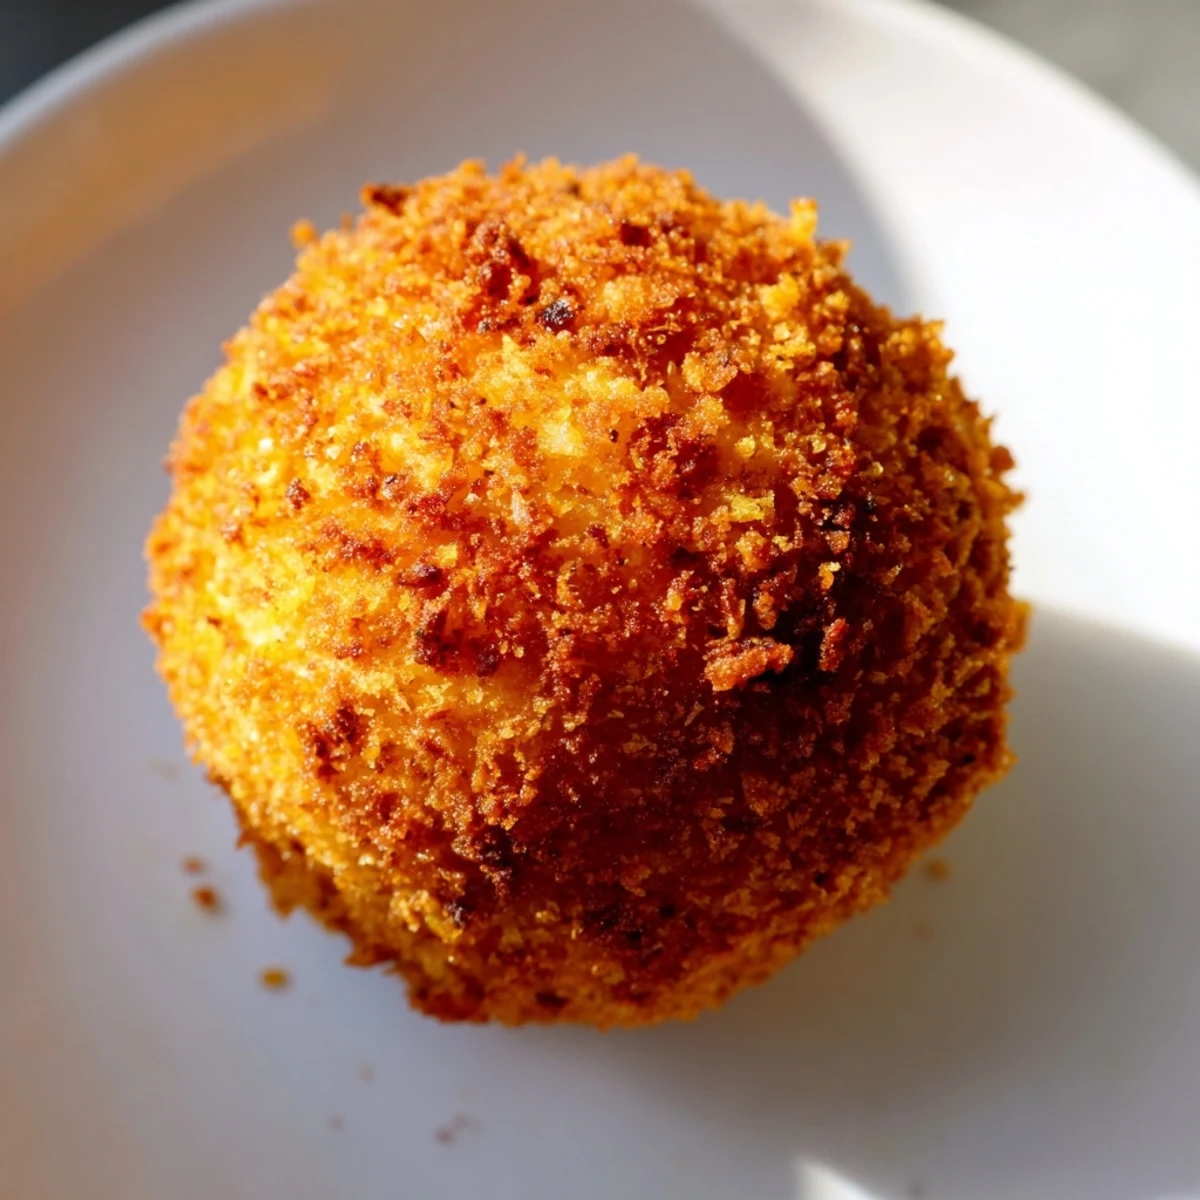
 During one particularly competitive championship game, the score was tied with seconds on the clock when I brought out the last batch of these mac and cheese balls. My friend Matt, who had been anxiously pacing, grabbed one without waiting for it to cool and promptly did a silent dance of pain around the kitchen. Through watering eyes, he declared between huffs of cooling breath that it was worth the burn – then his team scored the winning touchdown as if on cue.
Dipping Sauce Pairings
After years of serving these at gatherings, Ive discovered that offering a variety of dipping options turns these into an interactive experience. My personal favorite is a sriracha aioli that balances the richness, though my brother swears by a simple marinara, and my sister-in-law has been known to mix ranch with buffalo sauce for a creamy kick.
Make-Ahead Strategy
The game-changer for hosting came when I realized I could prepare the mac and cheese base up to two days in advance. You can even form the balls and freeze them solid on a baking sheet, then transfer to a ziplock bag for up to a month, breading and frying them directly from frozen with just a minute or two added to the cooking time.
Troubleshooting Tips
After making these countless times, Ive encountered nearly every possible pitfall. If your cheese sauce seems grainy, lower the heat immediately and add a splash more milk while whisking vigorously to rescue it.
- If your oil temperature drops too much during frying, your balls will be greasy, so work in small batches and allow the oil to return to temperature between rounds.
- A spider strainer or slotted spoon makes transferring the balls from oil to paper towels much easier than tongs, which can accidentally break them open.
- Keep finished balls warm in a 200°F oven if youre making multiple batches, but dont cover them or theyll lose their crispiness.
 Save to Pinterest
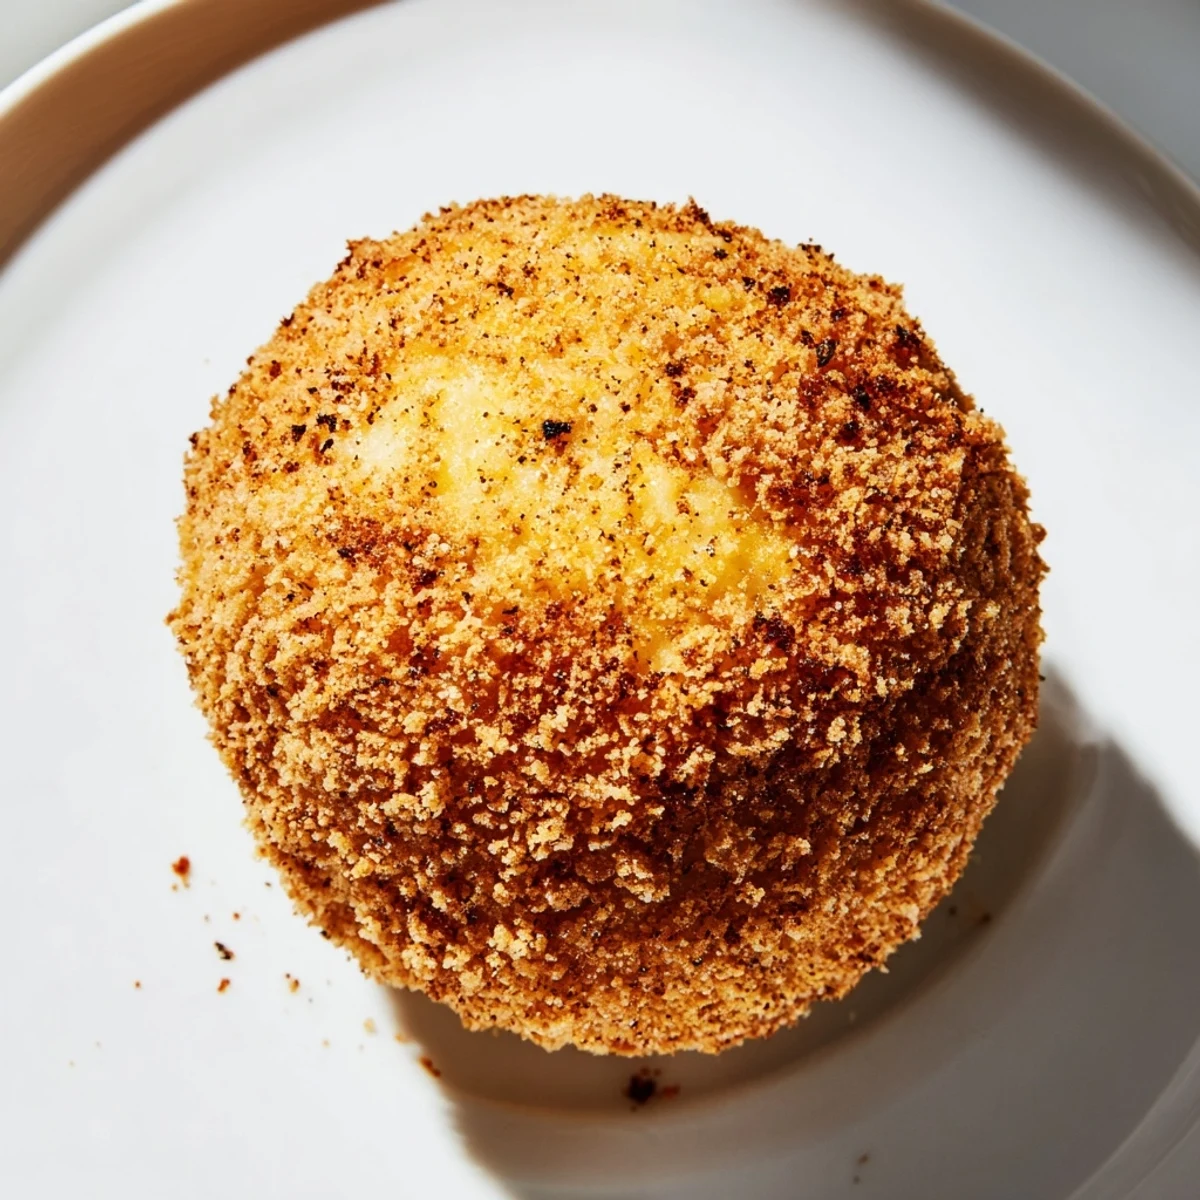
 These golden orbs of cheesy goodness have become more than just a recipe in my household – theyre now a tradition that marks the beginning of every serious sports gathering. Share them with the people who matter most, and watch as they become part of your celebration stories too.
Recipe FAQs
- → How do I prevent the mac and cheese balls from falling apart while frying?
-
The most important step is chilling the mac and cheese mixture for at least 2 hours until it's completely firm. This allows the cheese and pasta to set properly. Additionally, ensure each ball is thoroughly coated with flour, egg wash, and panko breadcrumbs—the layers create a seal that holds the filling inside during frying.
- → Can I prepare these ahead of time?
-
Yes, you can form and bread the balls up to 24 hours in advance. Store them on a tray in the refrigerator, covered with plastic wrap. You can also freeze the breaded balls for up to 3 months. Fry from frozen, adding 1–2 minutes to the cooking time. Cooked balls can be reheated in a 350°F oven for 8–10 minutes.
- → What's the best oil temperature for frying?
-
Maintain the oil at 350°F (175°C) for optimal results. This temperature ensures the exterior becomes golden and crispy while the interior stays warm and creamy without the oil soaking through the coating. Use a kitchen thermometer to monitor the temperature, as it can drop when adding cold balls.
- → What dipping sauces pair well with these?
-
These balls work beautifully with classic ranch dressing, tangy marinara sauce, or a spicy sriracha aioli. You can also try barbecue sauce, buffalo sauce, or a garlic parmesan dip for variety. Prepare your sauce while the balls chill to save time before serving.
- → Can I bake these instead of frying?
-
While deep frying delivers the best texture and golden exterior, you can brush breaded balls with oil and bake them at 400°F for 12–15 minutes, turning halfway through. The result will be less crispy but still delicious and easier to prepare. Air frying is also an excellent option at 375°F for 10–12 minutes.
- → How can I customize the cheese flavor?
-
Experiment with different cheese combinations: try replacing sharp cheddar with mild cheddar for a gentler flavor, or use Gruyère for a nuttier taste. Pepper jack cheese adds a subtle heat, while white cheddar provides a slightly different flavor profile. Keep the total cheese amount at 2.5 cups for the best consistency.
