 Save to Pinterest
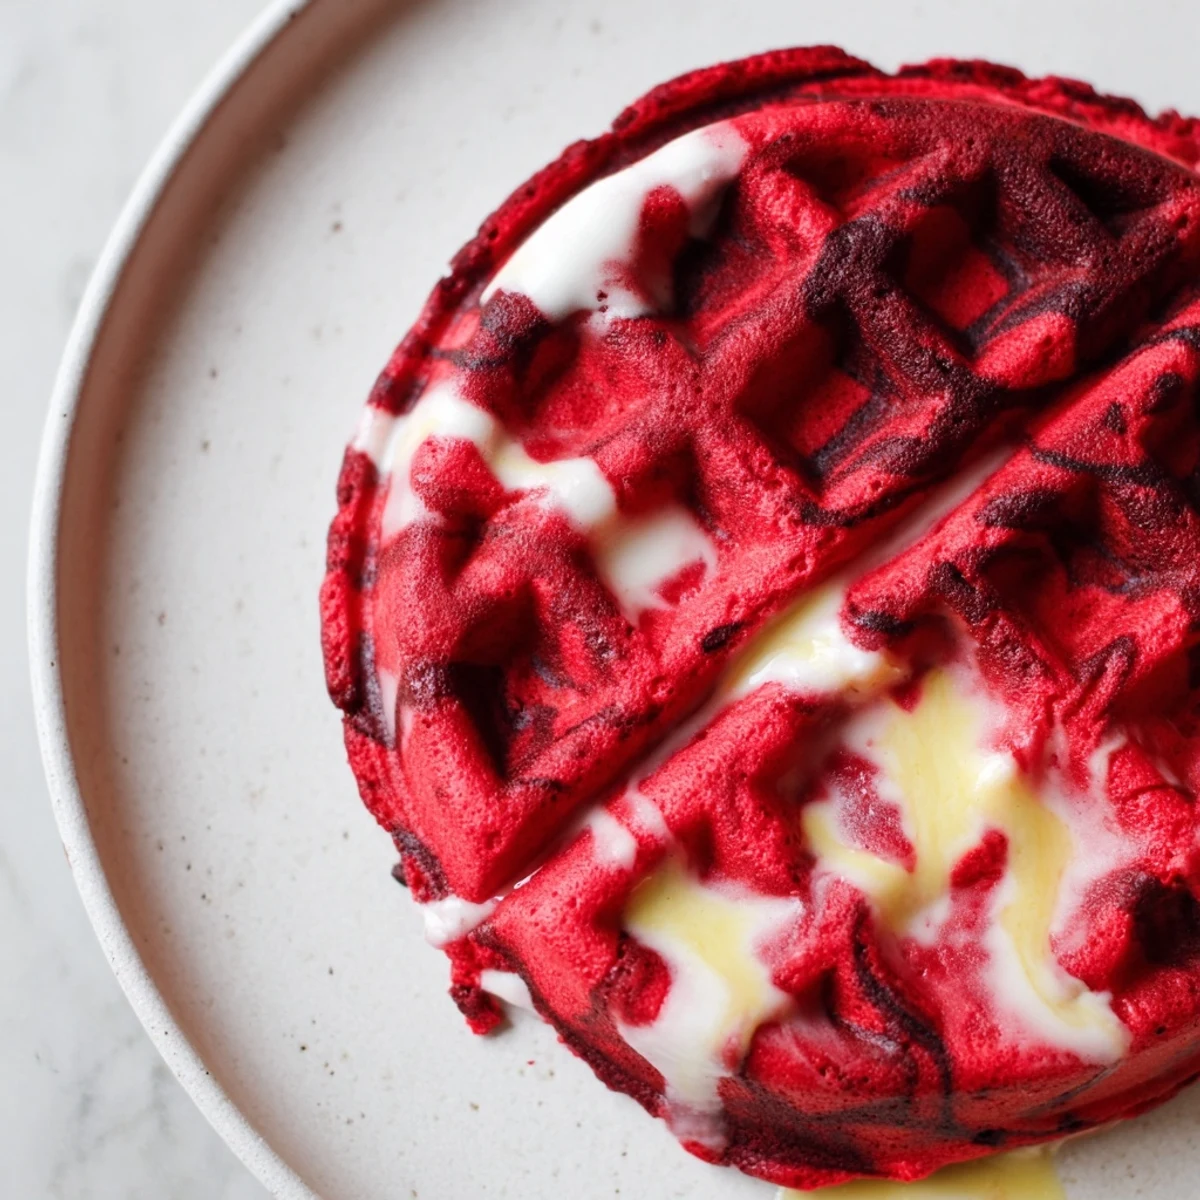
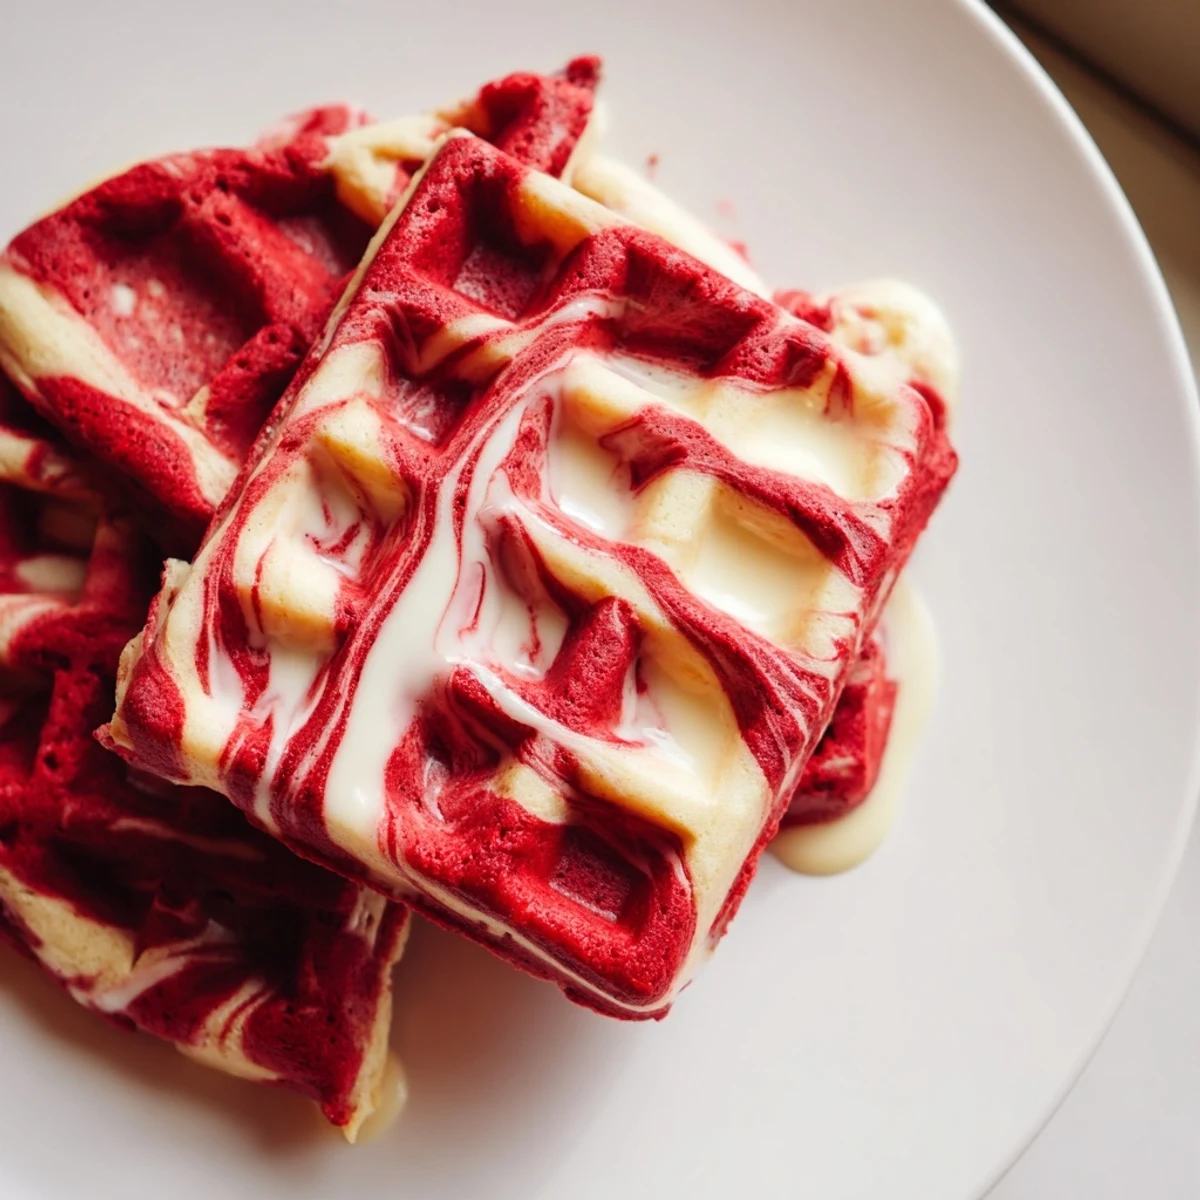
 These striking waffles combine the rich flavors of red velvet with classic vanilla in a beautiful marbled pattern. The cocoa-enhanced red batter swirled with plain vanilla creates both visual appeal and dimensional taste. Ready in just 30 minutes, they deliver the perfect balance of chocolate and vanilla notes with a crisp exterior and tender interior. Ideal for impressing guests at brunch or treating your family to something special.
The morning sun hit our kitchen counter just right, catching the ruby streaks in the waffle batter. My youngest stood on a stool, chin level with the mixing bowl, eyes wide as I folded in that shocking red coloring. Something about breakfast food dressed up like dessert feels like breaking the rules in the best possible way.
My sister in law took one bite and announced these were now her birthday breakfast requirement. That was three years ago. Last weekend she FaceTimed me just to show off her own marble technique, which had evolved into something halfway between art and science.
Ingredients
- 2 cups all-purpose flour: The structure that holds everything together, don't pack it down when measuring
- 2 tbsp granulated sugar: Just enough sweetness to let the vanilla shine without becoming dessert
- 2 tsp baking powder: This is what gives you those beautiful tall waffles that puff up on the iron
- 1/2 tsp baking soda: Works with the buttermilk for extra rise and tenderness
- 1/4 tsp salt: Enhances the chocolate and keeps things from falling flat
- 1 3/4 cups buttermilk, room temperature: The acidity makes them tender and the temperature helps everything blend smoothly
- 2 large eggs: Room temp eggs incorporate better into your batter for consistent texture
- 4 tbsp unsalted butter, melted and slightly cooled: Let it cool a bit so you don't accidentally scramble your eggs
- 1 tsp vanilla extract: Pure vanilla makes the plain portion sing against the chocolate
- 2 tbsp unsweetened cocoa powder: Dutch process gives the deepest color and smoothest flavor
- 1 tbsp red food coloring: Gel coloring won't thin your batter like liquid can
Instructions
- Whisk the dry foundation:
- In a large bowl, combine flour, sugar, baking powder, baking soda, and salt until everything is evenly distributed.
- Blend the wet mixture:
- In another bowl, whisk buttermilk, eggs, melted butter, and vanilla extract until completely smooth and no streaks remain.
- Combine with care:
- Gently fold the wet mixture into the dry ingredients just until combined, some small lumps are perfectly fine.
- Create the swirl:
- Divide batter evenly between two bowls, then whisk cocoa powder and red food coloring into one bowl until well blended.
- Heat things up:
- Preheat your waffle iron and give it a light coating of oil or nonstick spray.
- Layer the magic:
- Dollop alternating spoonfuls of red velvet and vanilla batters onto the hot iron, then gently swirl with a chopstick.
- Wait for perfection:
- Cook until waffles are golden and crisp, about 3 to 5 minutes depending on your waffle iron.
- Finish with flair:
- Serve immediately while still warm with cream cheese glaze, maple syrup, or whatever makes your heart happy.
 Save to Pinterest
 These became our snow day tradition entirely by accident. The first time we made them, we were stuck inside for the third day in a row, running low on everything but basic pantry staples, and somehow that red swirl against fresh snow outside the window felt like the most rebellious act of joy.
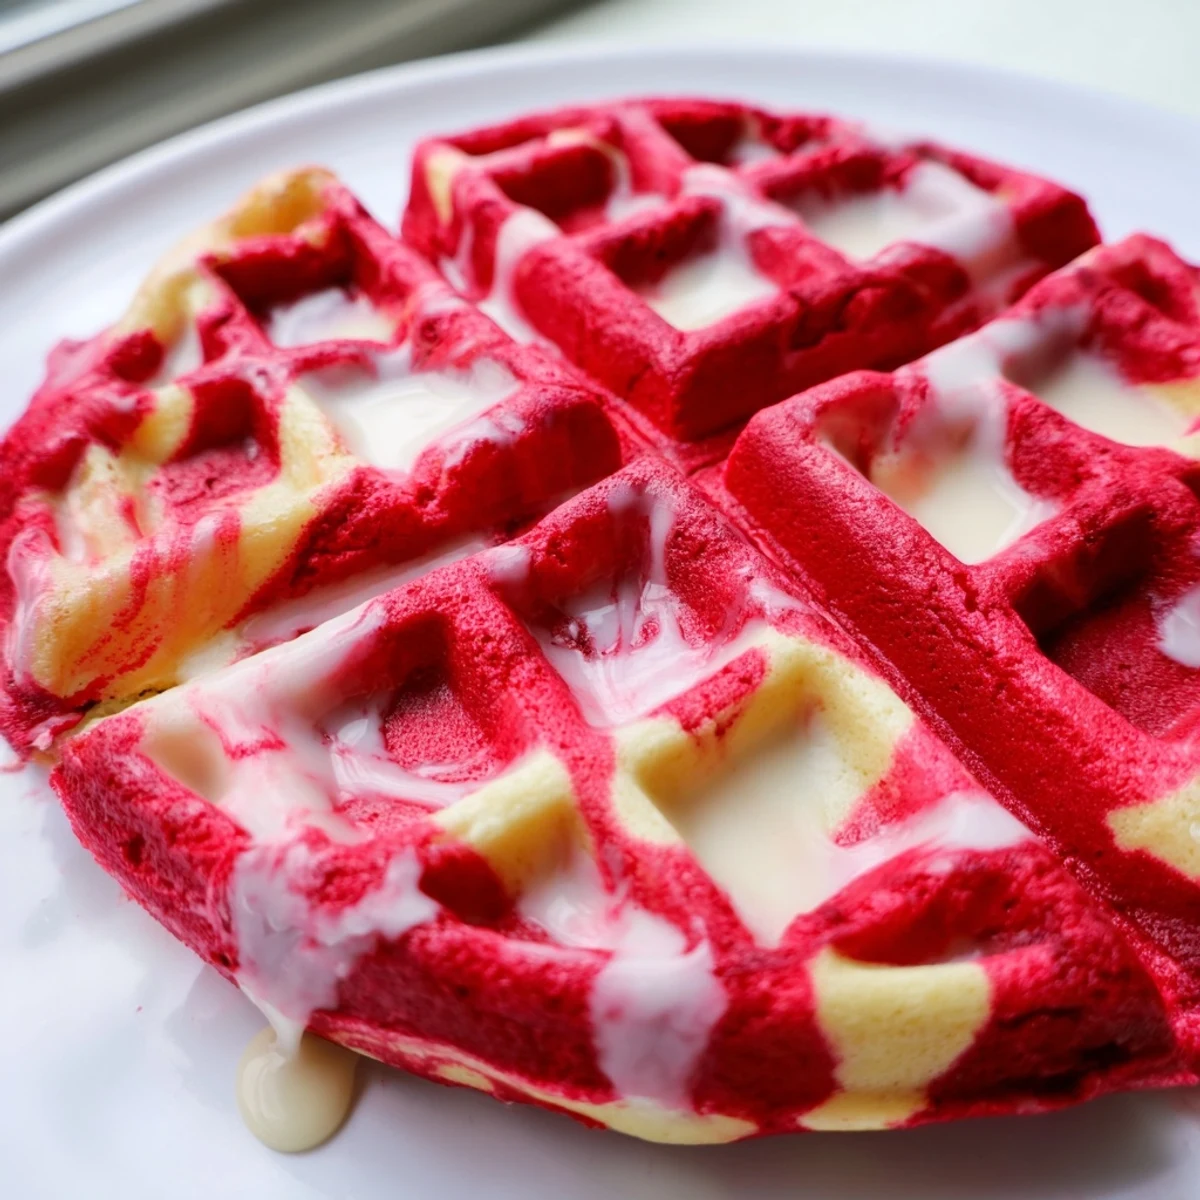
Getting The Marble Effect Right
The trick is not overthinking the swirl part. Too much dragging and you end up with muddy batter instead of distinct ribbons. I learned this the hard way when my first attempt looked like pink camouflage instead of something you would actually want to eat.
Making Them Your Own
Sometimes I add a drop of almond extract to the vanilla portion, which creates this subtle nutty backdrop that plays beautifully with cocoa. Other mornings the red velvet gets a pinch of espresso powder because chocolate always loves coffee.
Storage And Make Ahead Tips
Leftovers freeze beautifully and reheat in the toaster like a dream. I always double the batch now because finding an extra frozen waffle on a hectic Tuesday morning feels like discovering buried treasure.
- Layer parchment paper between waffles before freezing so they dont stick together
- Reheat at 350°F for about 5 minutes to recrisp without drying out
- The cream cheese glaze keeps in the fridge for up to a week if you want to make it ahead
 Save to Pinterest
 There is something deeply satisfying about cutting into a waffle that looks like edible art but tastes like Sunday morning comfort.
Recipe FAQs
- → How do I get the perfect marble effect?
-
Alternate spoonfuls of red velvet and vanilla batters onto the waffle iron, then gently swirl once with a chopstick or knife. Don't over-swirl or the colors will blend completely.
- → Can I make the batter ahead of time?
-
Yes, prepare both batters and store separately in the refrigerator for up to 24 hours. The buttermilk may cause slight thickening, so add a splash of milk before cooking if needed.
- → What toppings work best with these waffles?
-
Cream cheese glaze complements the red velvet flavors beautifully. Fresh berries, whipped cream, maple syrup, or a dusting of powdered sugar also enhance the presentation and taste.
- → Can I use natural food coloring instead?
-
Beet juice or pomegranate juice can replace red food coloring, though the color may be slightly more subtle. Start with 1 tablespoon and add more for deeper red hues.
- → How do I store and reheat leftovers?
-
Cool completely, then store in an airtight container in the refrigerator for 2-3 days or freeze for up to 3 months. Reheat in a toaster or oven at 350°F until warmed through and crispy.
- → Can I make these gluten-free?
-
Substitute all-purpose flour with a 1:1 gluten-free flour blend containing xanthan gum. The texture may vary slightly, but they'll still be delicious and beautifully marbled.
