 Save to Pinterest
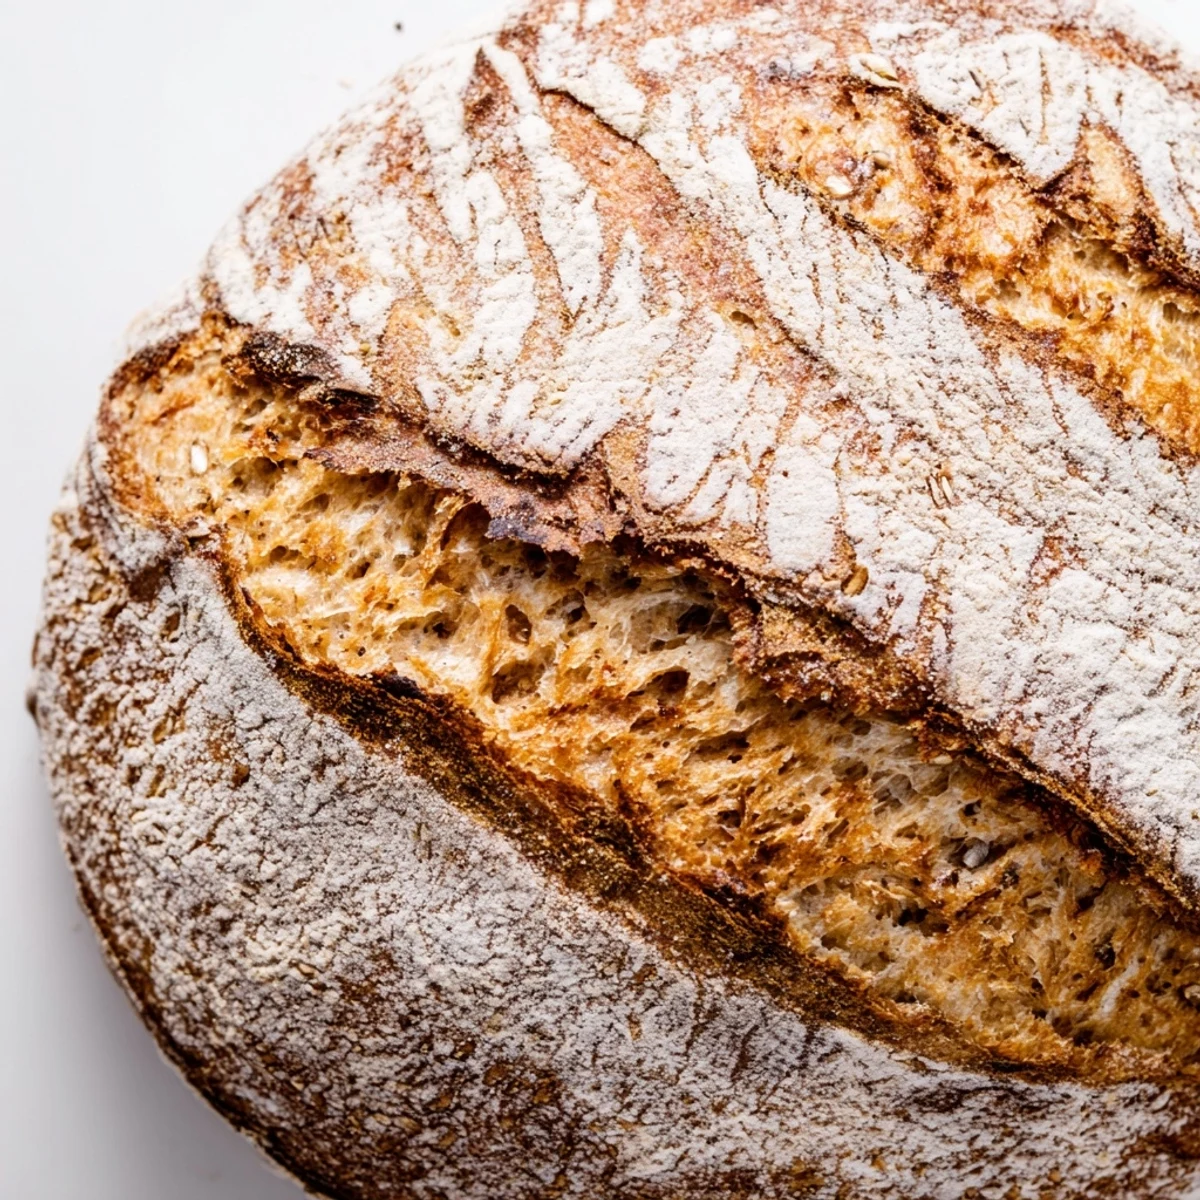
 Craft an authentic sourdough loaf using wild yeast starter and patient fermentation. This method produces the signature crackling crust and airy, chewy crumb that artisan bread enthusiasts love. The process involves autolyse, strategic stretch-and-fold techniques, and an overnight cold proof for deep flavor development. Bake in a preheated Dutch oven to create professional-level steam for exceptional oven spring.
The morning my starter finally came alive felt like a small victory after weeks of feeding a seemingly lifeless jar of flour and water. Those tiny bubbles appearing on the surface meant I could finally attempt real sourdough, something I'd been intimidated by for years. That first loaf emerged from the oven with a blistered crust and a tang that made me understand why people get obsessed with this ancient craft. Now my starter lives in the back of my fridge, a living thing that demands attention but gives back so much more.
I made this bread during a snowstorm when the power flickered ominously every few hours, convinced my Dutch oven would lose heat halfway through baking. My roommate paced the kitchen, convinced we were about to ruin six hours of fermentation. When we finally sliced into it, the crumb was open and glossy, the crust shattered under the knife, and we ate warm slabs with melting butter standing right there at the counter, snow piling up against the window.
Ingredients
- 500 g bread flour: High protein content gives the bread structure and that satisfying chew
- 350 g water: Room temperature water helps the enzymes activate without shocking your starter
- 100 g active sourdough starter: Make sure it's bubbling vigorously and floating when ready to use
- 10 g fine sea salt: Don't skip or reduce this, it's crucial for flavor and proper gluten development
- Rice flour or extra bread flour: For dusting your proofing basket so the dough releases cleanly
Instructions
- Mix and autolyse:
- Combine the flour and water in a large bowl until shaggy and no dry flour remains. Cover and let it rest for one hour to hydrate.
- Add starter and salt:
- Incorporate the sourdough starter and salt, mixing until the dough feels cohesive and smooth.
- Stretch and fold:
- Perform four sets of stretch and folds every thirty minutes, covering the dough between each set to build strength.
- Bulk fermentation:
- Let the dough rise at room temperature for four to six hours until it has noticeably grown and feels aerated.
- Shape the loaf:
- Turn the dough onto a lightly floured surface and shape it into a tight round or oval, creating surface tension.
- Cold proof:
- Place the dough seam side up in a floured proofing basket, cover, and refrigerate for eight to twelve hours.
- Preheat your oven:
- Heat your oven to 230°C with the Dutch oven inside for at least thirty minutes to get it screaming hot.
- Score and bake:
- Gently invert the dough onto parchment, score the top with a sharp blade, and bake covered for twenty minutes.
- Finish baking:
- Remove the lid and continue baking for another twenty minutes until the crust is deep golden brown.
- Cool completely:
- Let the loaf rest on a wire rack for at least one hour before slicing to set the crumb.
 Save to Pinterest
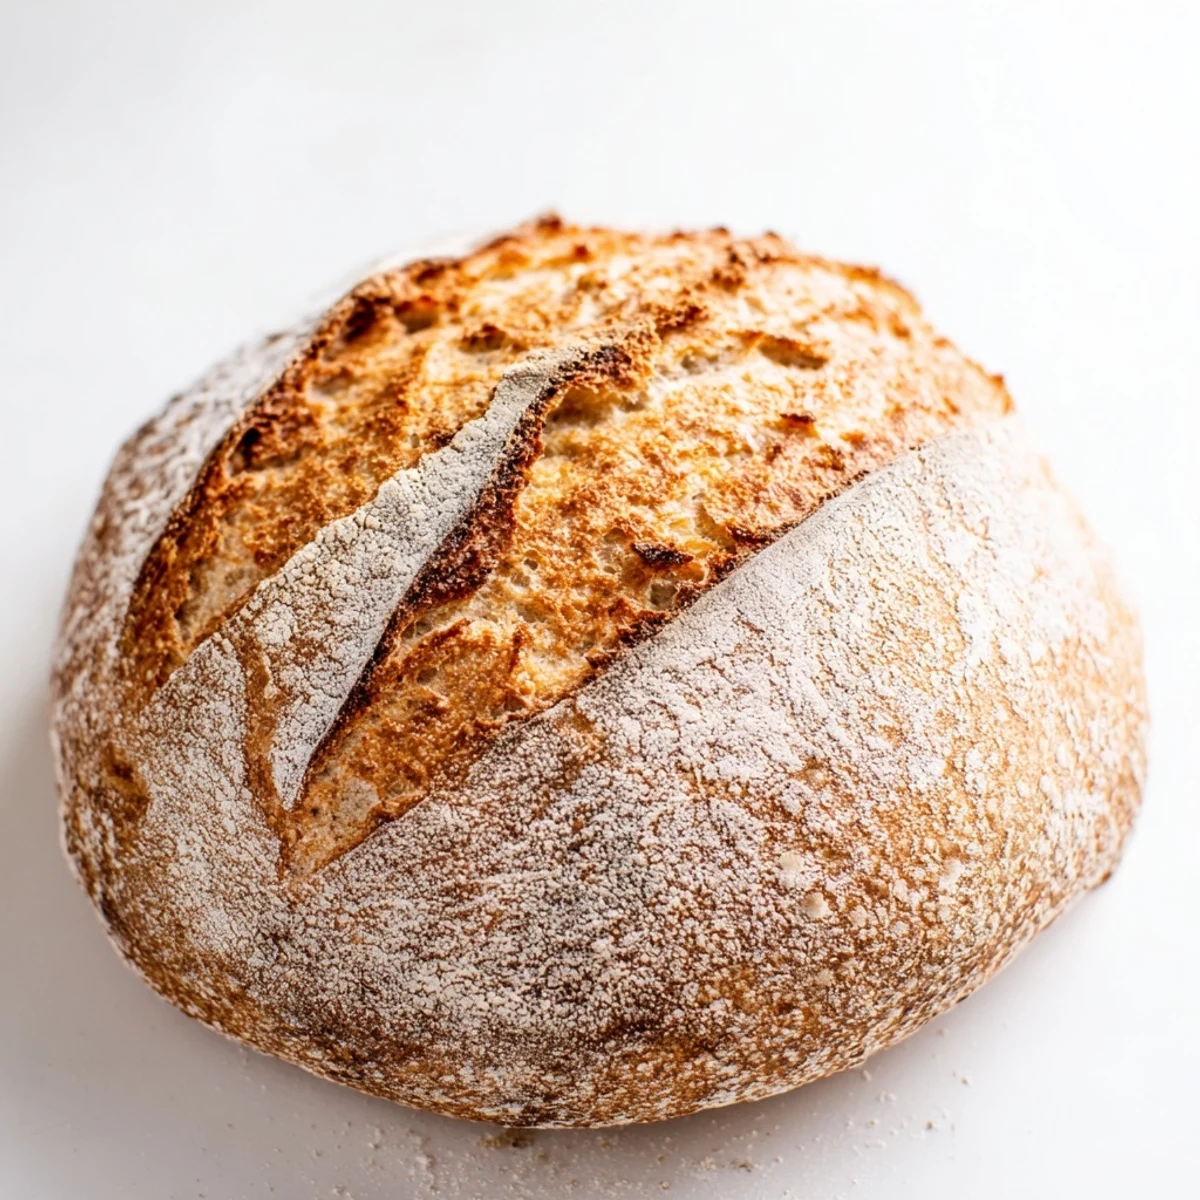
 This bread became my go to housewarming gift after I brought a loaf to a new neighbor who had just moved from abroad. She told me the smell reminded her of the bakery below her childhood apartment, and we spent the rest of the evening talking about food, homesickness, and how something as simple as bread can make a foreign place feel familiar. Now I keep a small bag of flour in my pantry just for these occasions.
Understanding Your Starter
Your sourdough starter is like a pet that needs regular feeding to stay active and healthy. Feed it at room temperature when you plan to bake, then return it to the refrigerator to slow down fermentation between uses.
Getting the Perfect Score
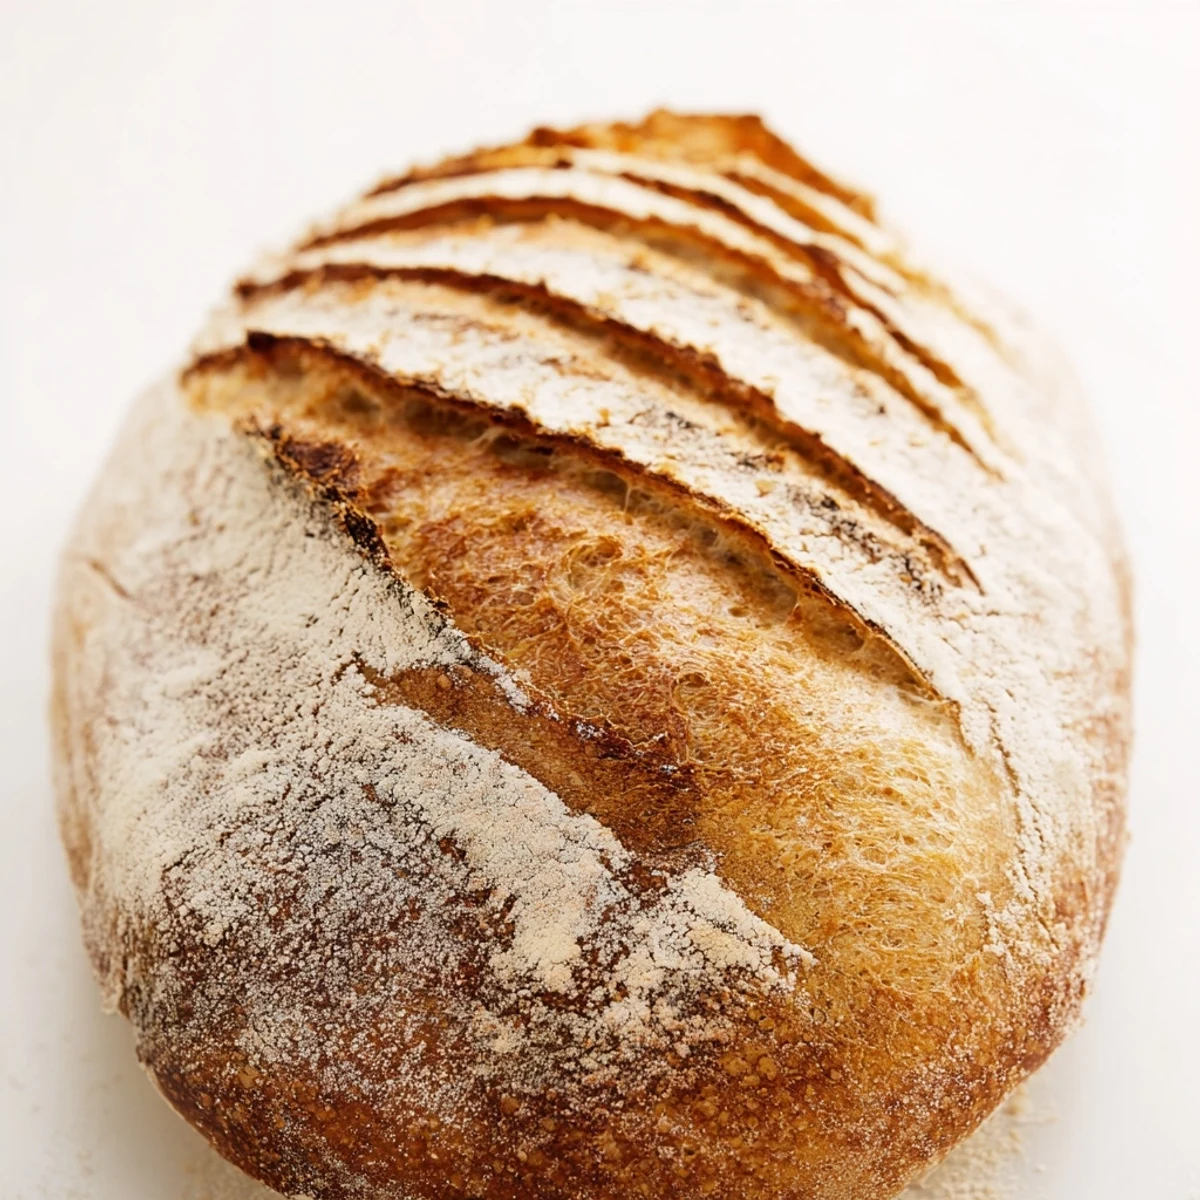
Use a fresh razor blade or sharp lame to score about half an inch deep into the dough surface. This controlled slash gives the bread room to expand in the oven and creates those beautiful ear formations that serious bakers chase.
Storing Your Fresh Bread
Store your cooled loaf cut side down on a wooden board or wrapped in a cloth bag for up to two days. After that, slice the remaining bread and freeze it in a sealed bag, toasting slices directly from the freezer.
- Never store sourdough in plastic bags or it will lose its crisp crust
- Revive a slightly stale loaf by sprinkling with water and reheating at 180°C for ten minutes
- The flavor actually develops more complexity after sitting for a day
 Save to Pinterest
 There's something deeply satisfying about turning flour, water, and salt into bread that sustains you. May your kitchen always smell like fermentation and possibility.
Recipe FAQs
- → What makes sourdough different from regular bread?
-
Sourdough uses wild yeast and beneficial lactic acid bacteria naturally present in flour, rather than commercial yeast. This creates signature tangy flavor, improves digestibility, and extends shelf life naturally.
- → Why does sourdough take so long to make?
-
Wild yeast ferments more slowly than commercial varieties, requiring extended proofing times. This slow fermentation develops complex flavors, breaks down gluten for easier digestion, and creates the characteristic open crumb structure.
- → Can I bake without a Dutch oven?
-
While a Dutch oven creates ideal steam for crust development, you can use a baking stone with a metal bowl overturned over the loaf, or place a tray of ice cubes in the oven bottom to generate steam during the first 20 minutes.
- → How do I know when my sourdough is fully proofed?
-
Perform the finger poke test: gently press your floured finger about 1/2 inch into the dough. If it springs back slowly and leaves a small indentation, it's ready. If it springs back quickly, it needs more time. If it doesn't spring back at all, it's over-proofed.
- → What's the purpose of scoring the bread?
-
Scoring creates controlled weak points in the dough surface, allowing expanding carbon dioxide to escape during baking. This prevents unsightly blowouts and creates beautiful decorative patterns while helping the loaf achieve maximum oven spring.
