 Save to Pinterest
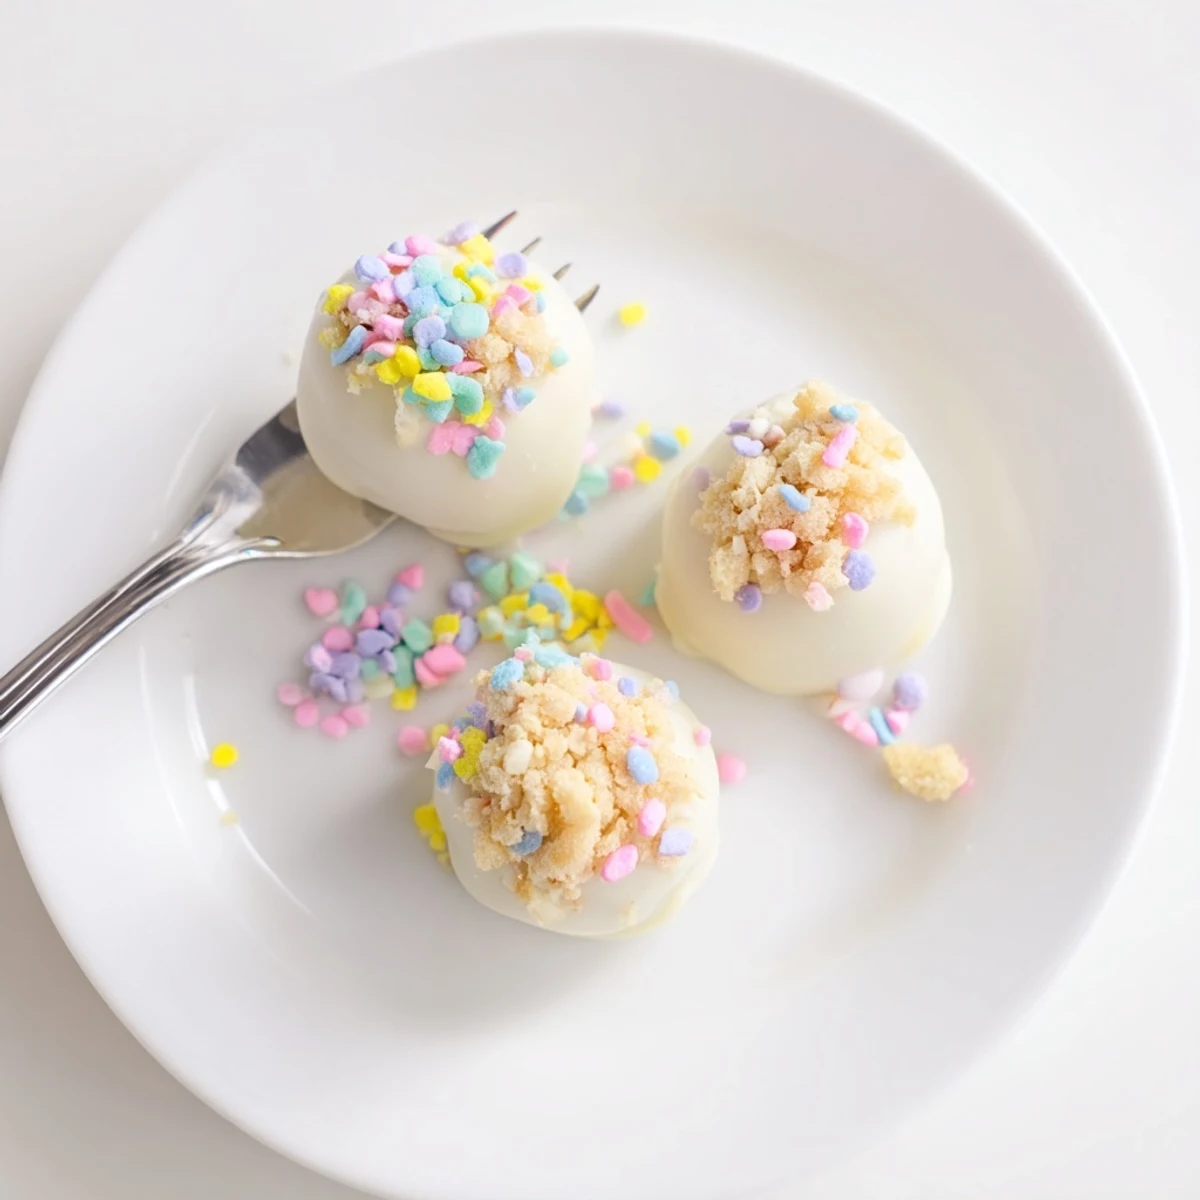
 These festive Easter truffles combine the classic flavors of banana pudding with crunchy vanilla wafers, all coated in smooth white chocolate and decorated with colorful sprinkles. The no-bake preparation comes together in just 25 minutes of active time, making them perfect for spring gatherings and holiday dessert tables.
The creamy filling starts with instant banana pudding mix blended with cold milk and softened cream cheese for an extra rich texture. Vanilla wafer crumbs provide that signature crunch and nostalgic flavor. After chilling until firm, each truffle gets dipped in melted white chocolate and immediately sprinkled with Easter-themed decorations for a festive finish.
Make these ahead and store them in the refrigerator for up to 5 days—the flavors actually improve over time as the banana melds with the vanilla wafers. For an intense banana kick, add a few drops of banana extract to the filling mixture.
Last Easter, my sister showed up with a store-bought dessert that looked gorgeous but tasted like absolutely nothing. That night, I found myself in the kitchen at midnight, determined to create something festive that actually delivered on flavor. These truffles were born from a container of vanilla wafers that had been sitting in my pantry since Thanksgiving and some banana pudding mix I impulse-bought months earlier.
I brought these to a potluck last spring and watched my friend Sarah literally hover over the platter, claiming she was just guarding them from the kids. Later, she confessed she ate four and had to unbutton her jeans in the car ride home. Something about that creamy banana center with crisp vanilla wafer bits creates this texture that makes people forget their manners completely.
Ingredients
- 1 cup (240 ml) cold whole milk: The fat in whole milk creates a pudding base thats silky and luxurious, plus cold milk helps the instant pudding set up faster
- 1 package (3.4 oz / 96 g) instant banana pudding mix: Do not use cook-and-serve pudding here—it needs to be instant for that no-cook convenience
- 4 oz (115 g) cream cheese, softened: Room temperature cream cheese incorporates seamlessly without leaving lumps in your truffle mixture
- 1 ¾ cups (175 g) vanilla wafer crumbs: Crushing your own wafers gives you that irregular texture that mimics classic banana pudding layers perfectly
- 8 oz (225 g) white chocolate or candy melts, chopped: Candy melts are actually more foolproof than real white chocolate for dipping since they seize less easily
- Easter-themed sprinkles or colored sugar, for decoration: Sprinkle immediately after dipping or the coating will set before decorations stick
Instructions
- Whisk the pudding base:
- Combine the cold milk and instant banana pudding mix in a medium bowl, whisking vigorously for 2 full minutes until noticeably thickened
- Add the cream cheese:
- Beat in the softened cream cheese with an electric mixer until no lumps remain and the mixture turns smooth and glossy
- Fold in the wafer crumbs:
- Gently incorporate the vanilla wafer crumbs until a thick, moldable dough forms that holds its shape when you press it together
- Shape the truffles:
- Use a tablespoon or small cookie scoop to portion the dough, then roll between your palms into 1-inch balls, placing them on a parchment-lined baking sheet
- Chill until firm:
- Refrigerate the truffle balls for at least 30 minutes or until theyre firm enough to handle without leaving fingerprints
- Melt the coating:
- Microwave the white chocolate or candy melts in 20-second intervals, stirring between each, until completely smooth and fluid
- Dip and decorate:
- Drop each chilled truffle into the melted chocolate, lift with a fork or dipping tool, tap off excess, then immediately decorate with sprinkles before the coating sets
- Set and serve:
- Refrigerate the finished truffles for 10 to 15 minutes until the chocolate is completely firm, then serve chilled or at room temperature
 Save to Pinterest
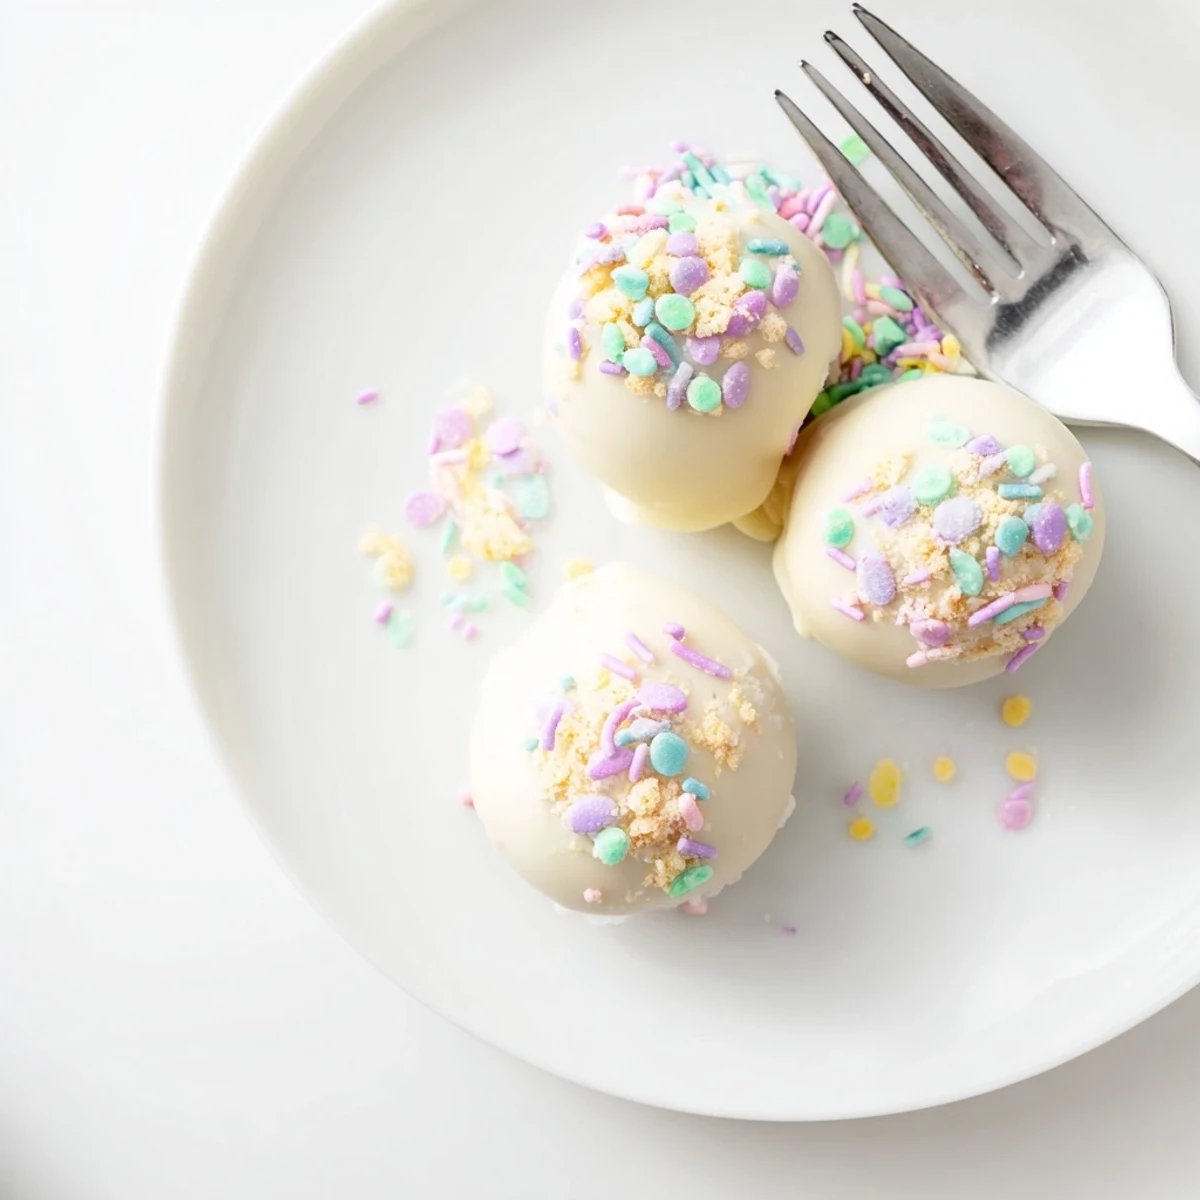
 My three-year-old niece helped decorate these last year, and her technique of dumping handfuls of sprinkles onto each truffle actually created these gorgeous little confetti bombs. The adults liked those accidental creations even better than my carefully placed ones. Sometimes the messy moments make the best memories.
Getting The Texture Right
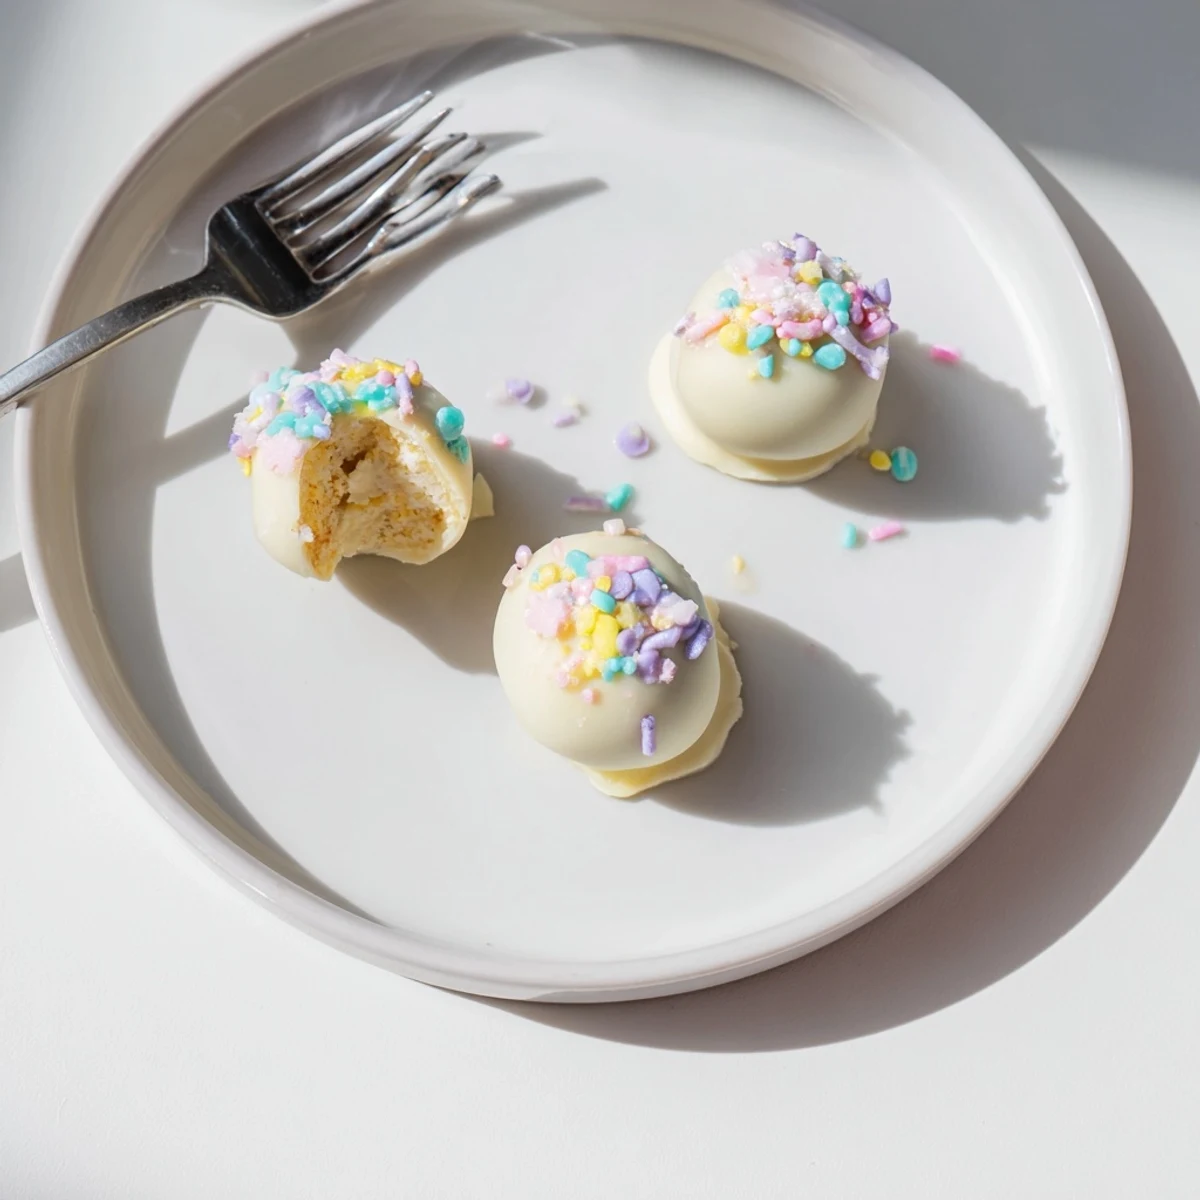
The ratio of pudding to cream cheese creates this fudge-like consistency that still feels light on the tongue. Too much cream cheese and they become dense and heavy, while too little makes them collapse into a sticky mess when you try to coat them. I learned this balance after a particularly disastrous batch that would not hold its shape no matter how long I chilled them.
Dipping Like A Pro
A plastic fork with the center tines snapped off makes the perfect dipping tool because the prongs support the truffle while letting excess chocolate drip through. You can also use those spiral candy dipping tools from craft stores, but honestly, a fork works just as well and you probably already have one in your drawer.
Make Ahead Magic
These truffles actually improve after a day in the fridge because the flavors have time to meld and the coating fully sets. They can also be frozen for up to a month if you want to get a serious head start on holiday prep.
- Layer the truffles between sheets of wax paper in an airtight container
- Thaw them in the refrigerator overnight to prevent condensation from forming on the chocolate
- Add the sprinkles right before serving if you are making them more than a few days ahead
 Save to Pinterest
 These disappear so quickly that I have started making double batches and hiding one container in the back of the fridge just for myself.
Recipe FAQs
- → How long do these truffles need to chill?
-
The truffle balls need at least 30 minutes in the refrigerator before dipping to firm up enough to handle. After coating with white chocolate, refrigerate for another 10–15 minutes until the chocolate is completely set. For the best results, let them chill overnight before serving to allow flavors to meld.
- → Can I use real white chocolate instead of candy melts?
-
Absolutely. Real white chocolate adds a richer, more complex flavor compared to candy melts. Chop it into small, even pieces before melting to ensure smooth results. Microwave in 20-second intervals, stirring between each, to prevent seizing. Candy melts are often easier for beginners since they're formulated for dipping and set firmly.
- → What can I substitute for vanilla wafers?
-
Graham crackers make an excellent alternative, providing a similar crunch with a slightly different flavor profile. Nilla wafers are the classic choice, but shortbread cookies, digestive biscuits, or even buttery Ritz crackers could work. Avoid cookies with strong flavors that might compete with the banana—keep it neutral and buttery.
- → How do I prevent the white chocolate from seizing?
-
The key is avoiding any moisture—make sure your bowl, utensils, and hands are completely dry before melting white chocolate. Microwave in short bursts, stirring thoroughly between each. If the chocolate does seize, you can try whisking in a teaspoon of coconut oil or vegetable oil to smooth it out again.
- → Can these be made ahead for Easter?
-
These truffles are perfect for making ahead. Prepare them up to 5 days in advance and store in an airtight container in the refrigerator. Layer them between parchment paper to prevent sticking. The texture remains excellent, and the banana-vanilla flavors actually deepen over time. Bring them to room temperature about 30 minutes before serving for the creamiest texture.
- → Why is my mixture too soft to roll?
-
If the dough feels too sticky or soft to roll into balls, it probably needs more chilling time. The cream cheese and pudding need to be cold to hold their shape. You can also add more vanilla wafer crumbs, a tablespoon at a time, until the mixture reaches a workable consistency. Working with cold hands or rinsing your hands with cold water can also help prevent sticking.
